
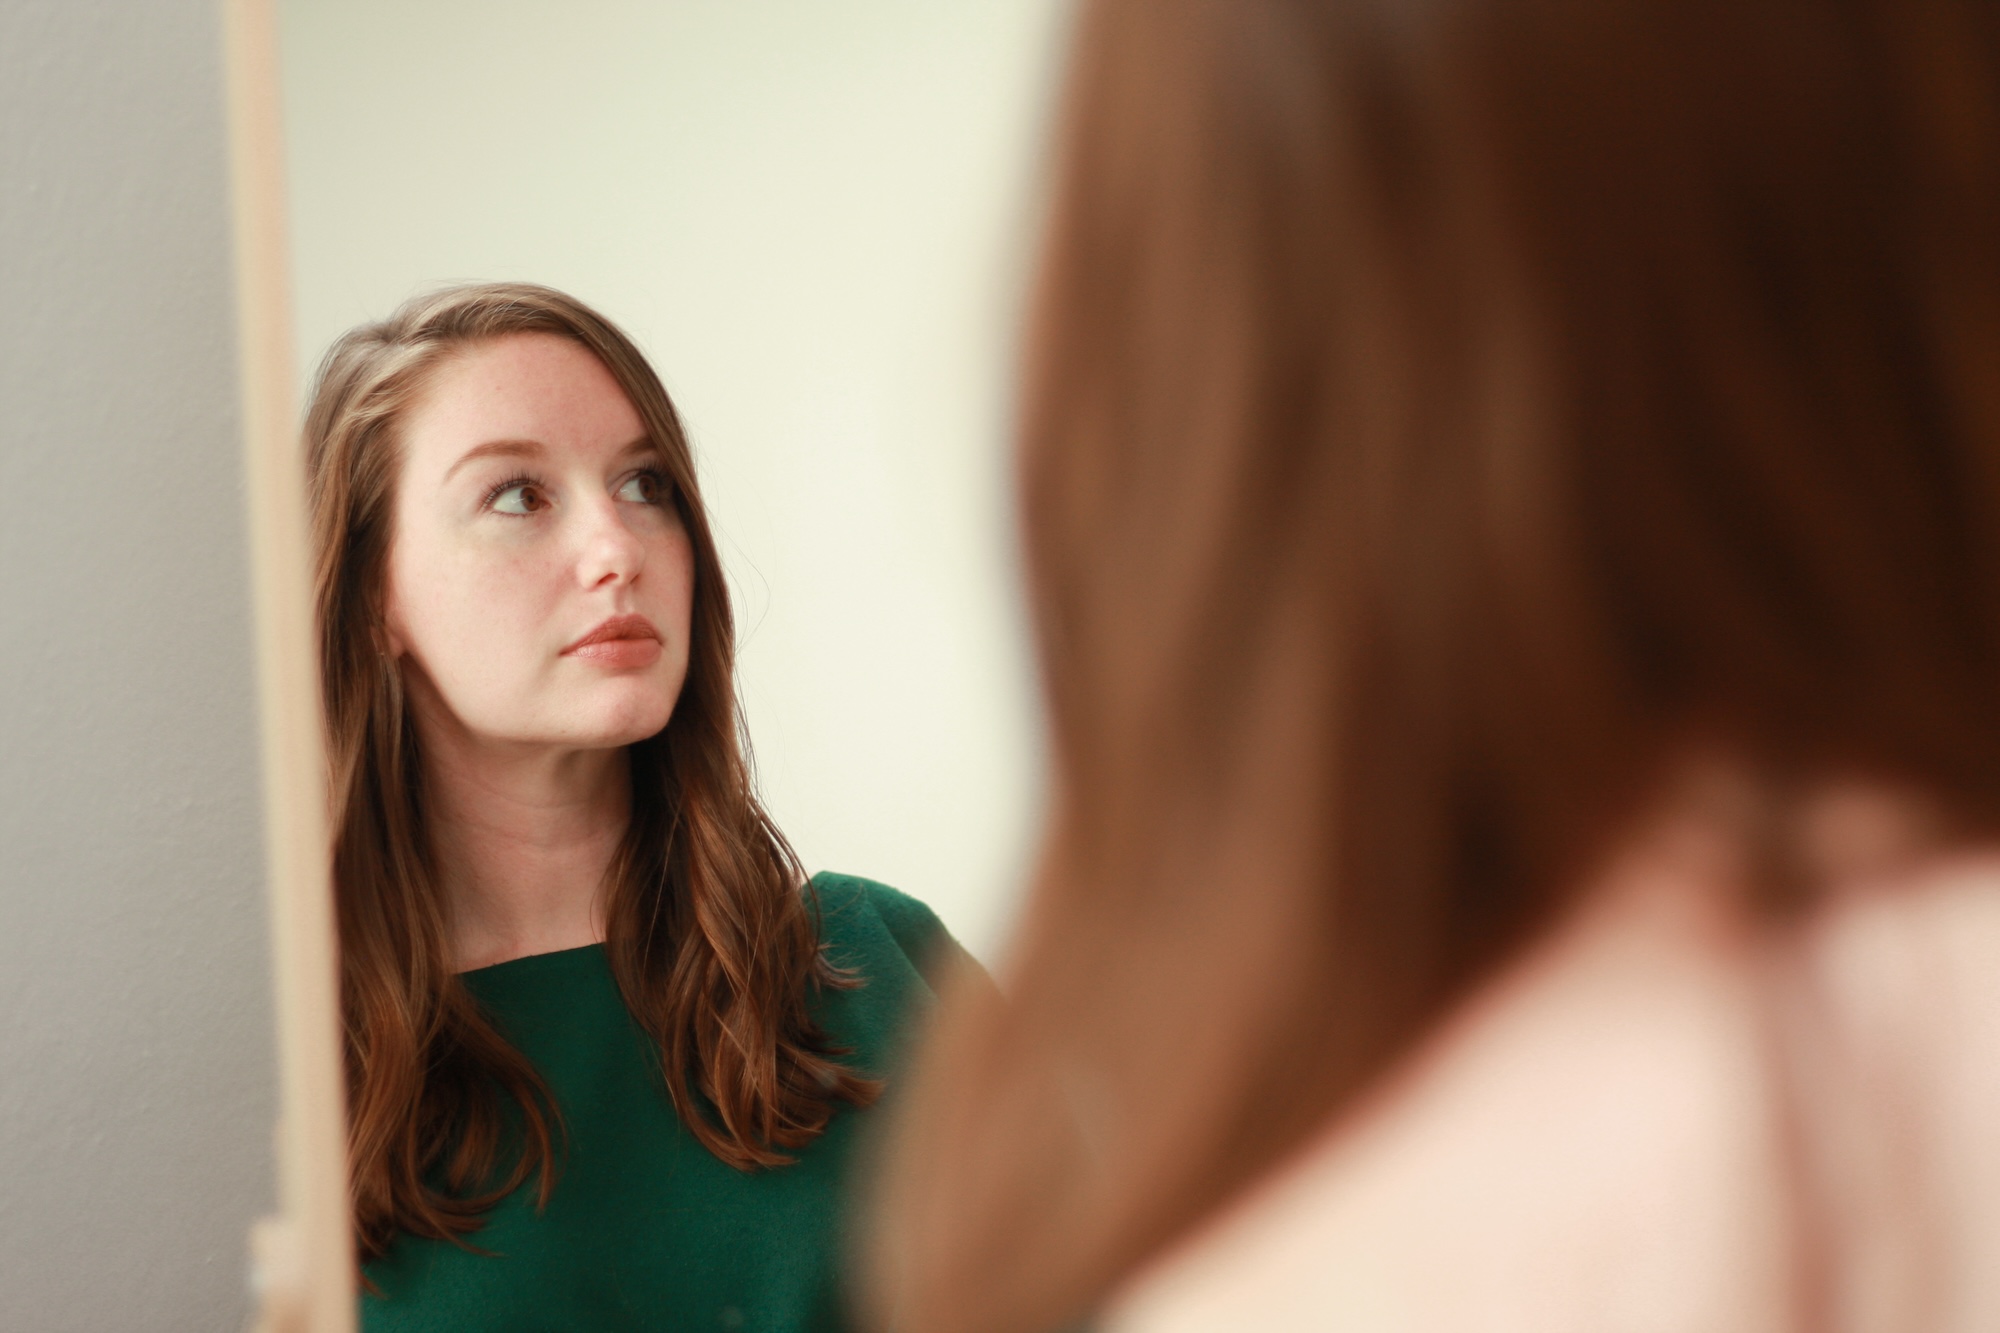
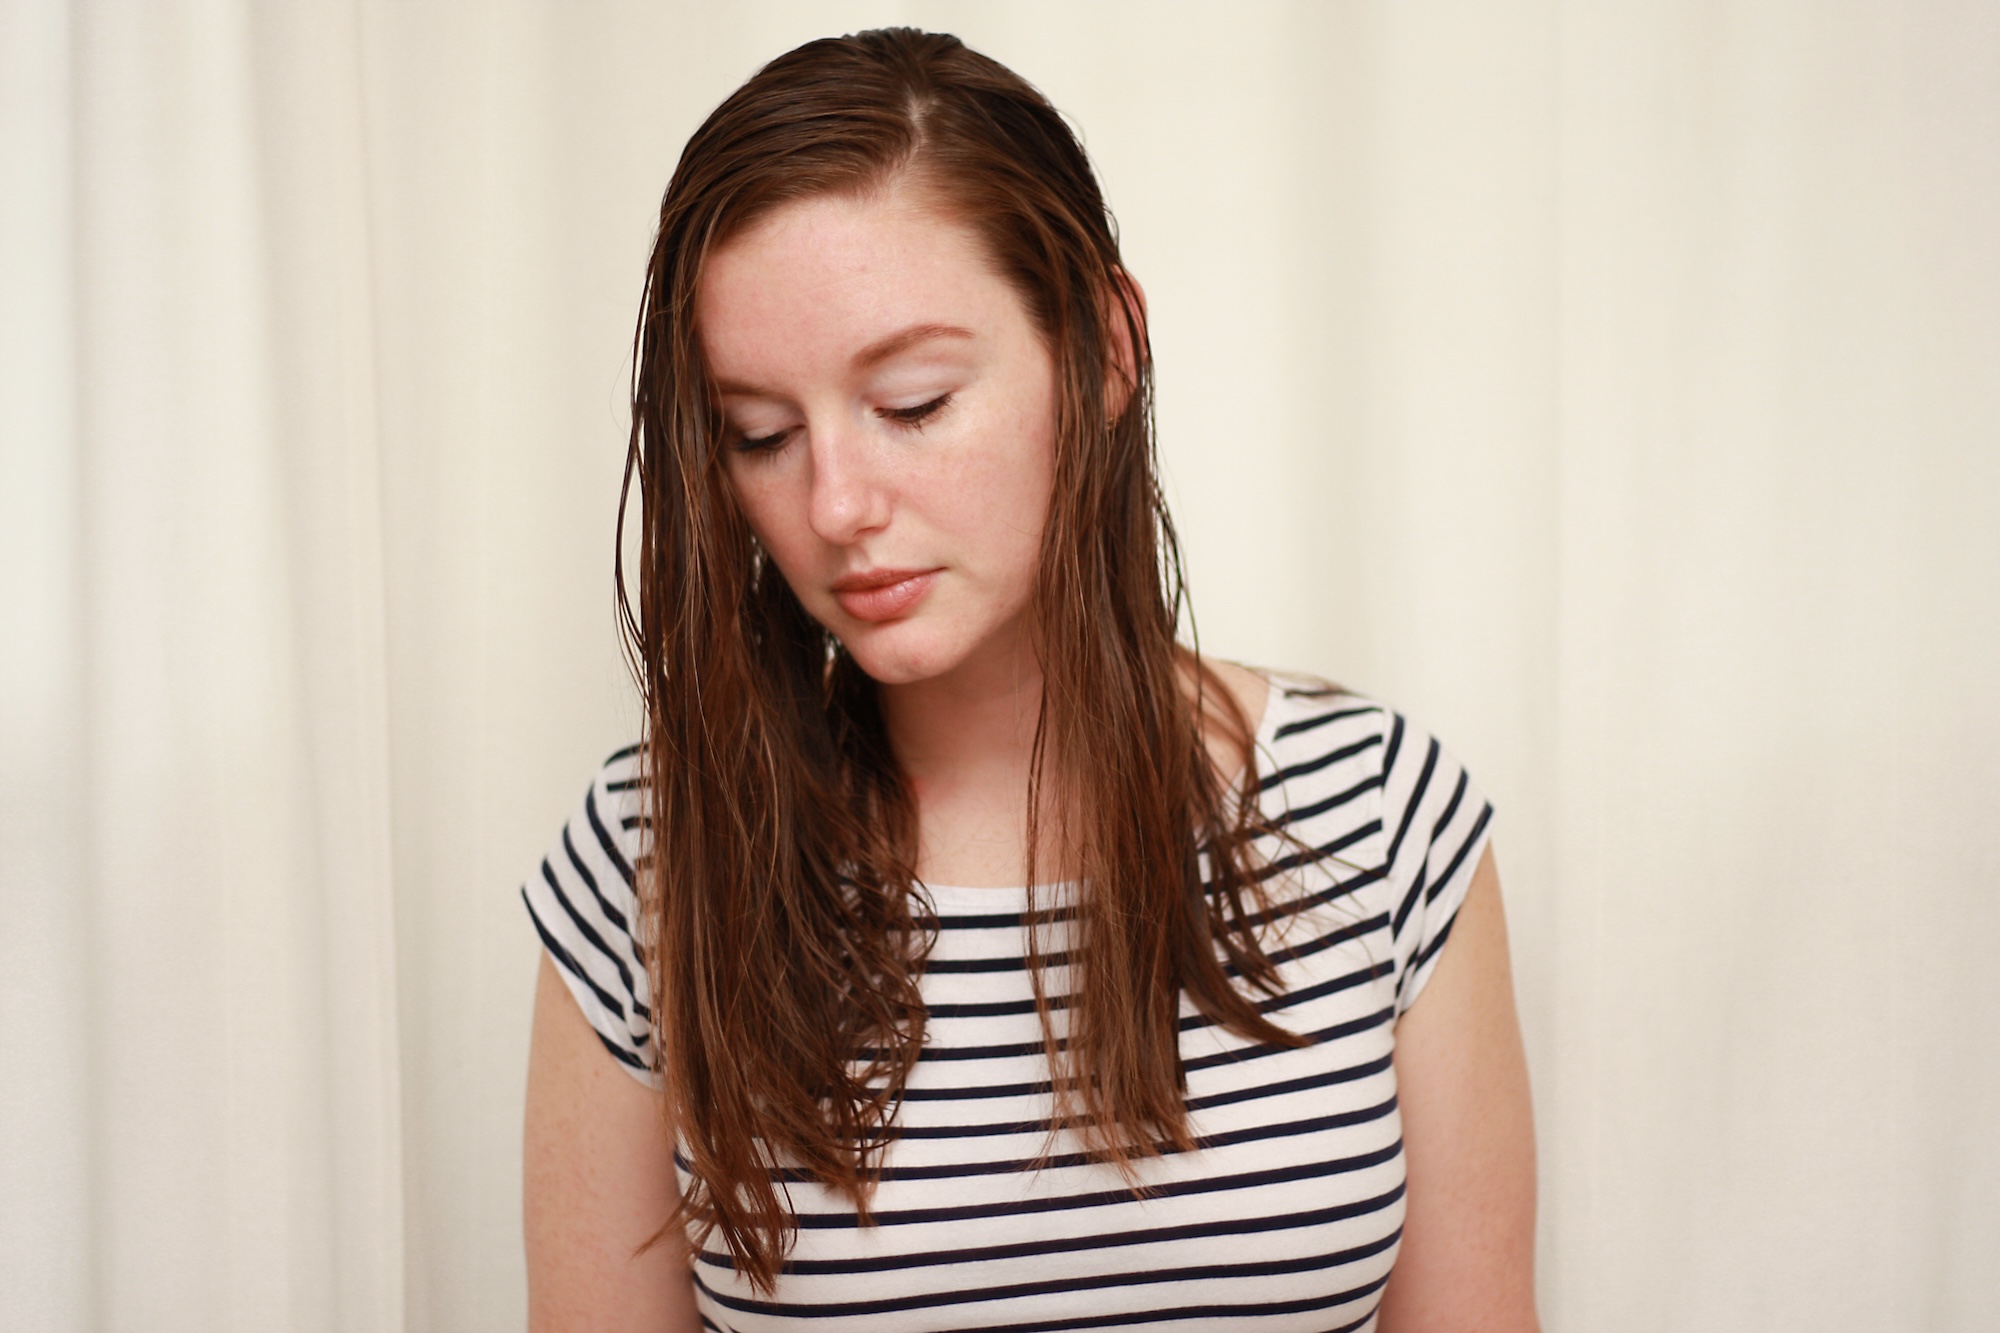
I think it’s fair to say that we all want to look our best when we travel, but we don’t want to spend hours at the hotel bathroom sink trying to make it happen.
So how do you look “normal” after traveling long distances for days at a time, often without access to a curling/straightening iron, let alone a shower? With five minutes and just a little prep, that’s how!
This post contains affiliate links and I may receive a small commission if you make a purchase after clicking one of these links (at no additional cost to you!). Thank you for your support - it enables me to run this site ad-free!
Today I’m sharing five hairstyles that can be managed while away from home, with minimal effort and styling tools and just a few minutes of precious travel time. Note: hair types and lengths vary, so I can only attest to the fact that these styles work well on my fine, armpit-length hair.
Let’s get stylin’:
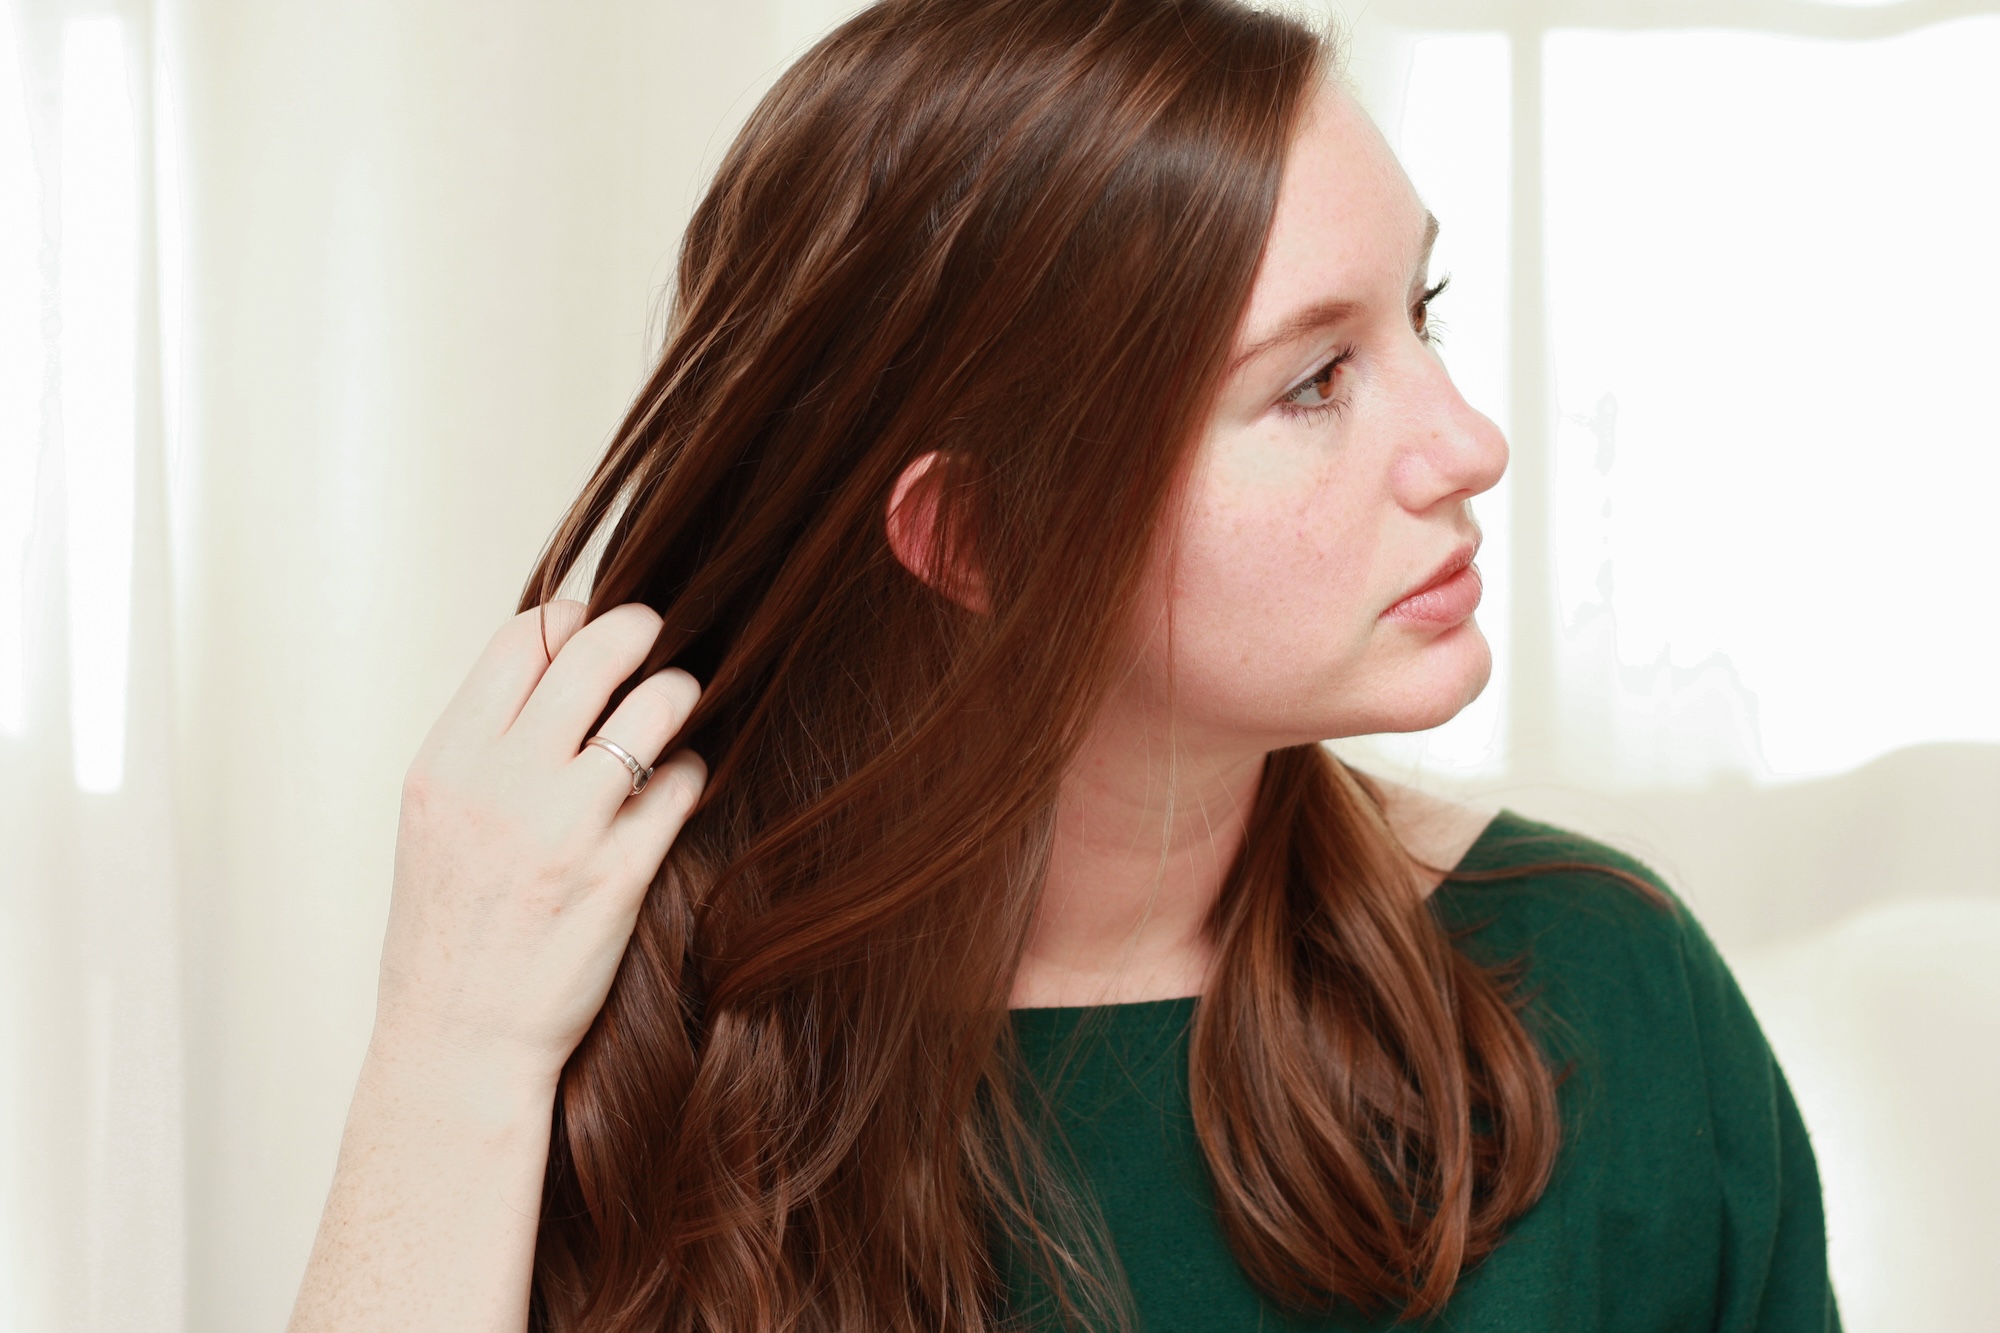
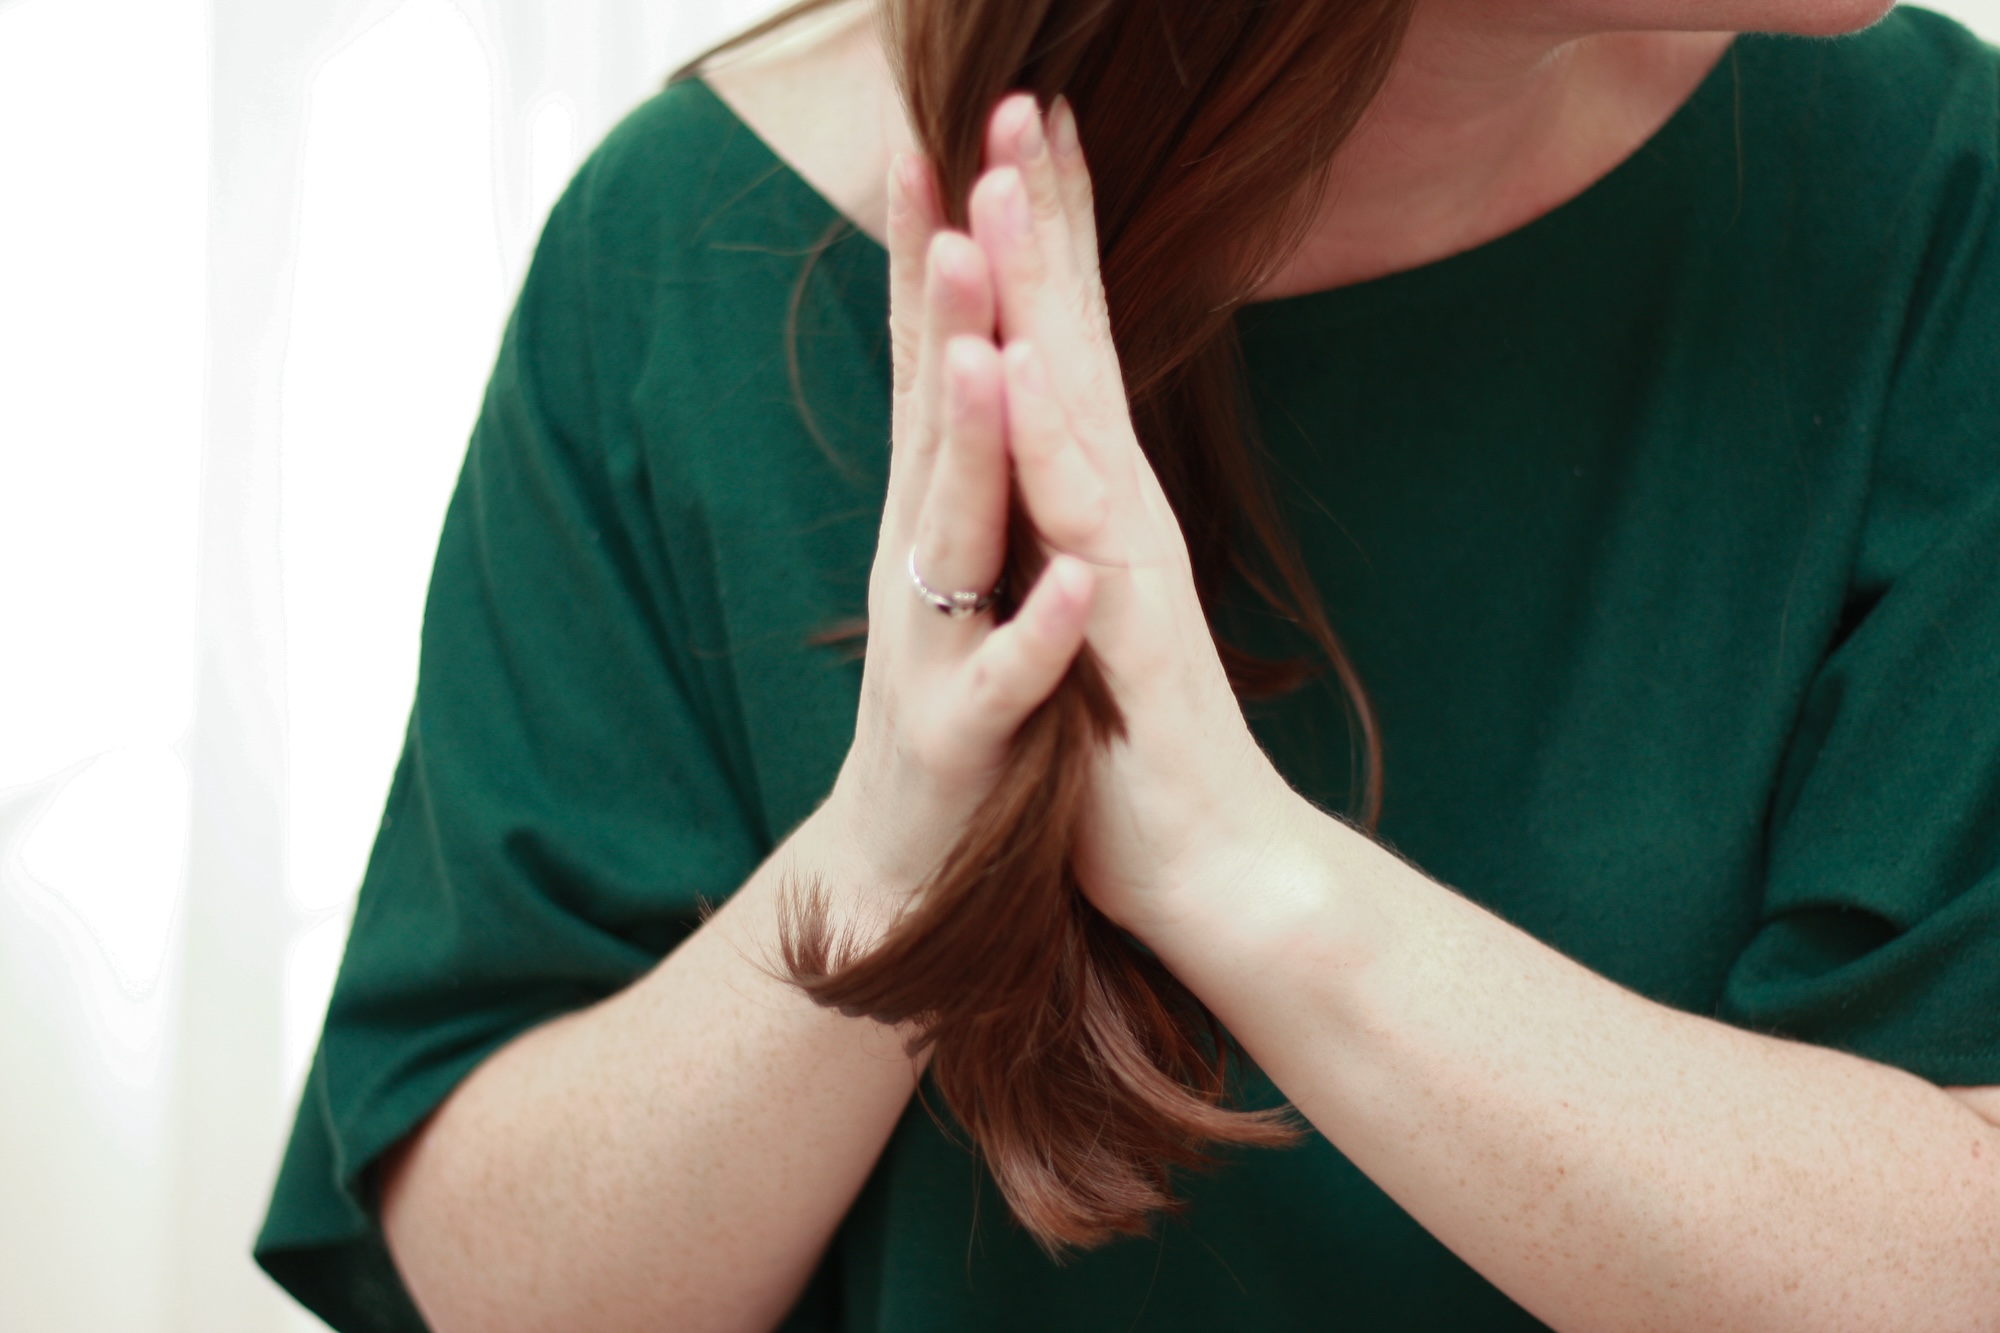
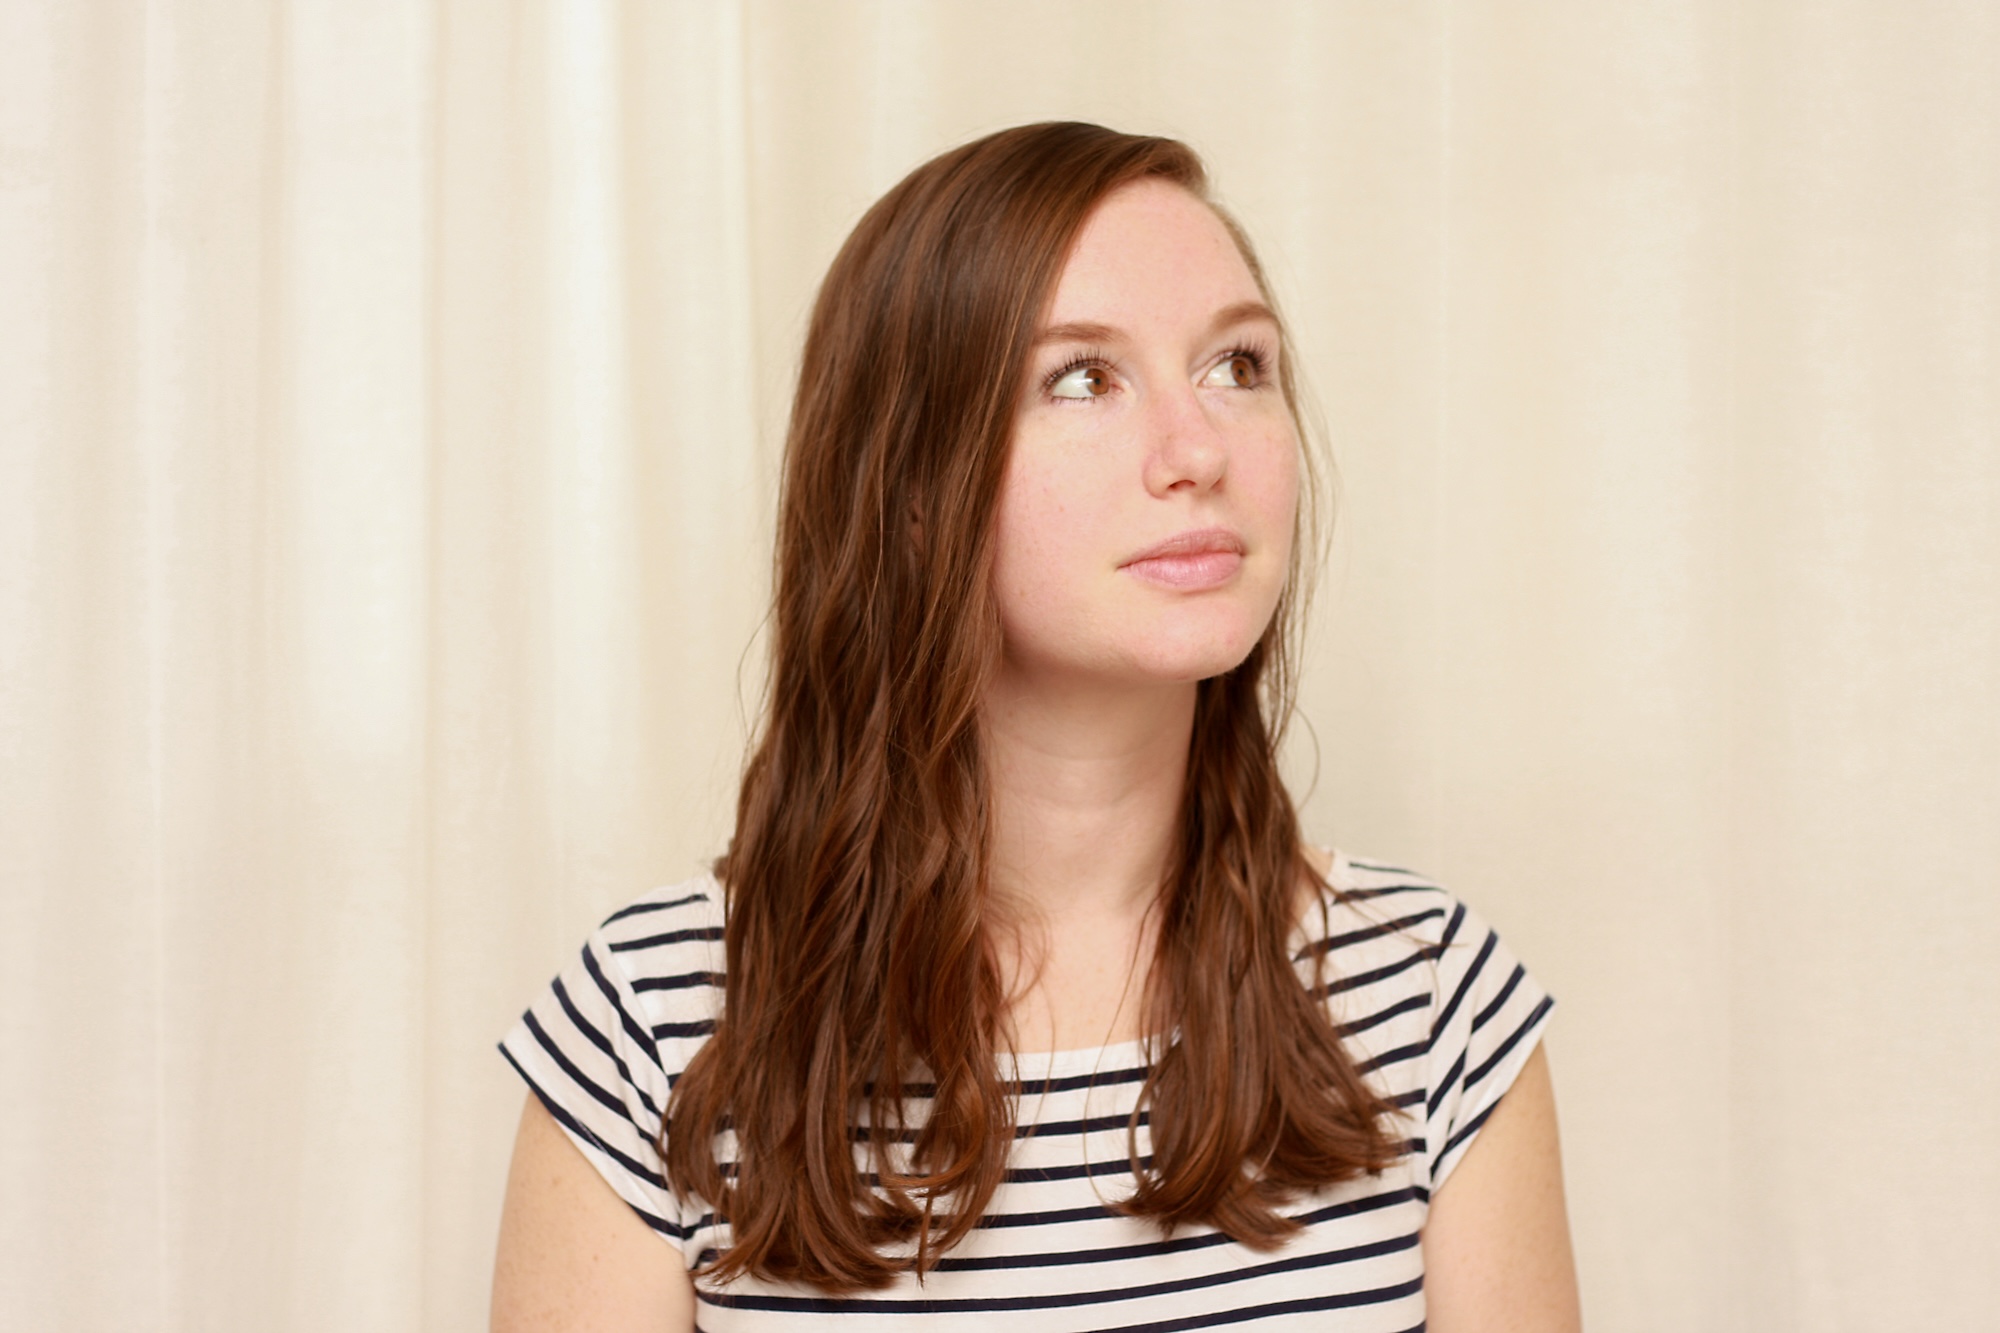
1. LOOSE WAVES
My go-to, lived-in look. These waves complement a variety of looks, from a simple tee-and-jeans combination to a darling dinner outfit.
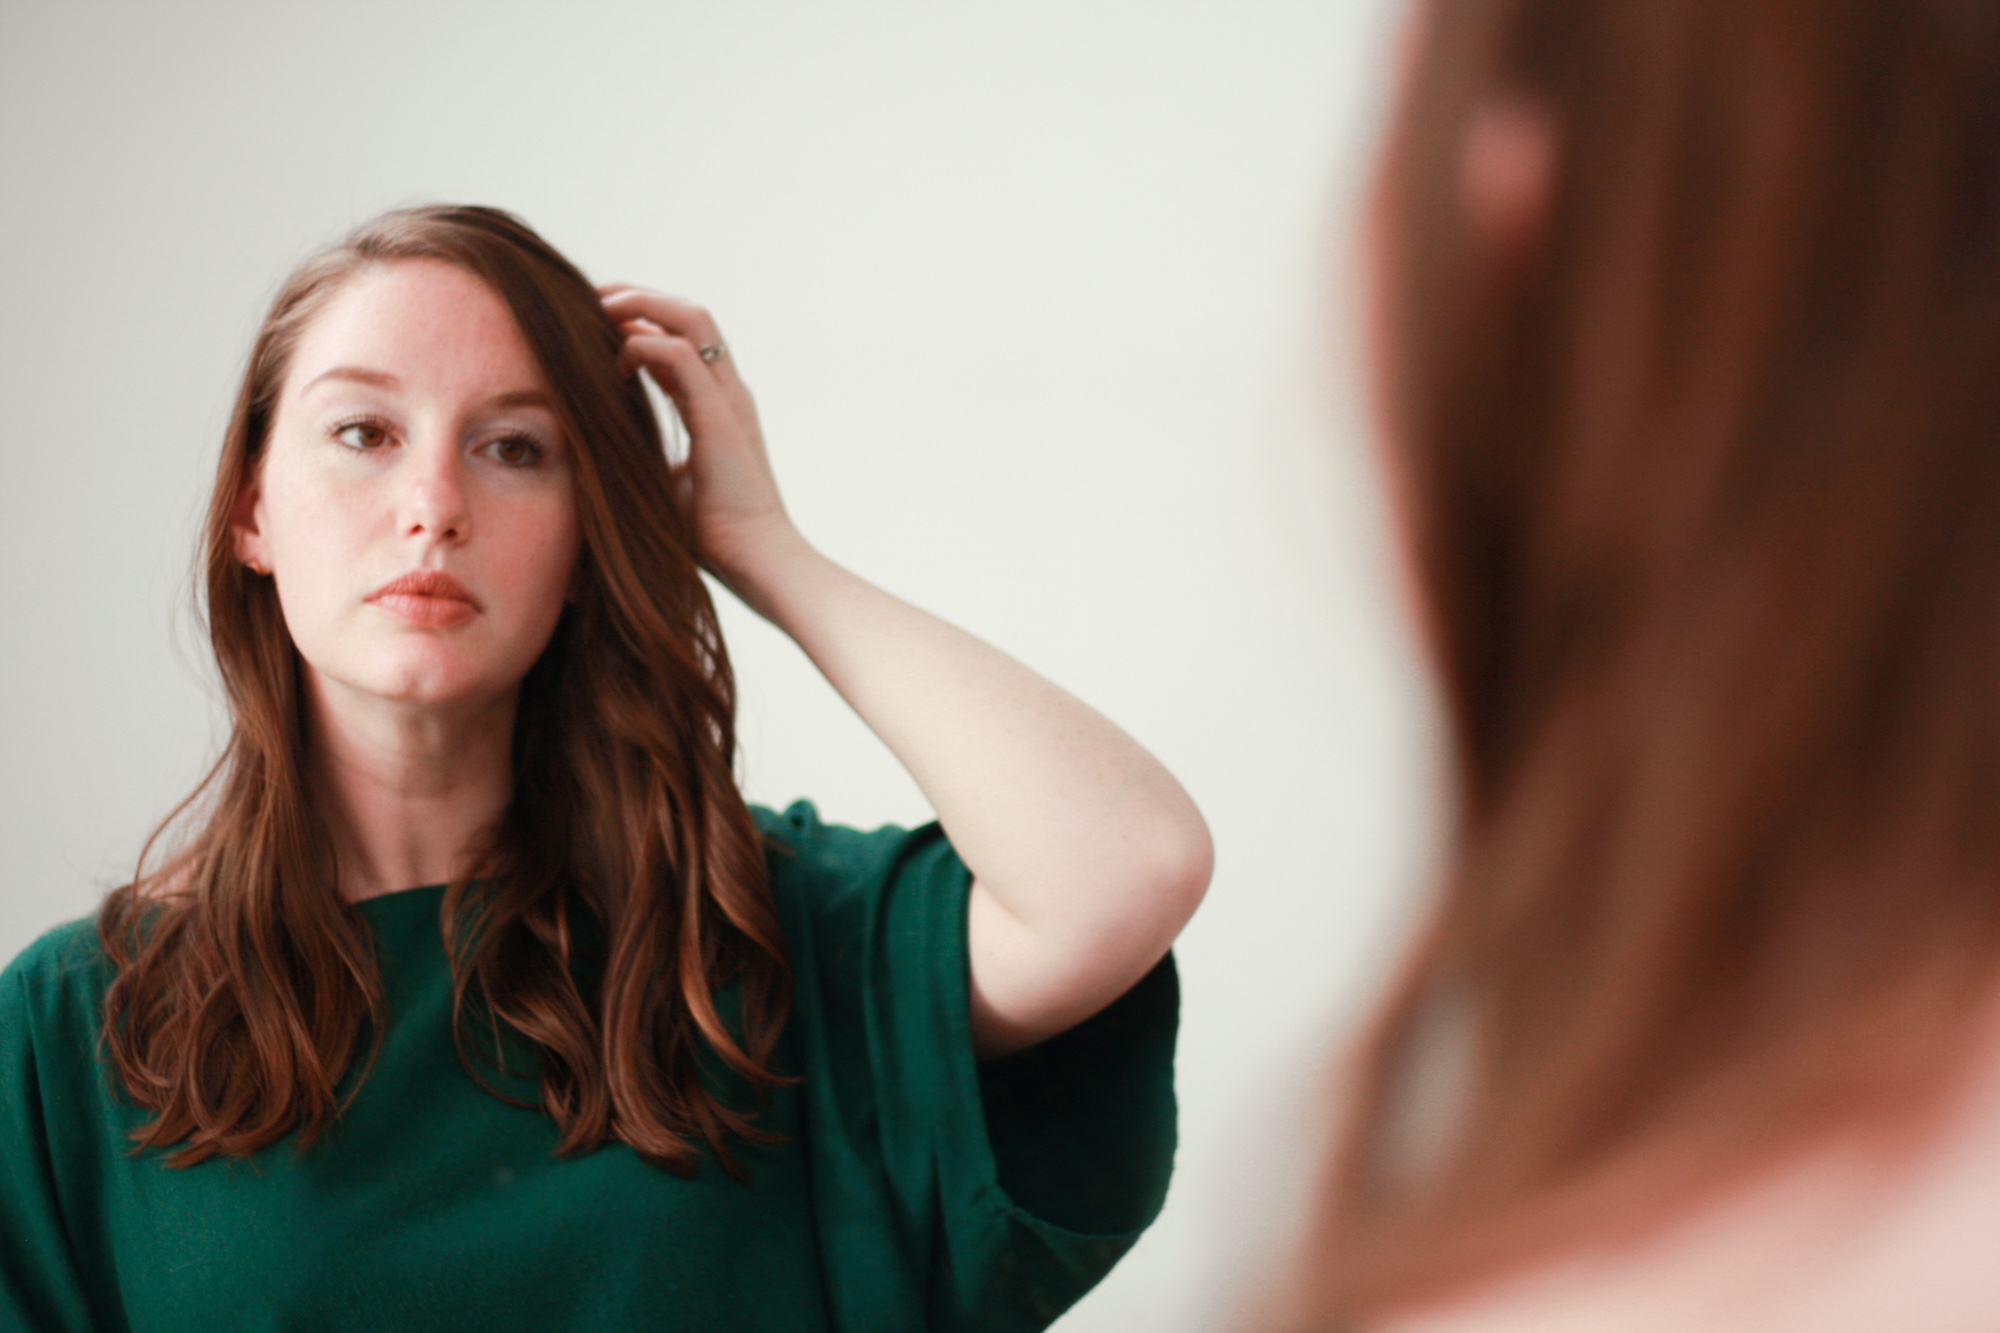
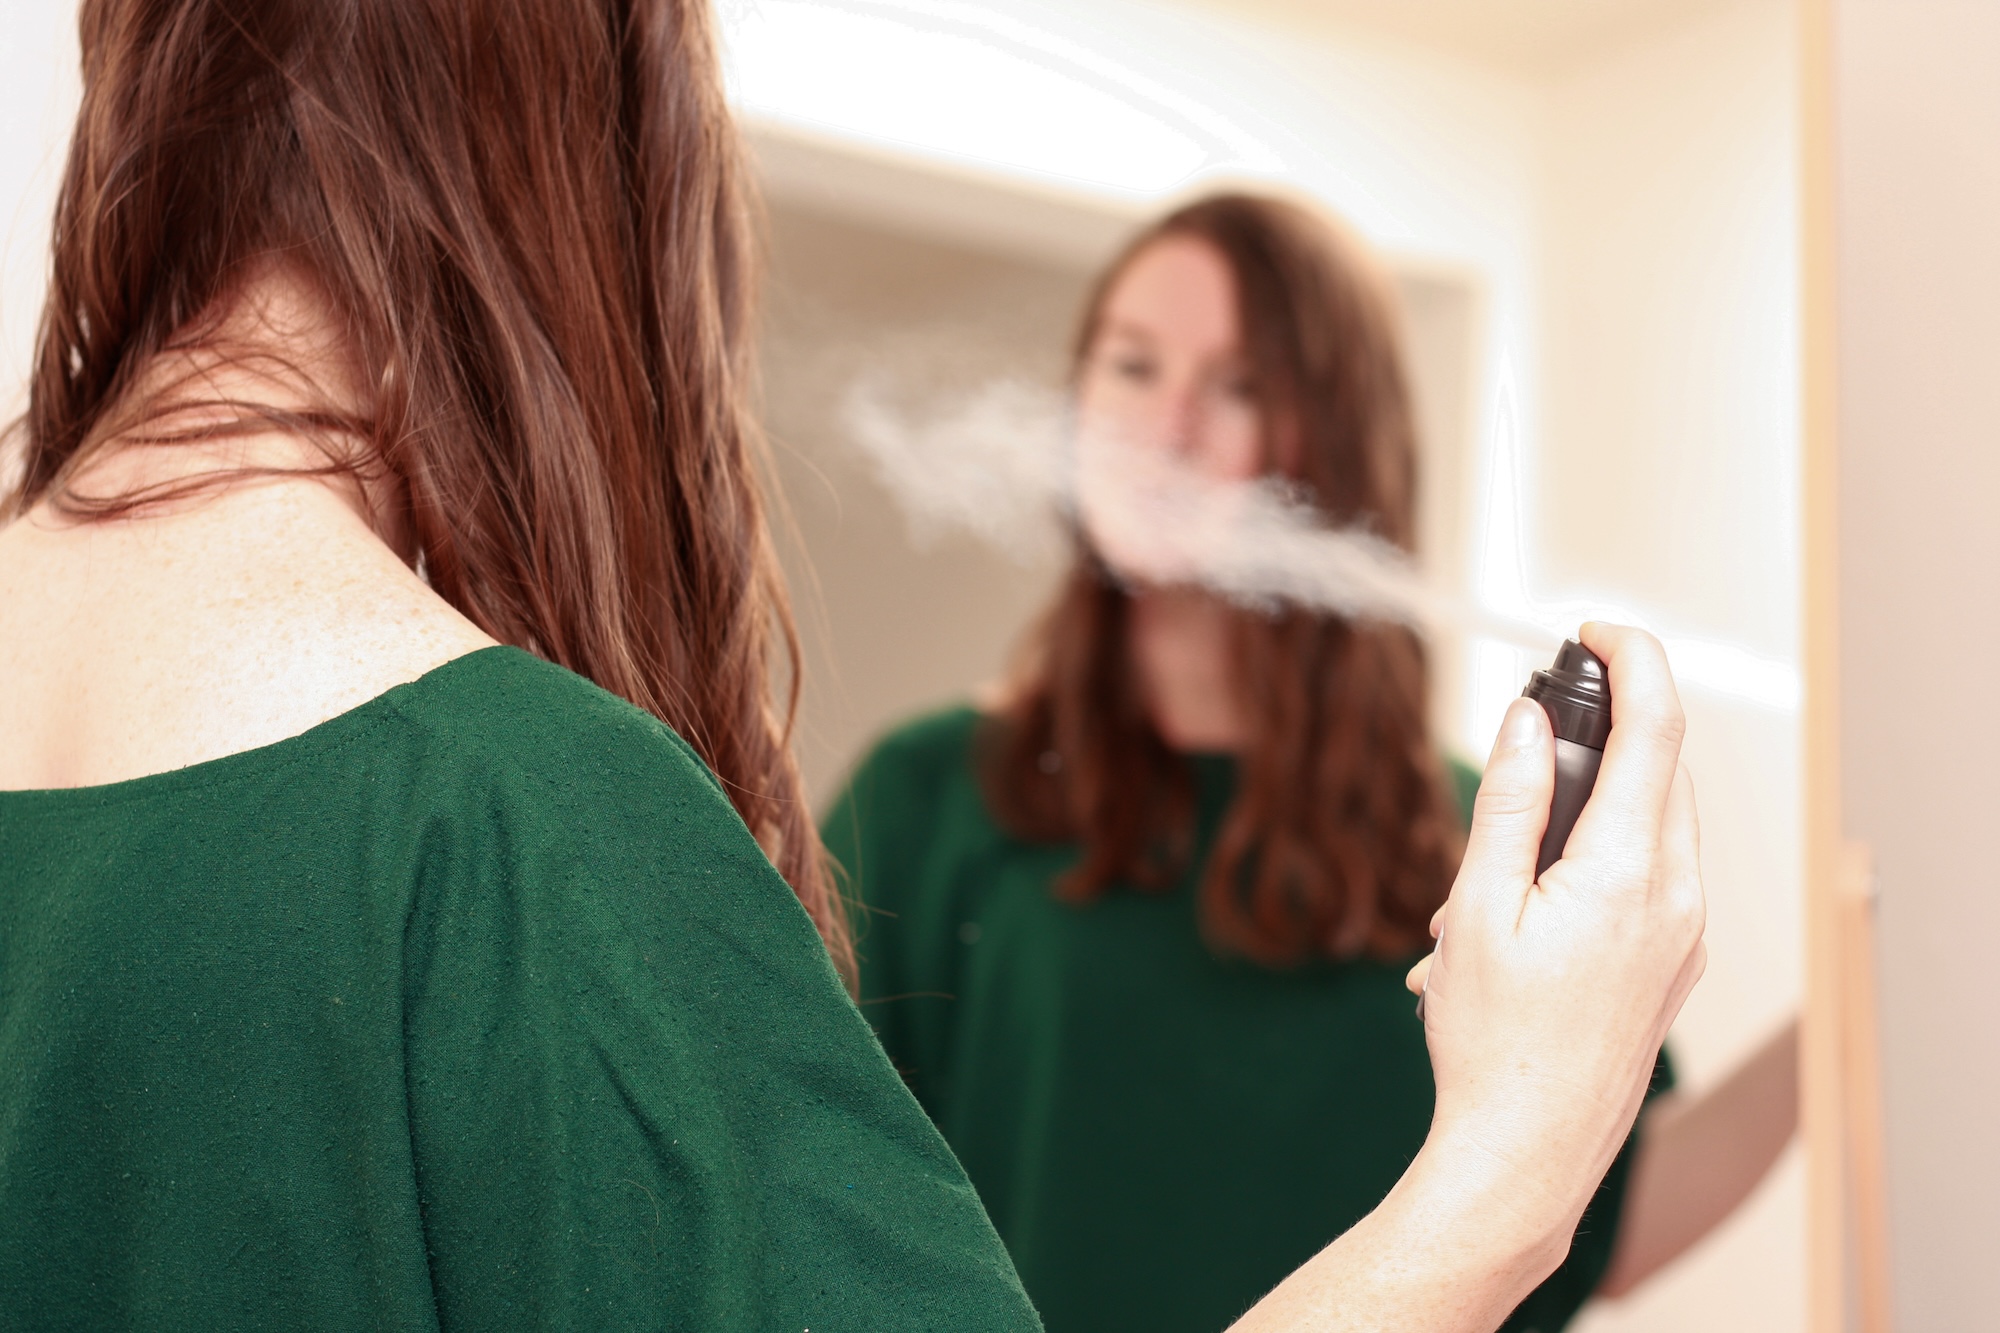
I begin just about every trip with my hair styled this way. I shower as close as I can to our departure, washing really well with a clarifying shampoo if I don’t expect to have the opportunity to wash it for a couple of days, and either blow dry or air dry my hair.
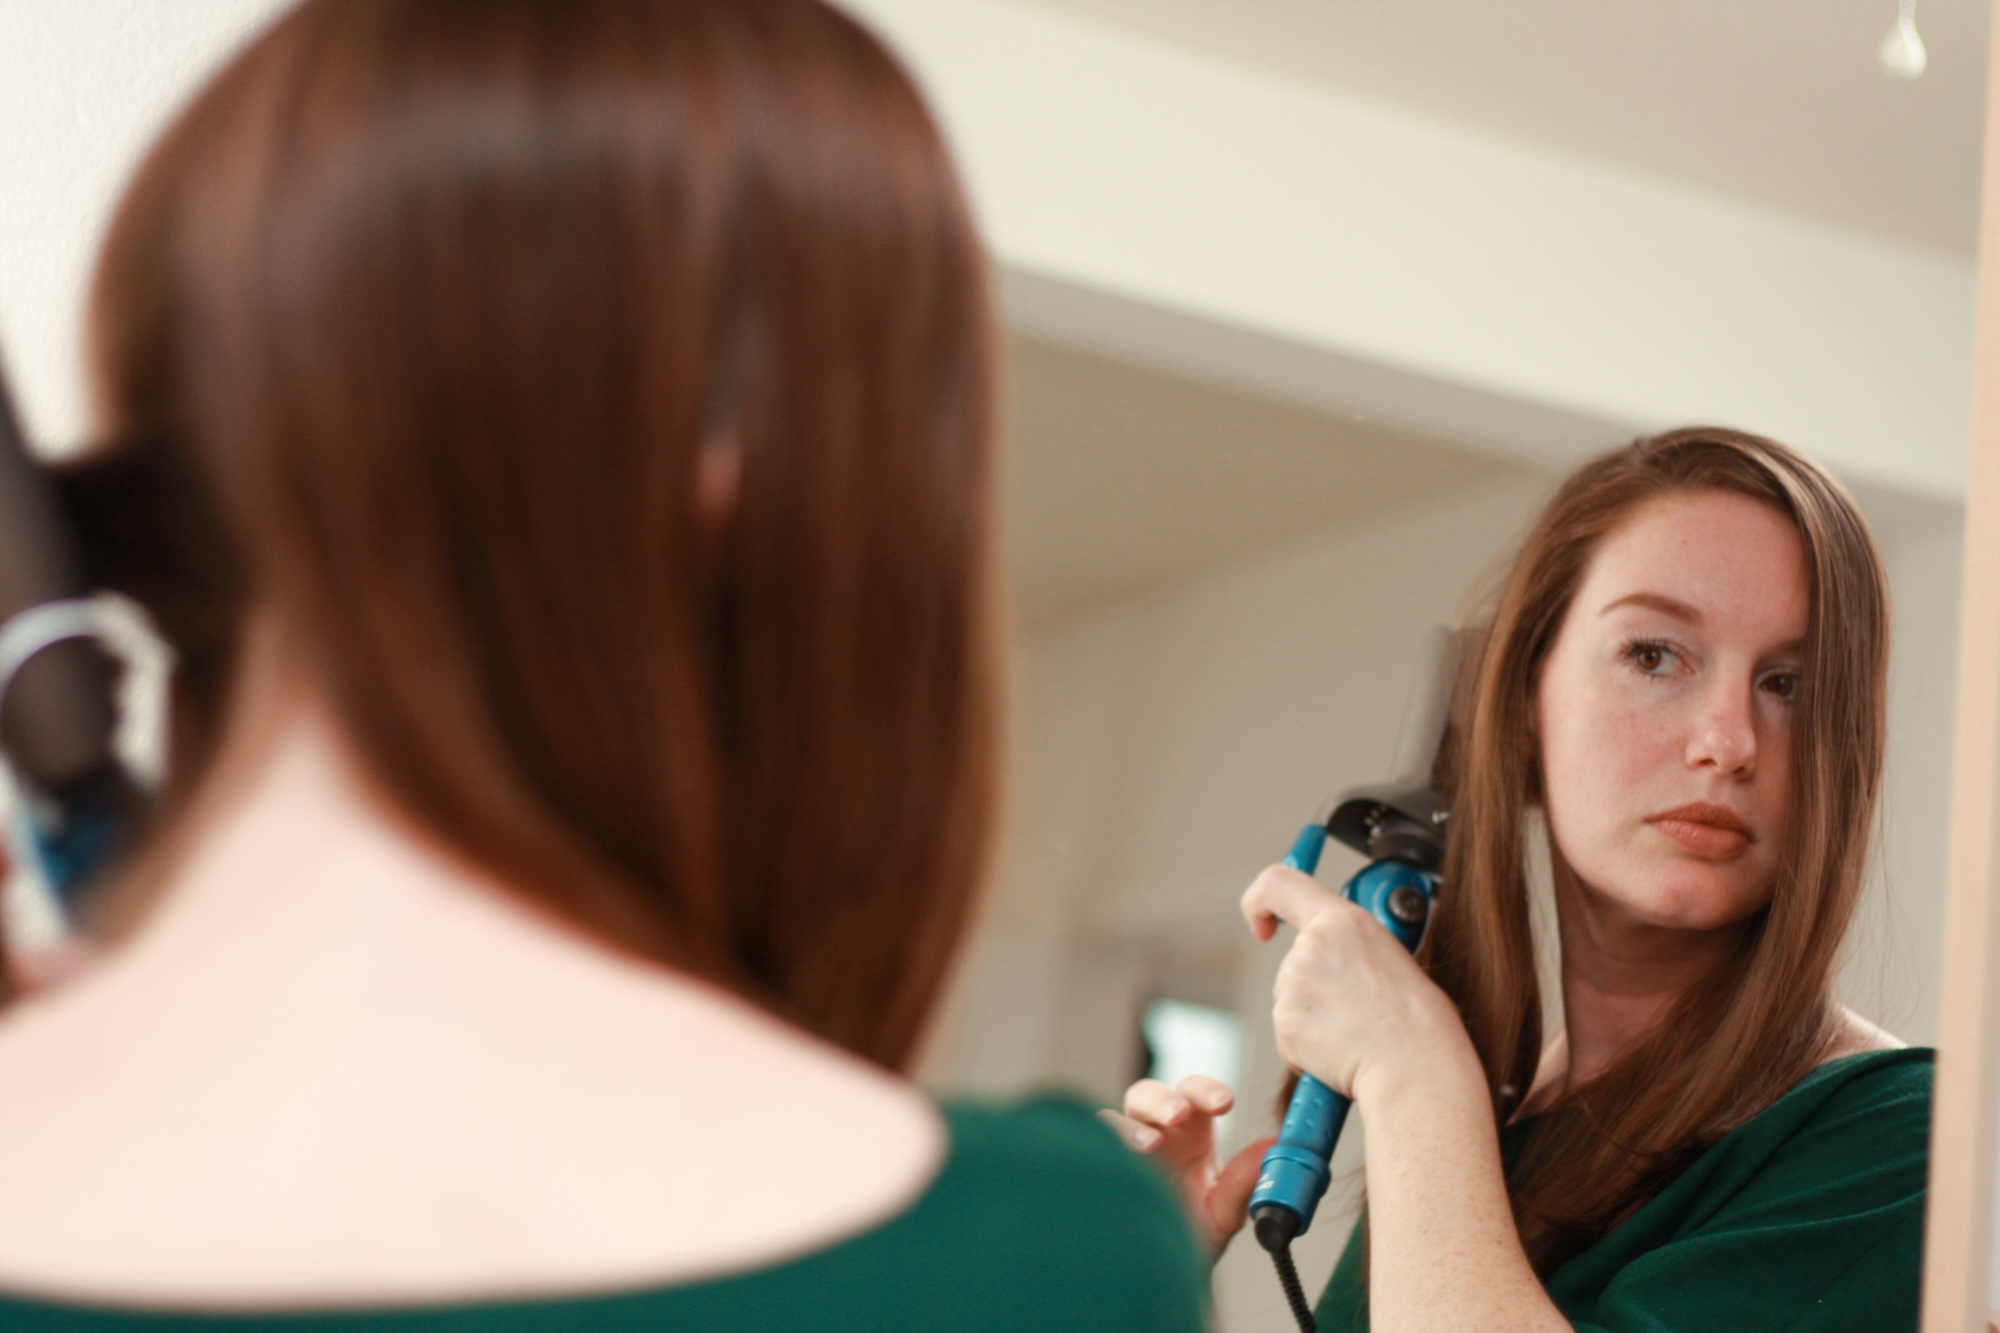
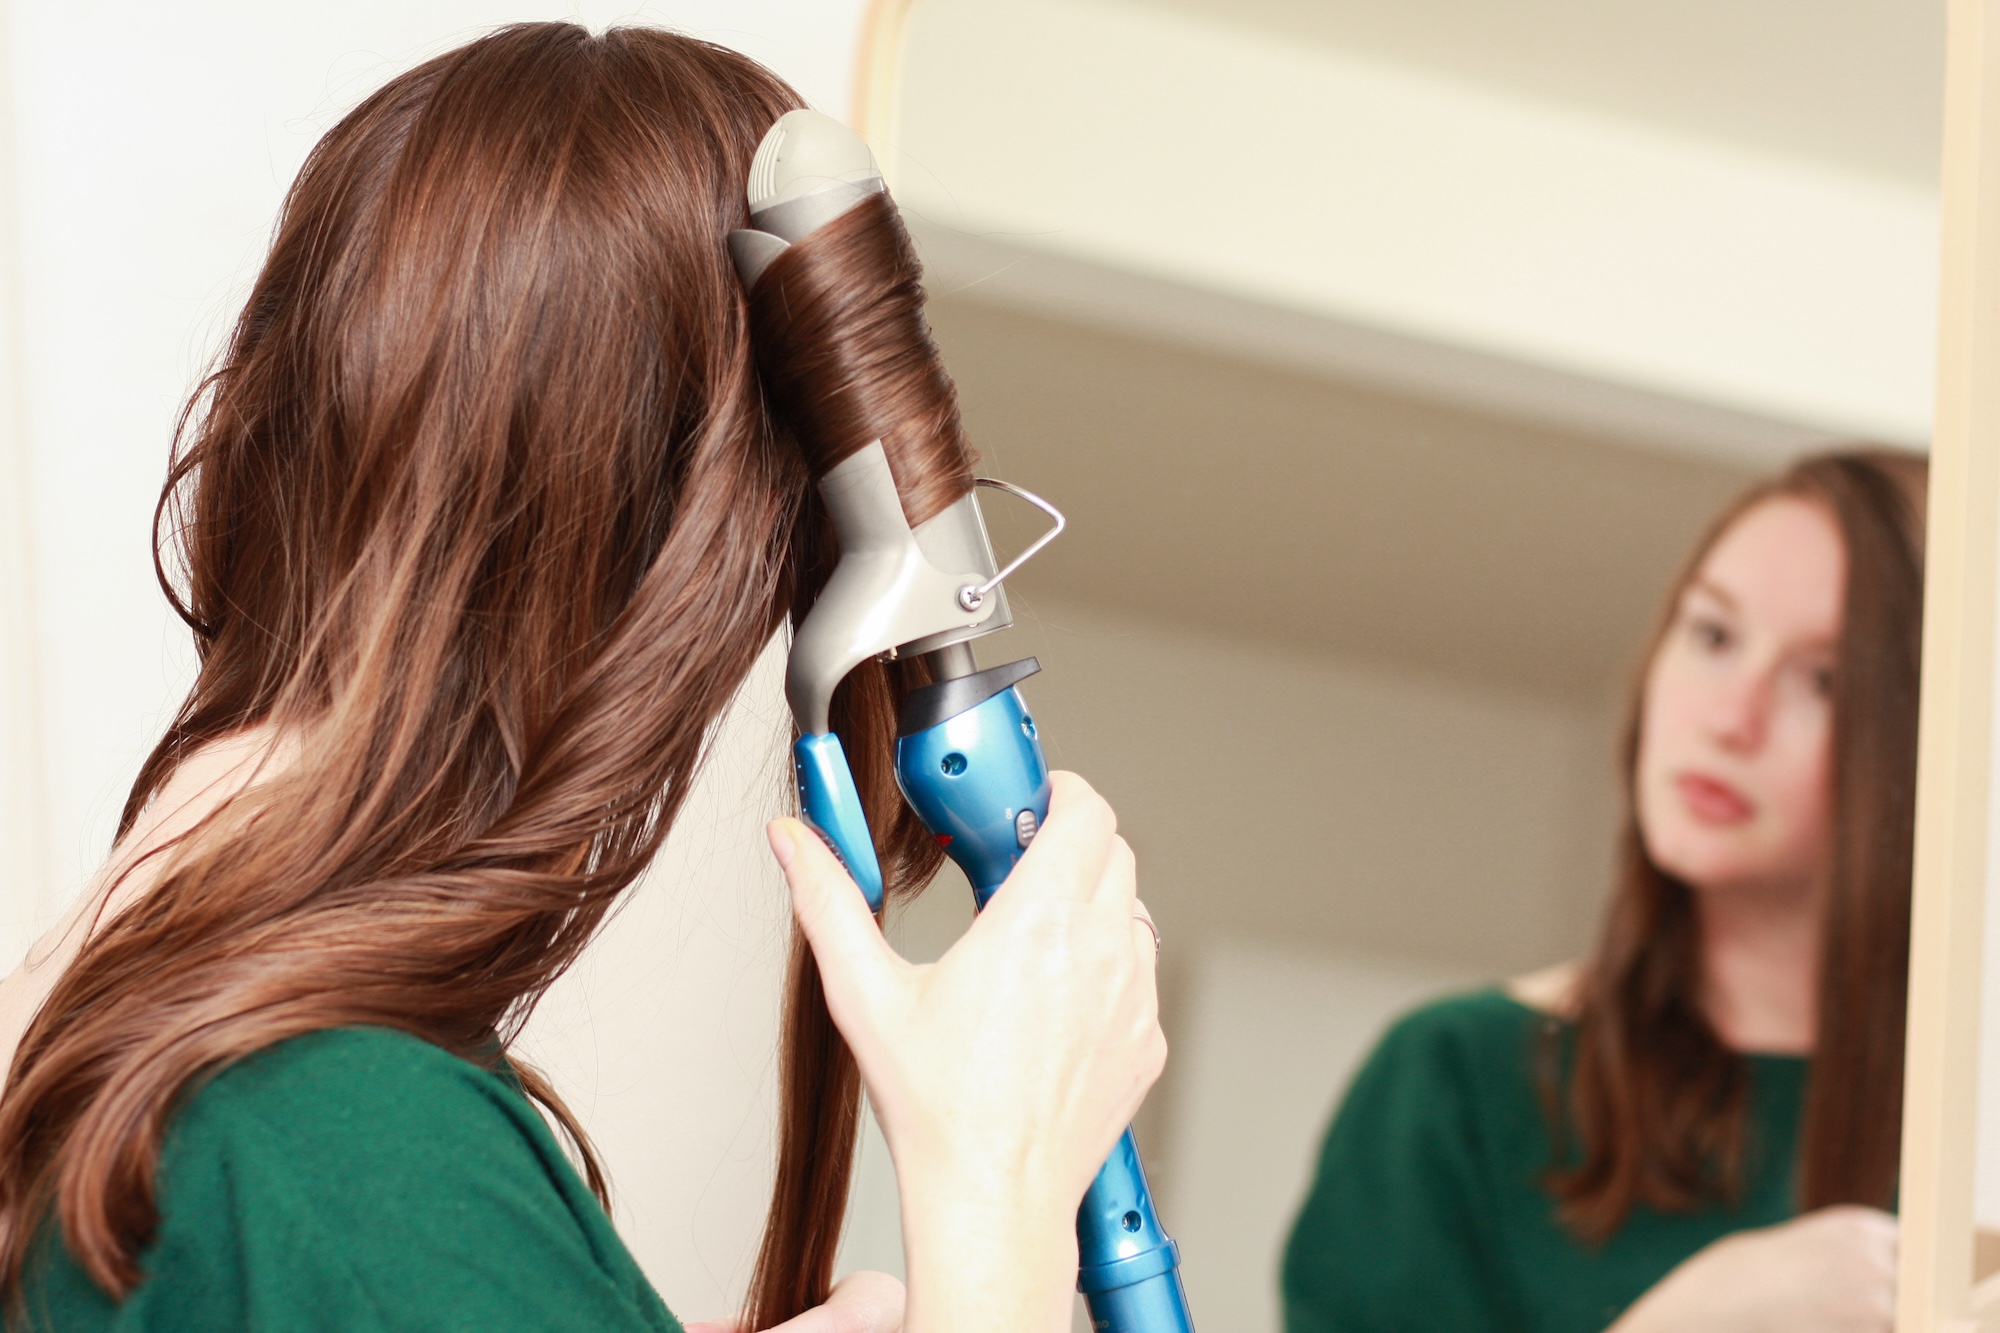
Once it’s dry, I curl it with a traditional curling iron, holding it vertically and avoiding my scalp and ends to curl 1-inch sections of hair at a time, working back to front (the barrel size I use depends on the length of my hair – right now I’m using a 1-1/4″ barrel iron). I turn the barrel away from my face on all but a few curls, when I rotate the other way, which helps avoid that pageant-curl look. I then let the curls cool completely before spritzing them with a little sea salt spray and/or texture spray.
Afterward, I break up the curls a tad by running my fingers through them and adding a little shine oil. At first, the curls feel a little much, but they eventually settle down. By the second, third, or, um, fourth day (with the help of some dry shampoo and lifting powder), my hair just has a gentle bend and a lot more movement than if it was left straight. Here’s how I achieve that style:

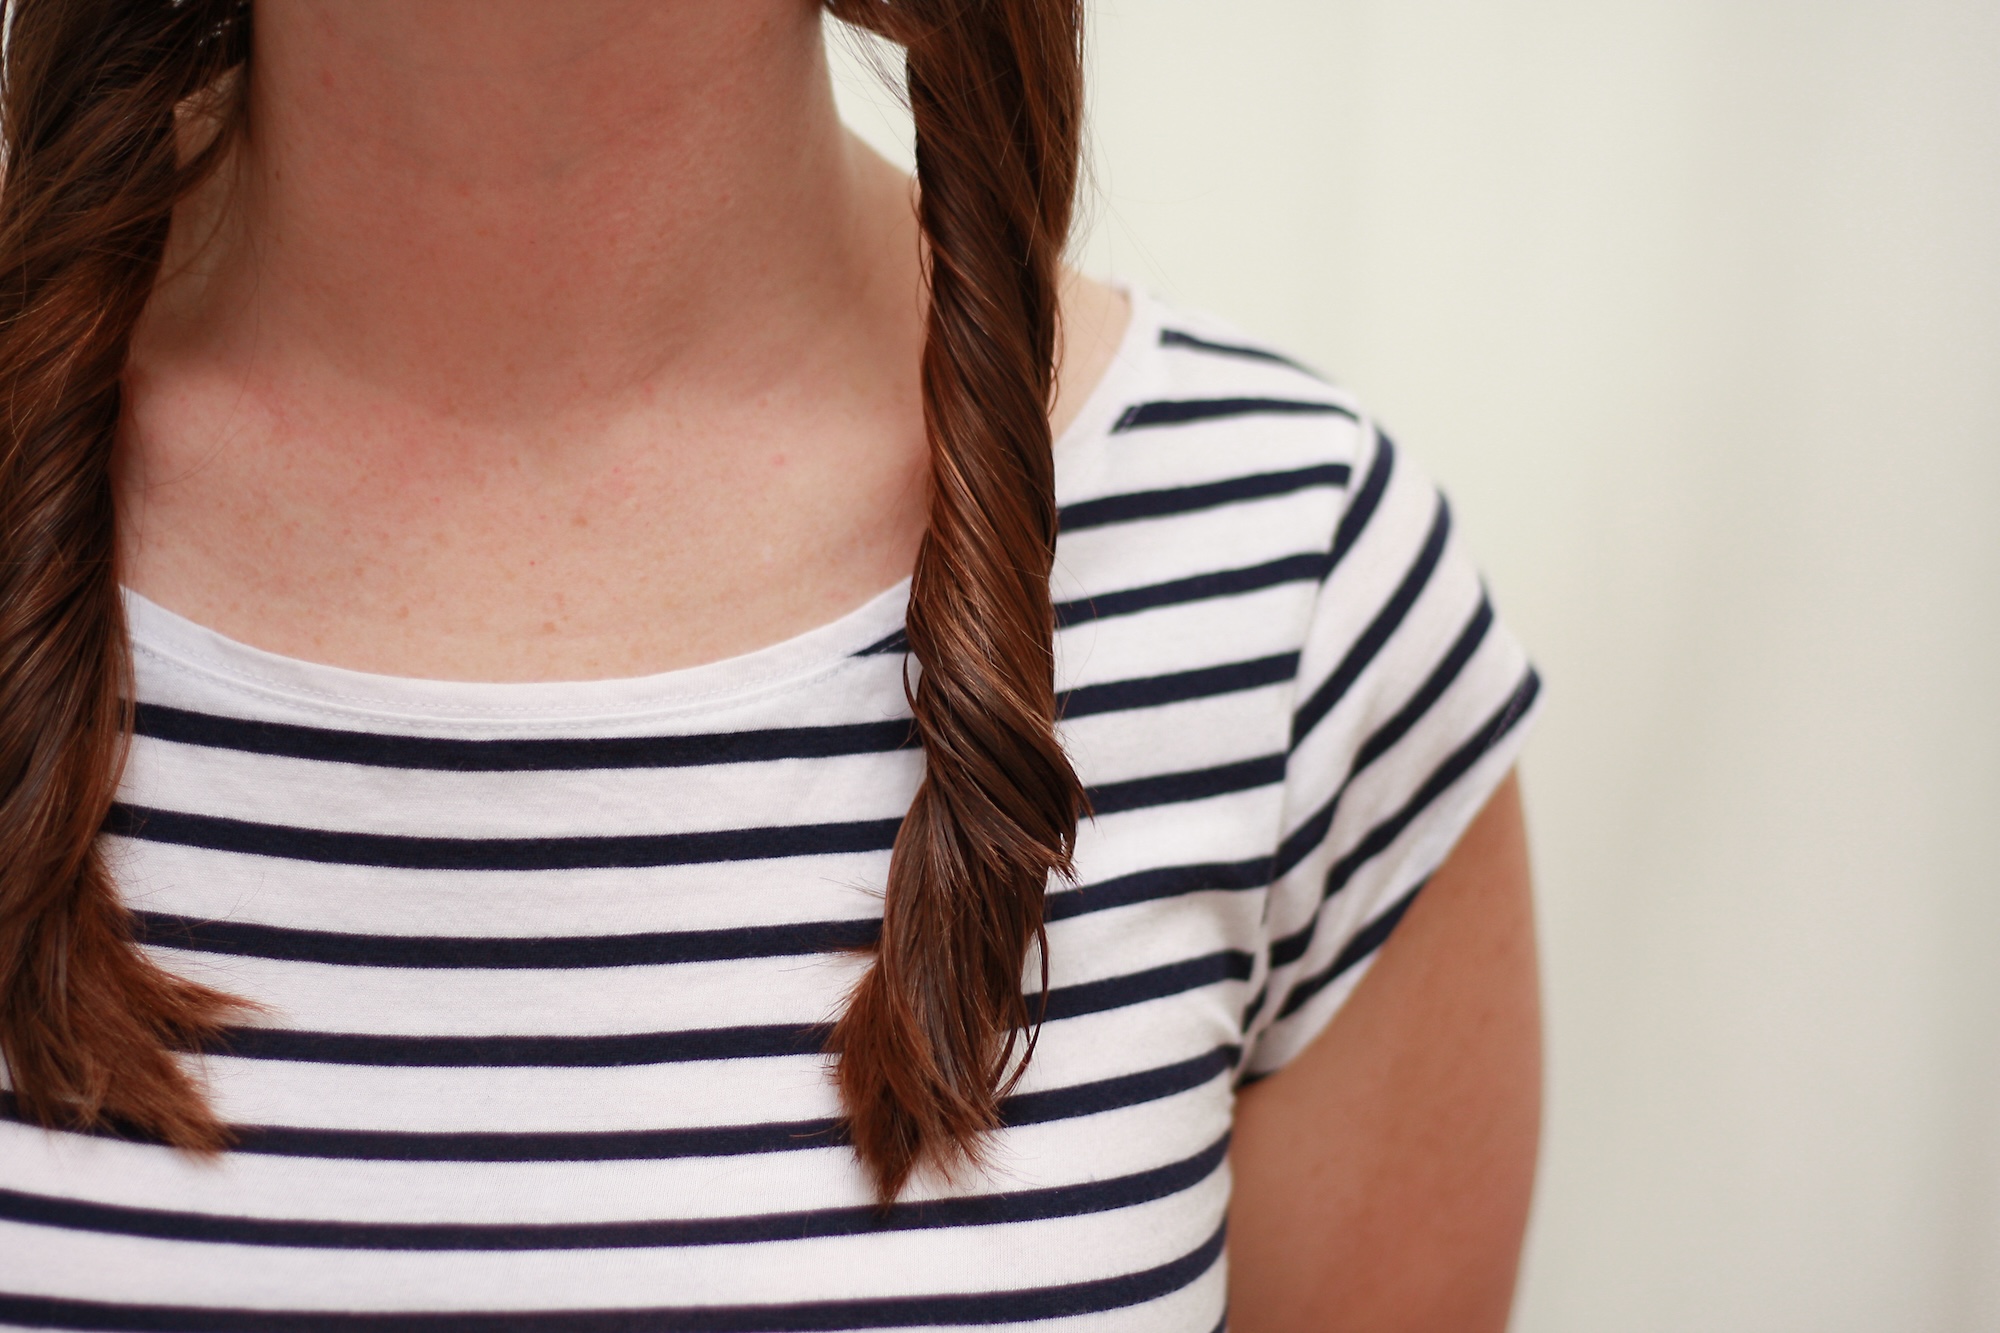
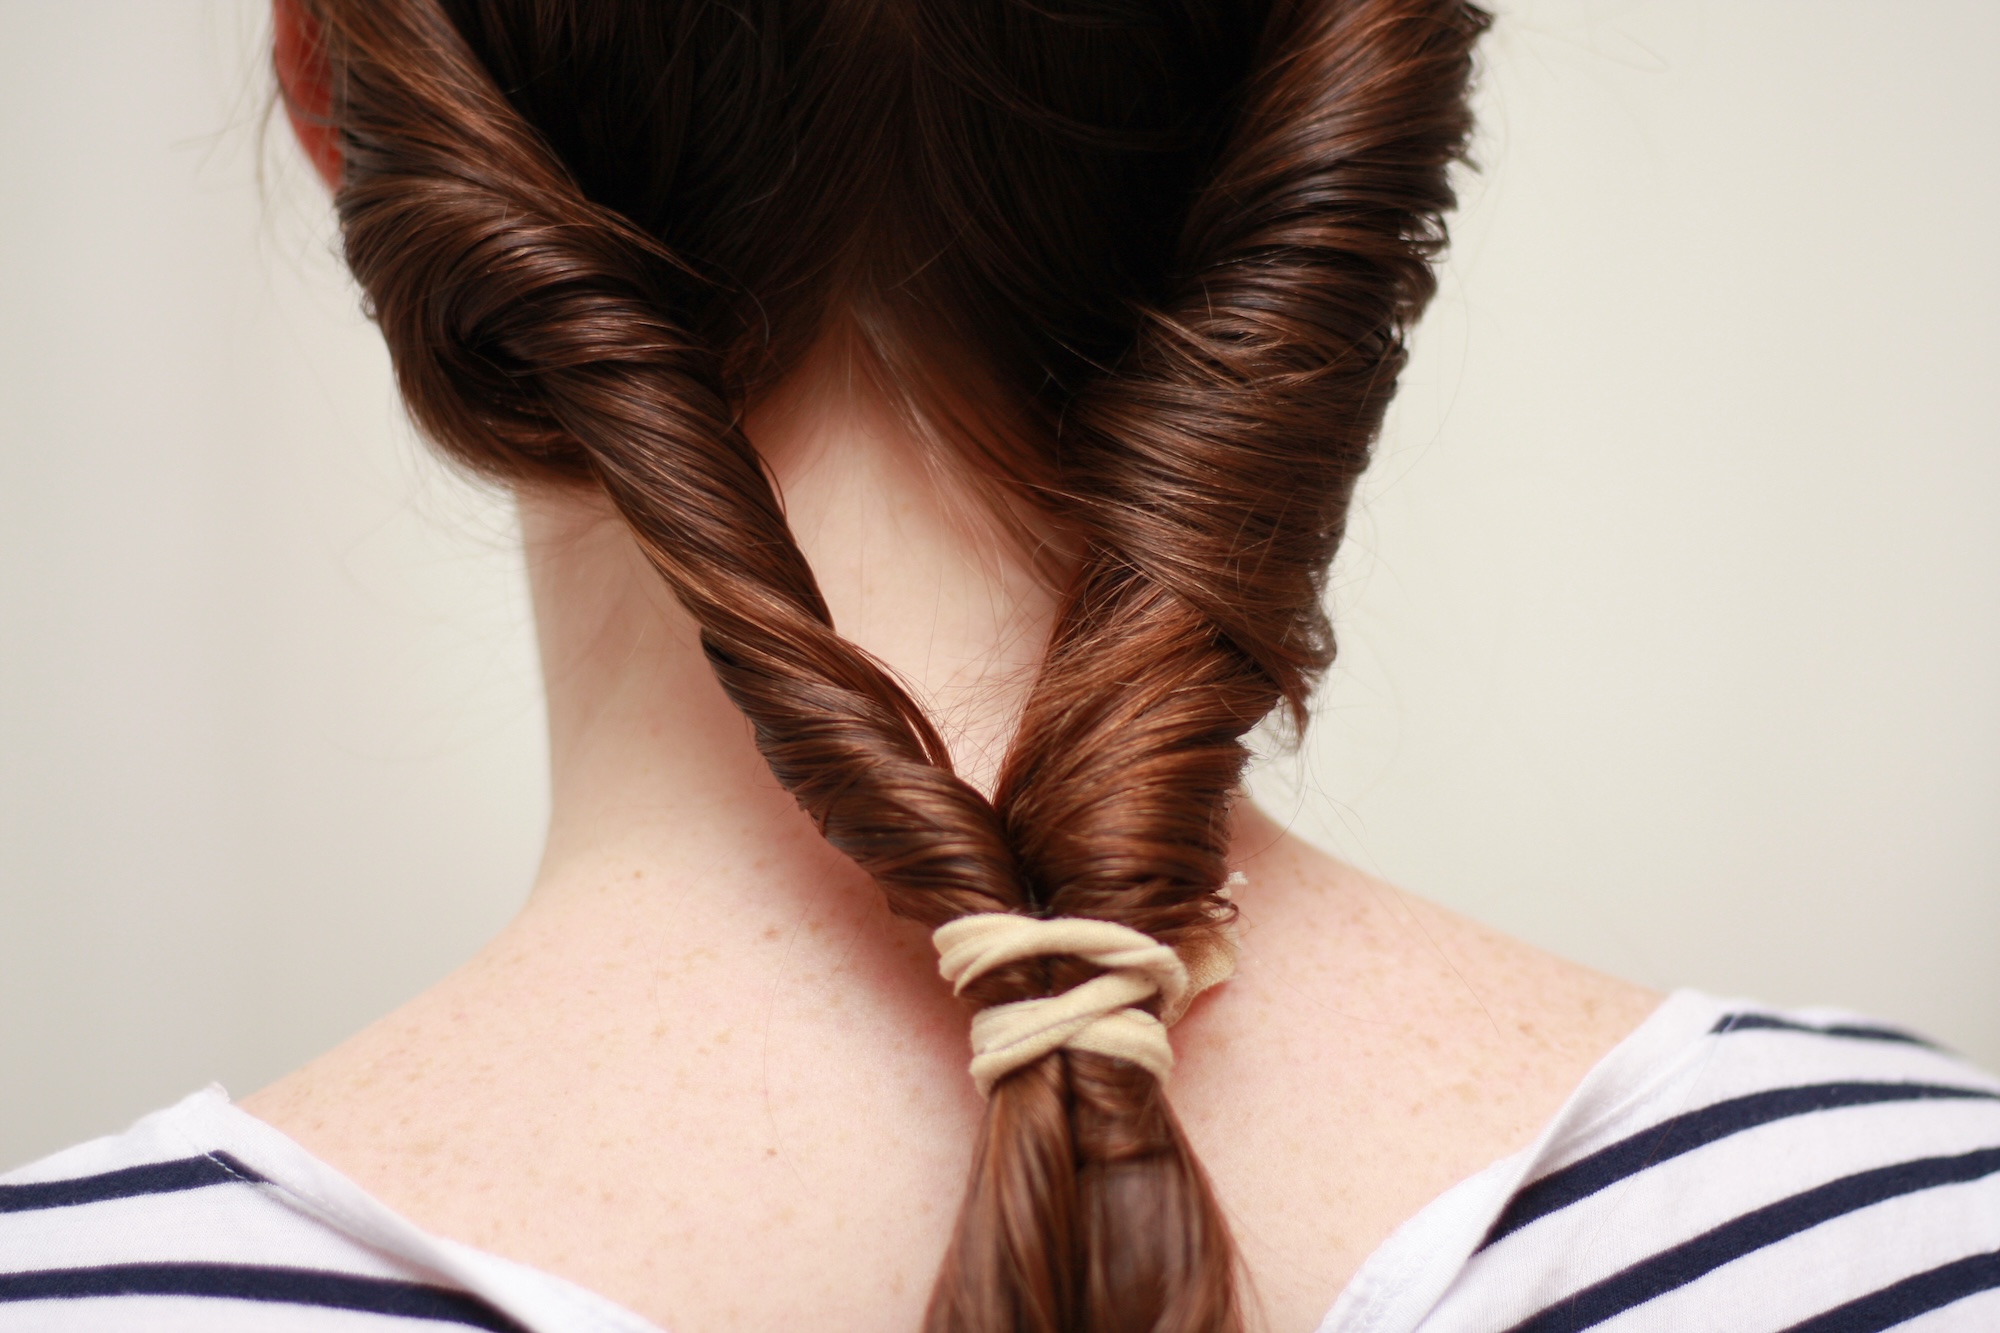
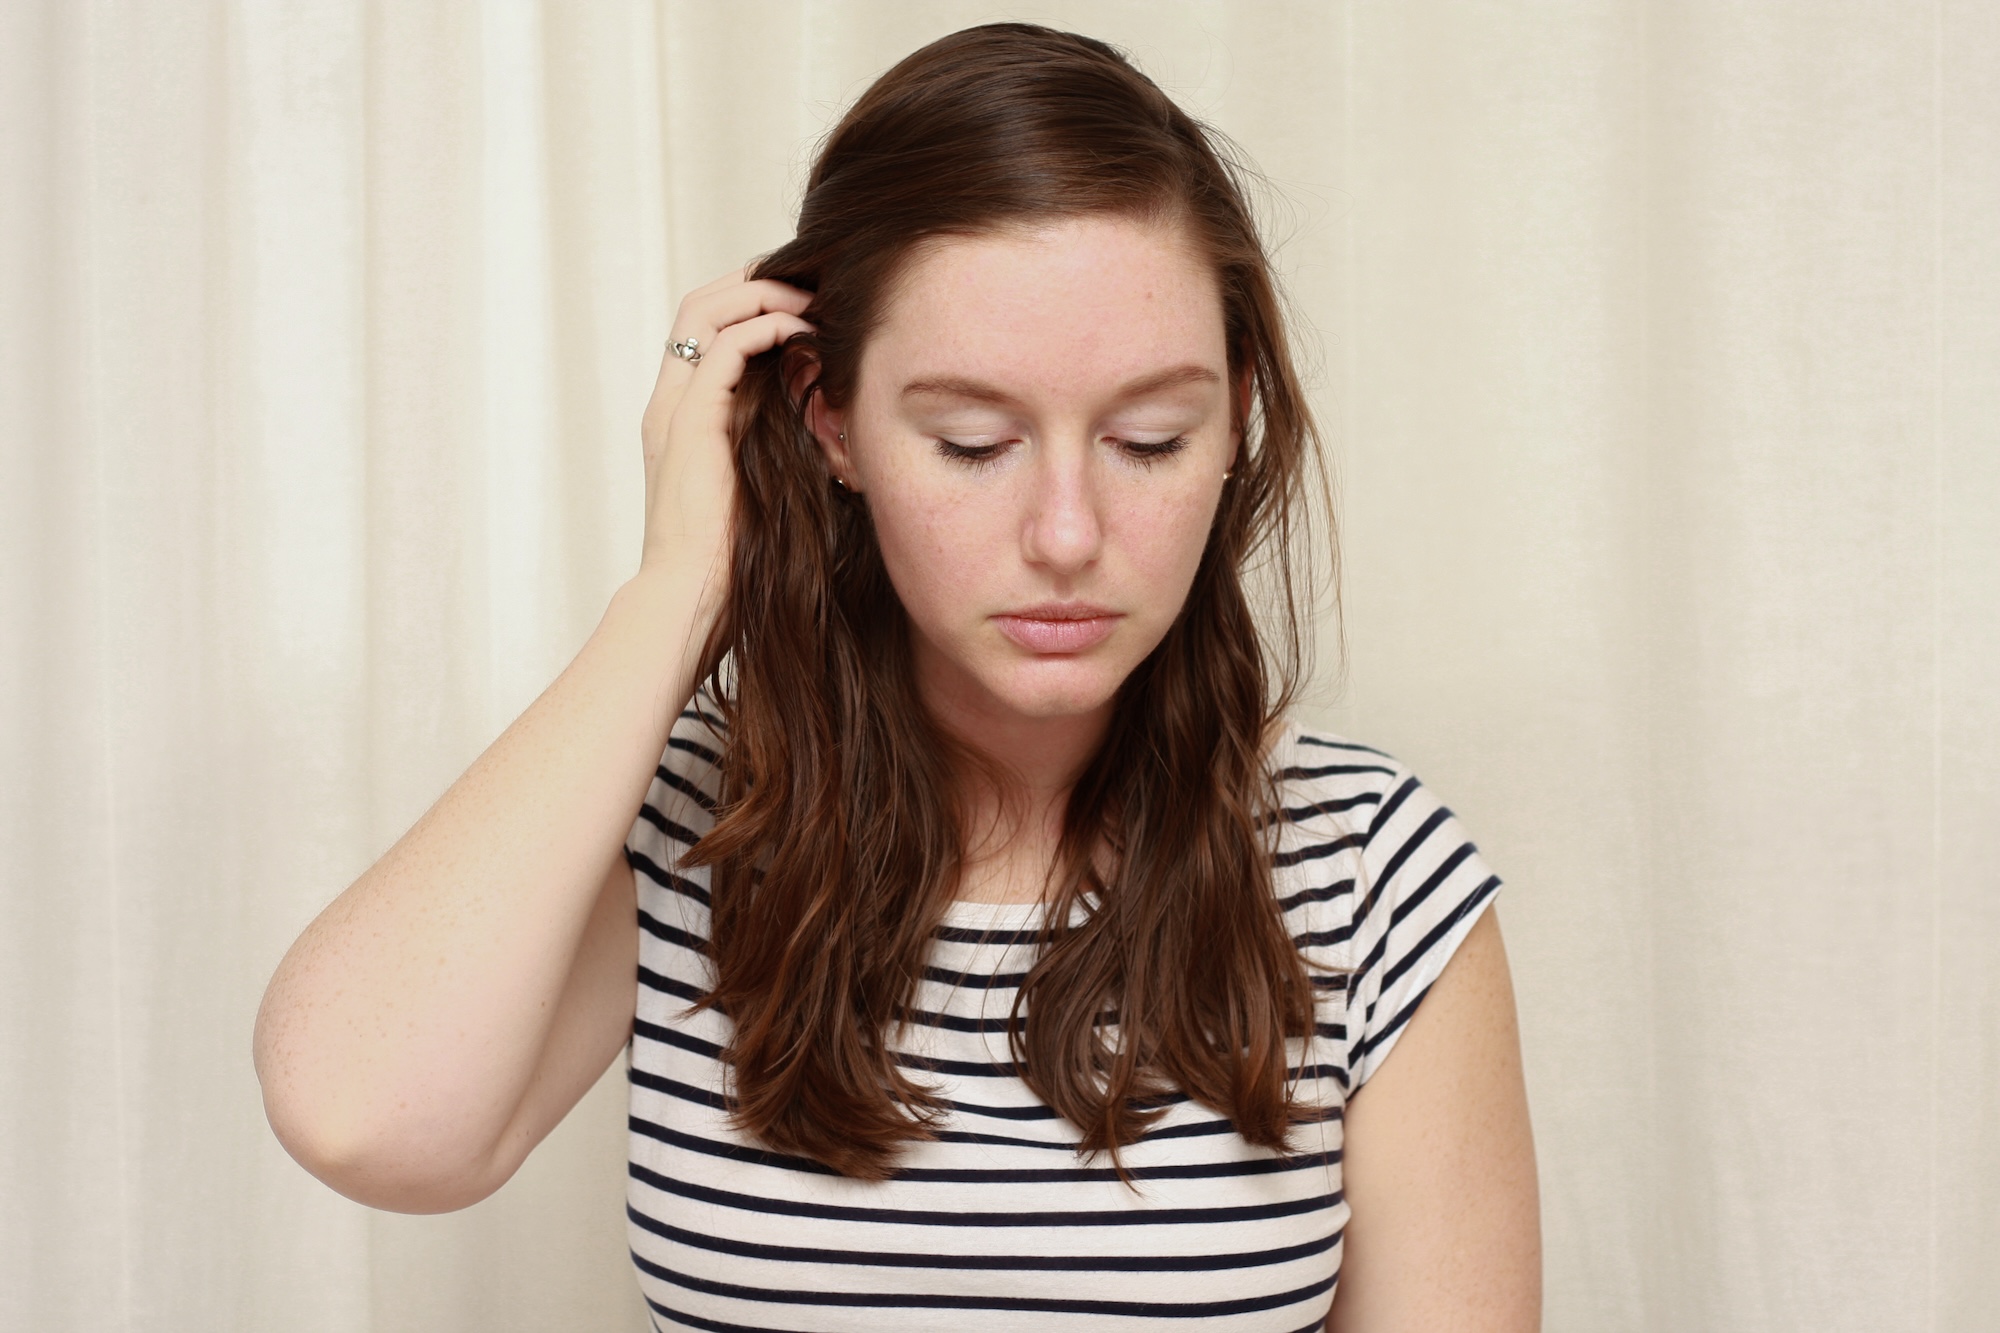
2. AIR-DRIED + TWISTED
Heat-free, tool-free curls are a traveler's friend! I prefer the look of hair curled around a barrel, but this style is so great in a pinch.

It’s pretty safe to assume that a hotel will have a hairdryer for guests to use (if not in the room, then at least available for checkout from the front desk), but Airbnb is the Wild West of amenities. After a few instances of arriving at my Airbnb to find the promised blowdryer missing (I’ve been told more than once that oh gosh, the dryer was stolen by the guest right before me. Sure, Jan), I turn to heatless waves.
To create texture without the use of heat tools, I make sure to shower before the end of the evening to allow my hair to fully air-dry before the next morning. My hair has a naturally irregular wave to it, so I tend to coax it into play while it dries. This can be done by scrunching it several times as it dries, but I prefer the more hands-off approach of gently twisting my hair away from my face and allowing it to set.
Many prefer a bun (and if that’s your go-to, go for it!), but I’m not a fan of how it only creates curls in one direction. Plus, I find it much more comfortable to sleep with my hair tied back this way than with a blob of a bun. Here’s how I get heat-free waves, step by step:

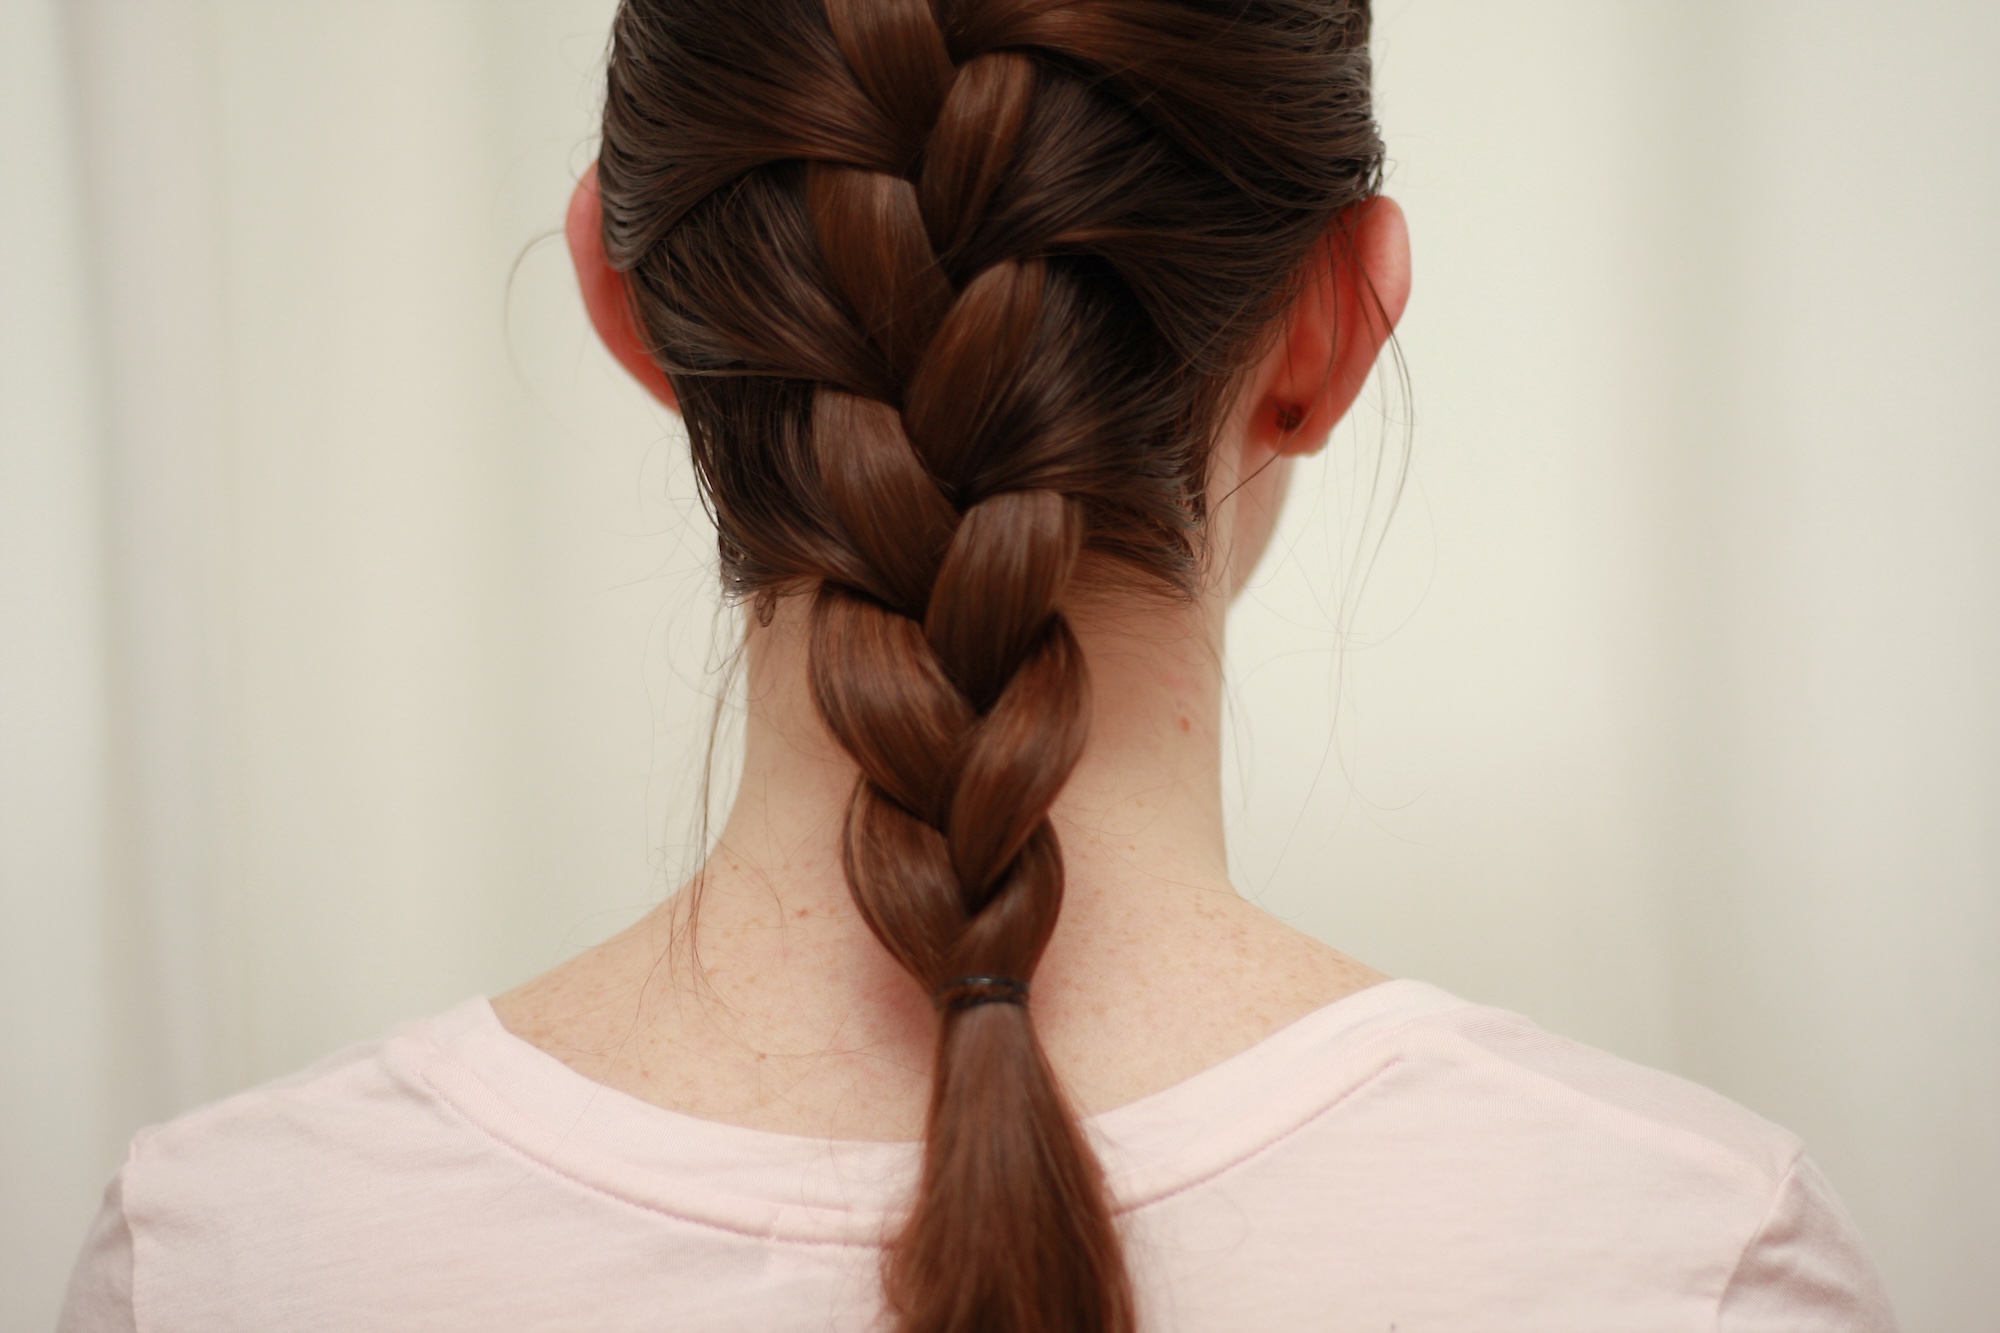
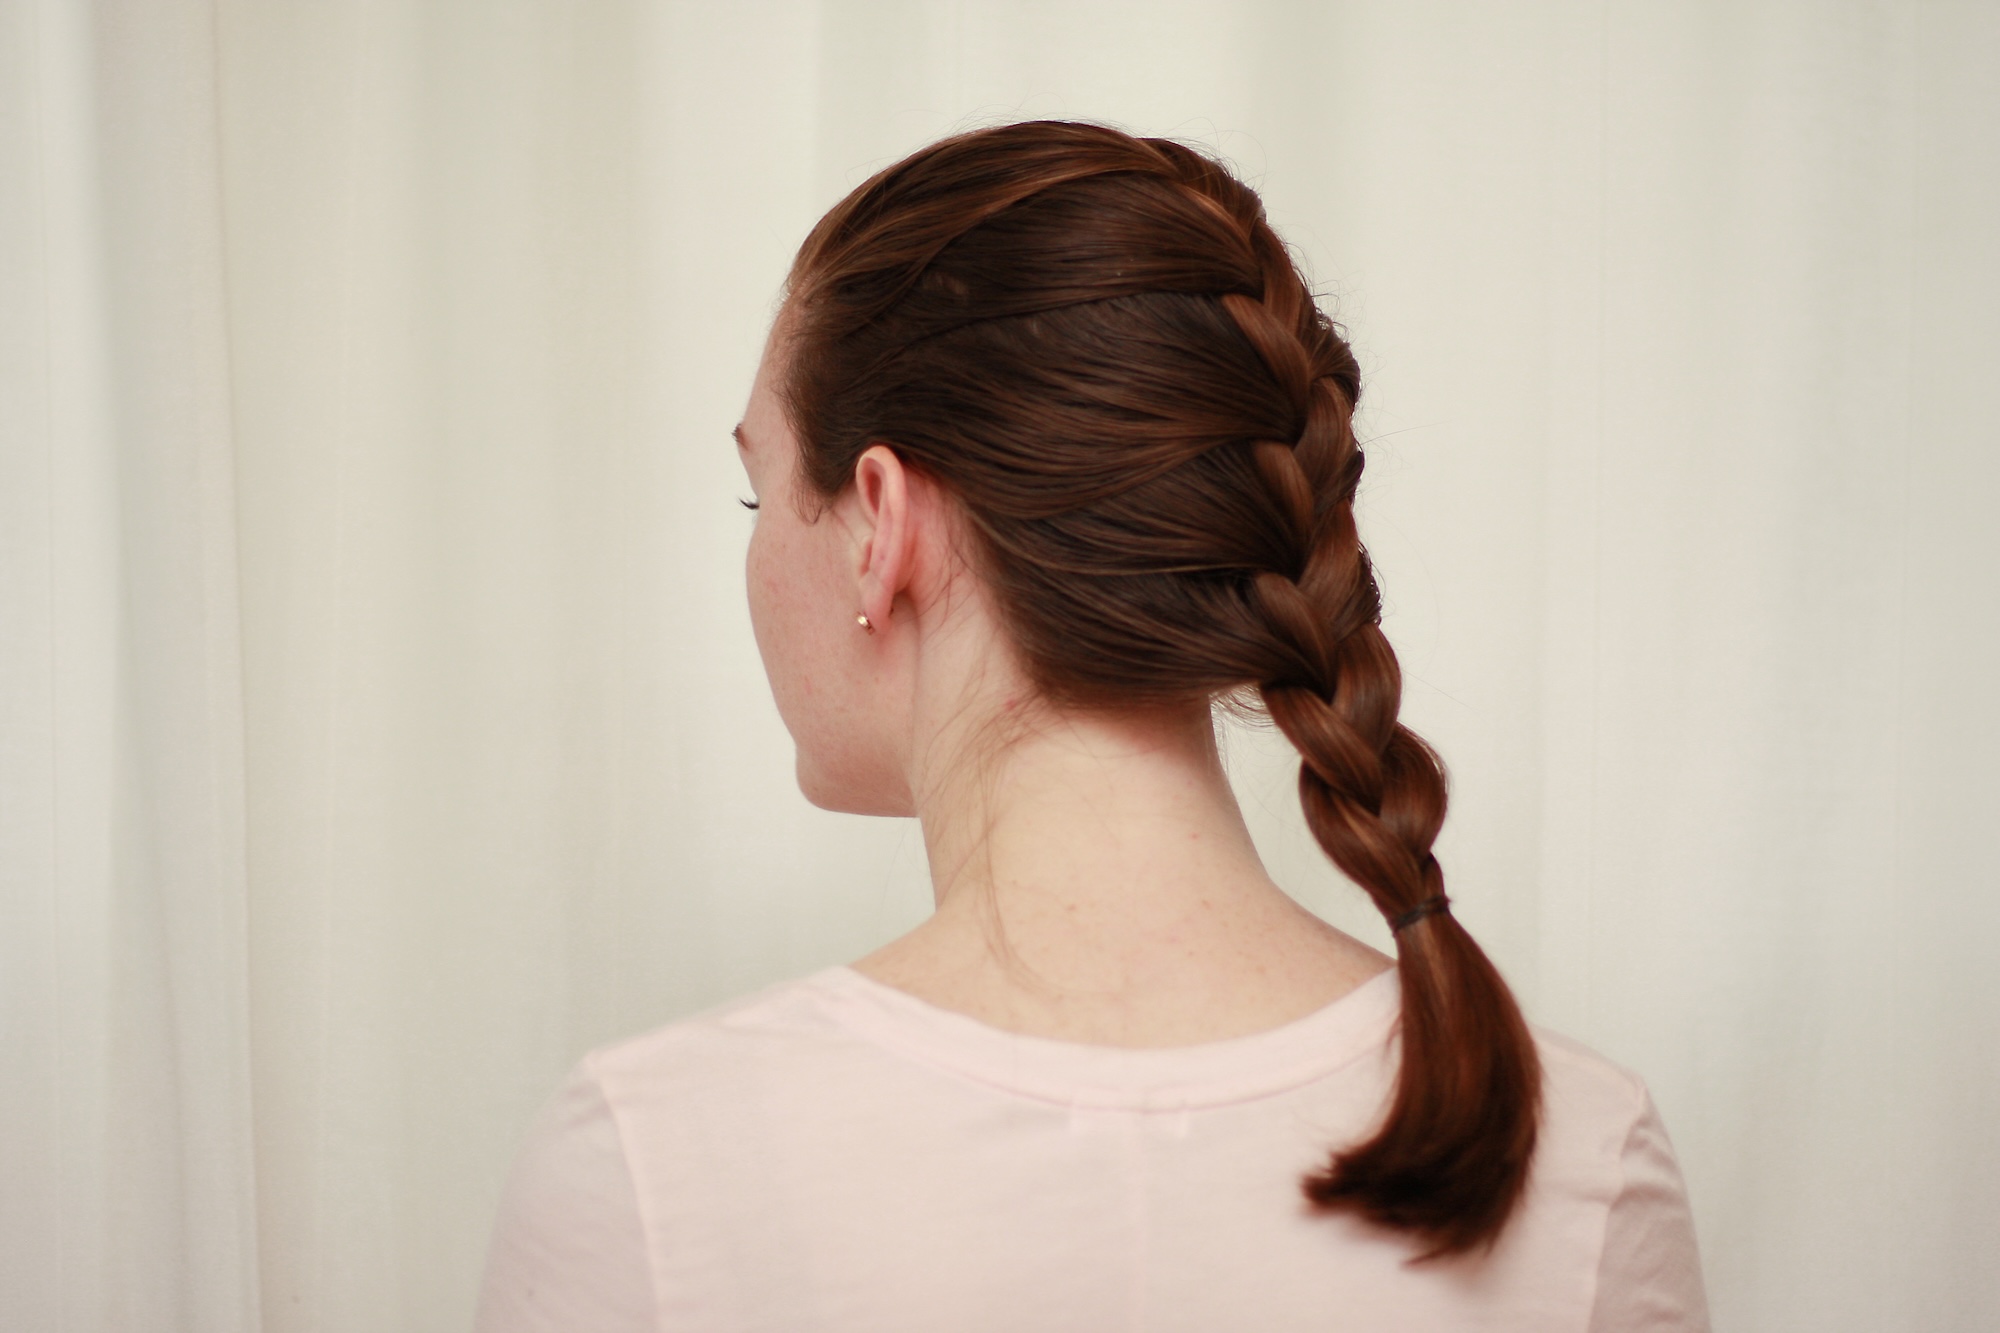
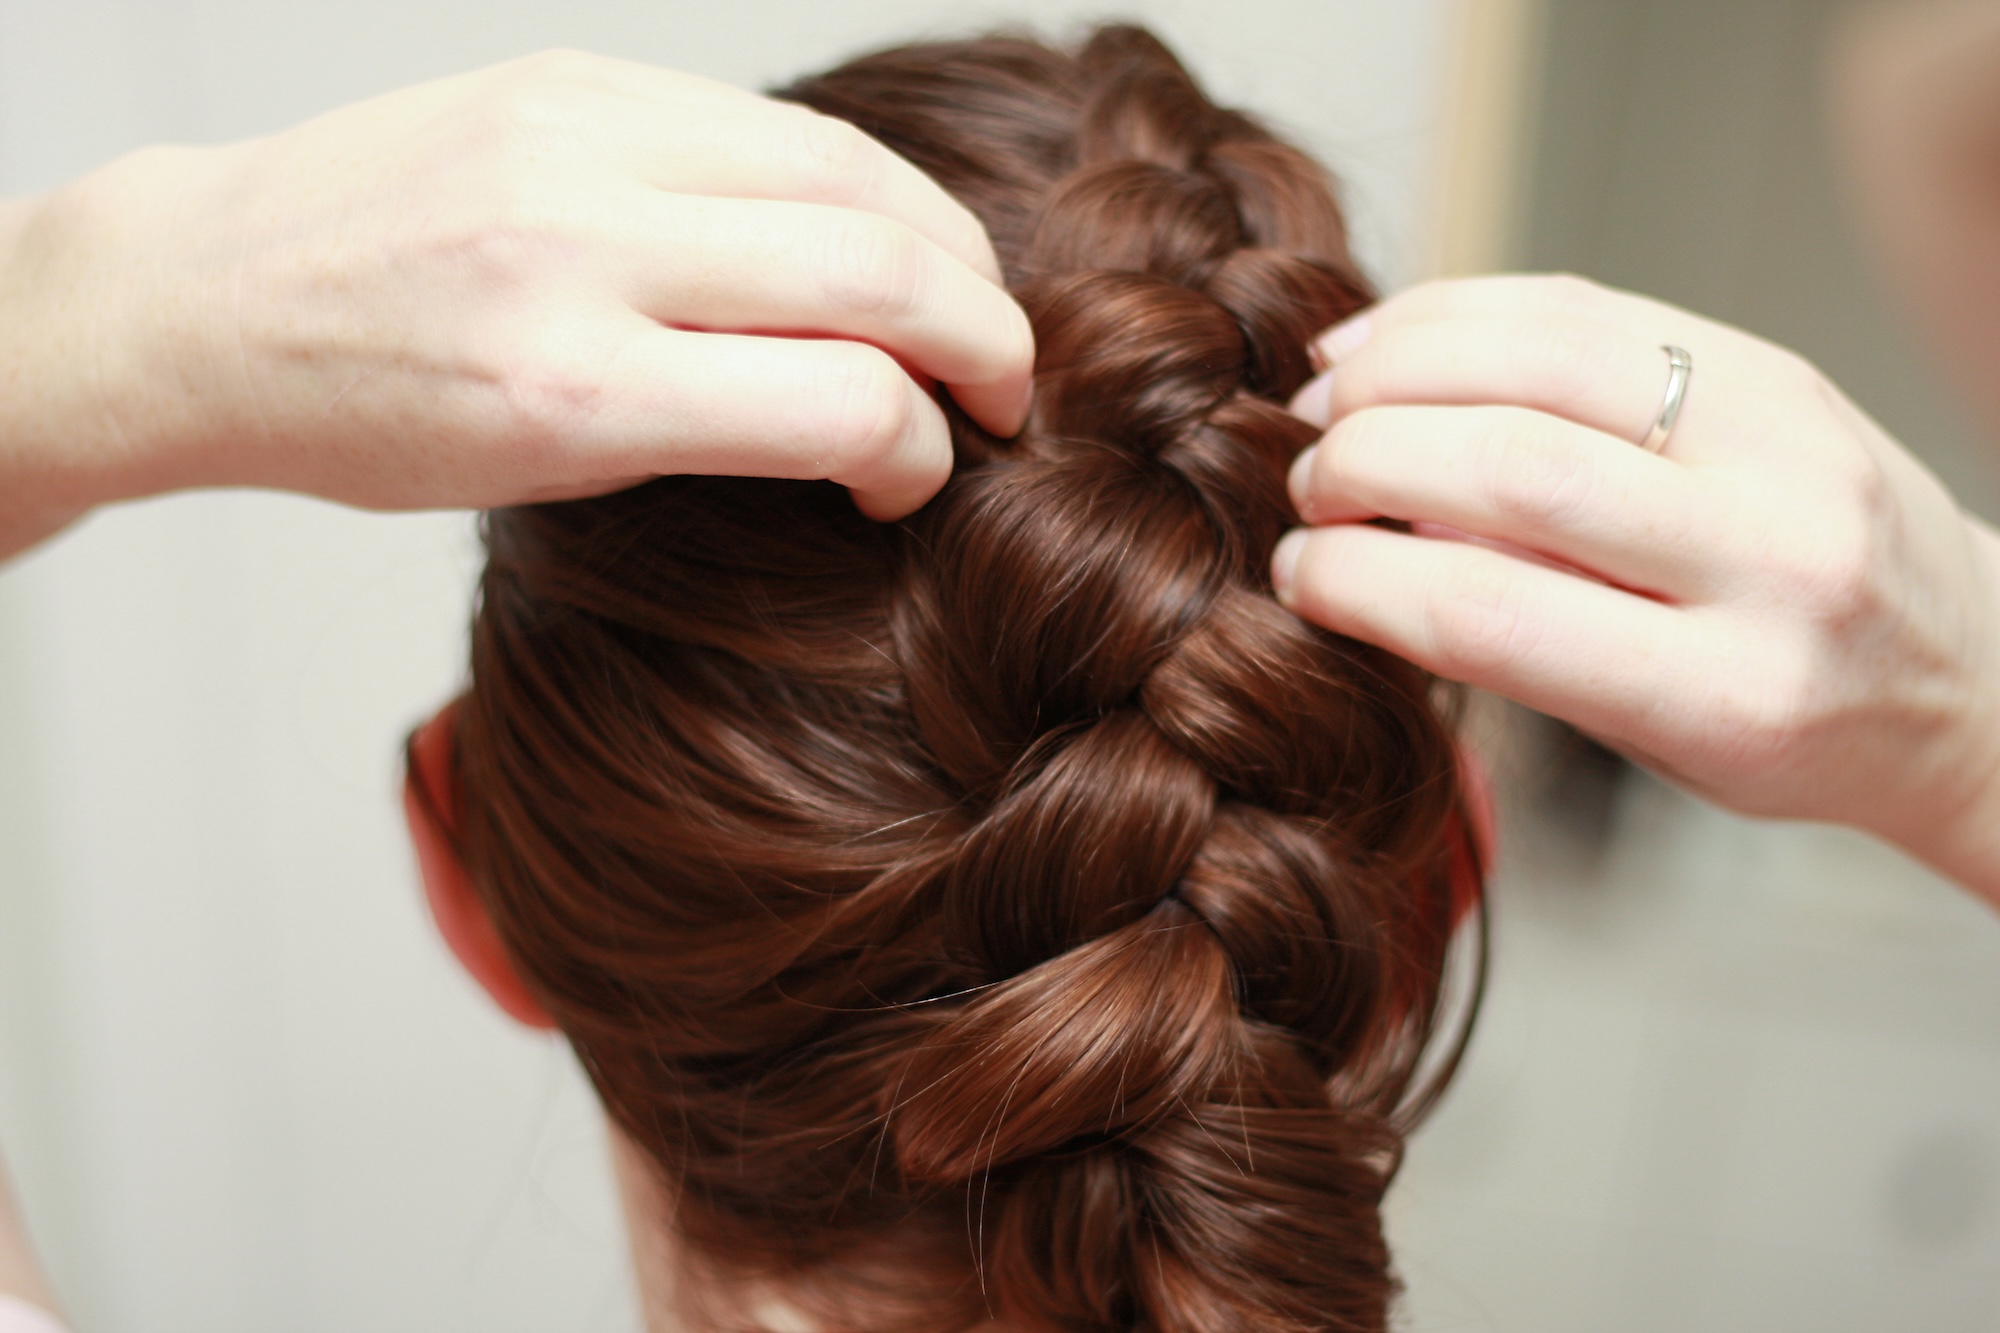
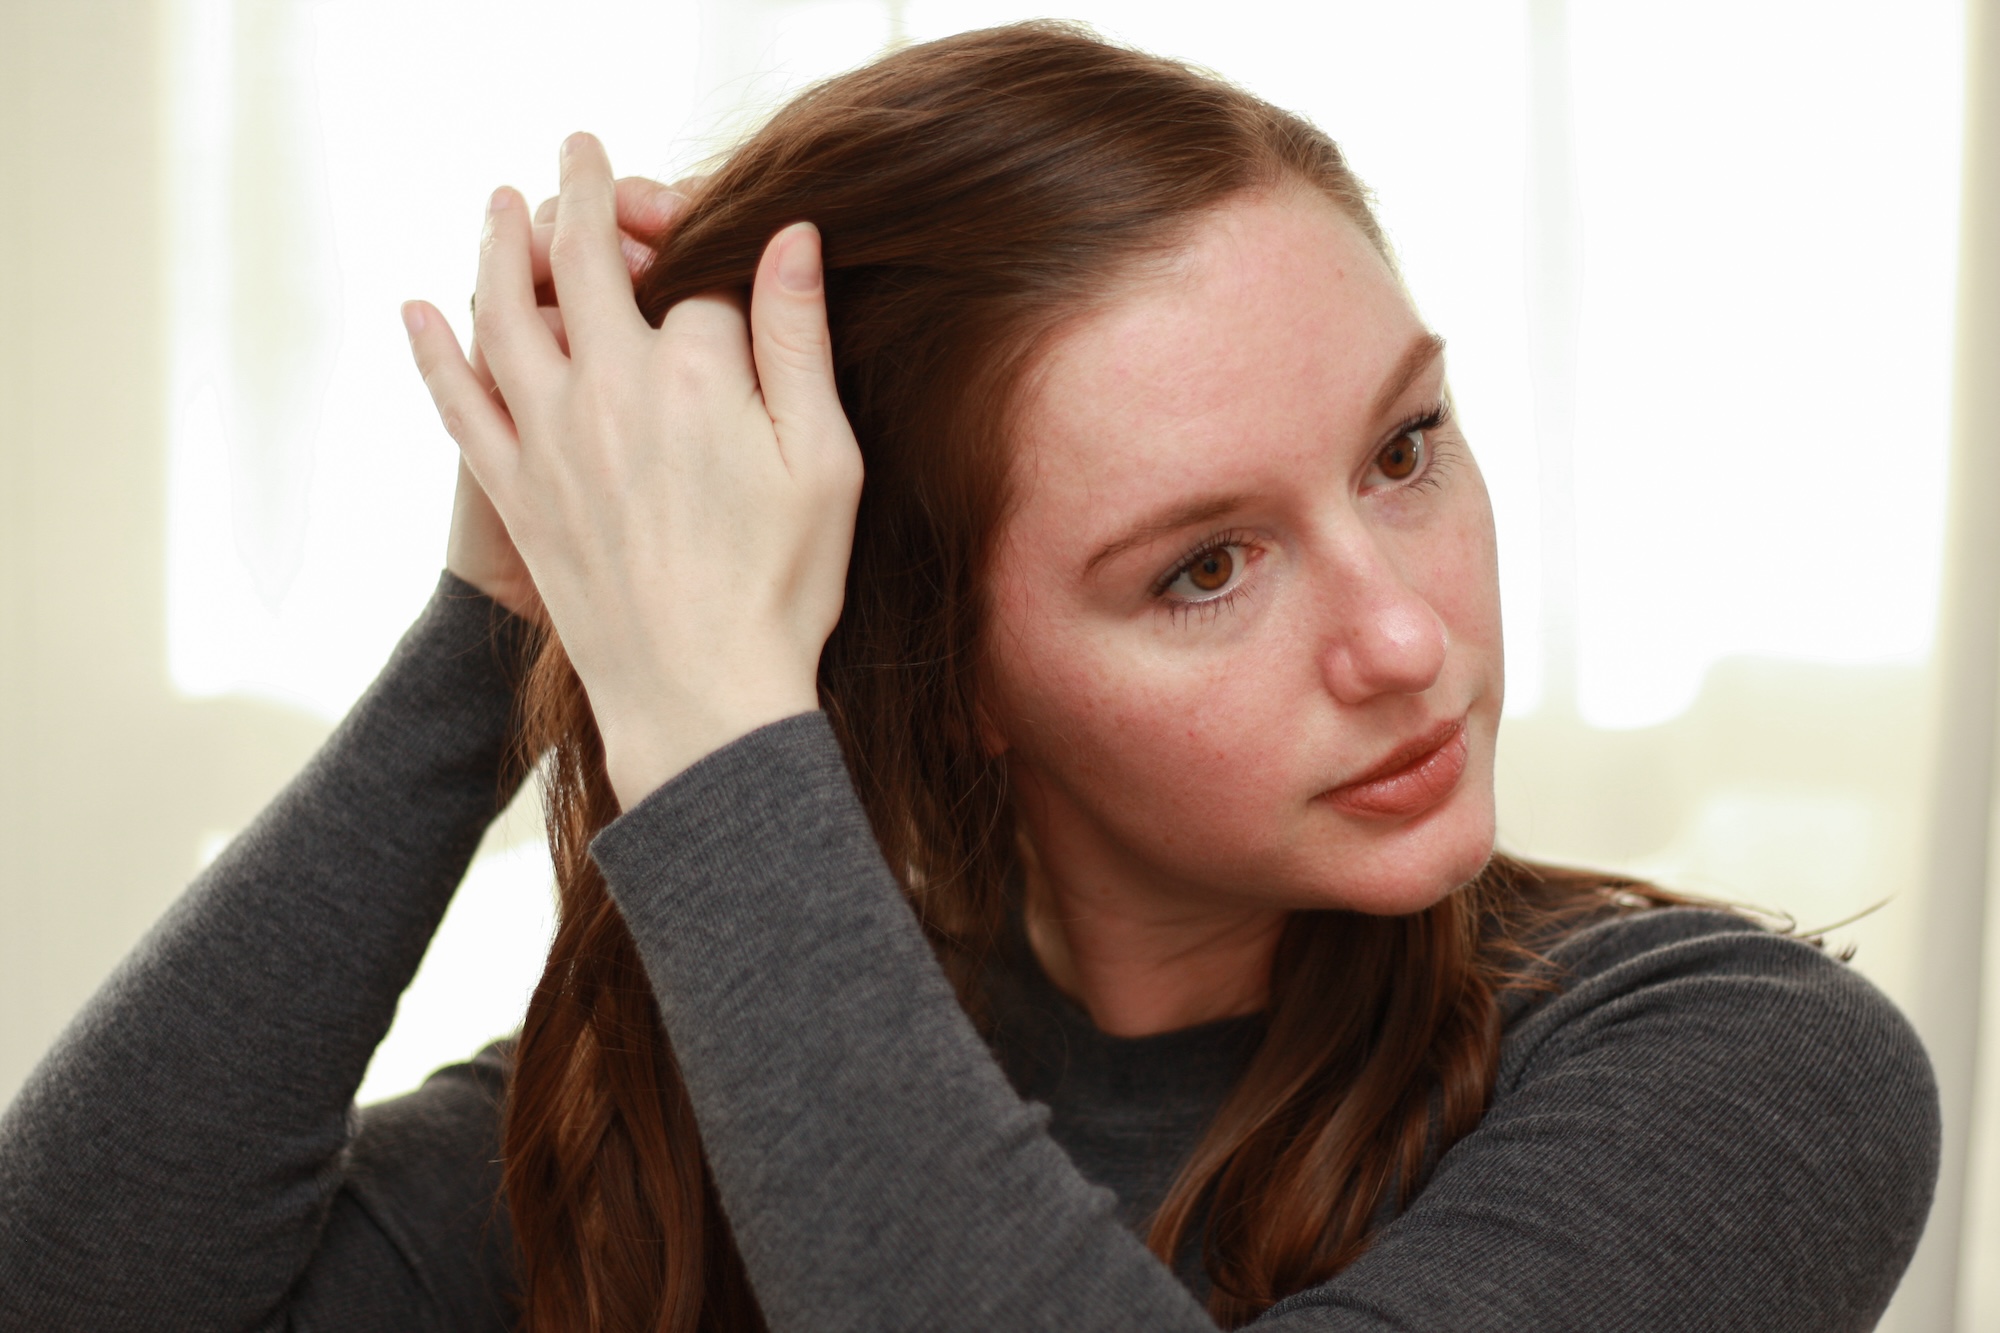
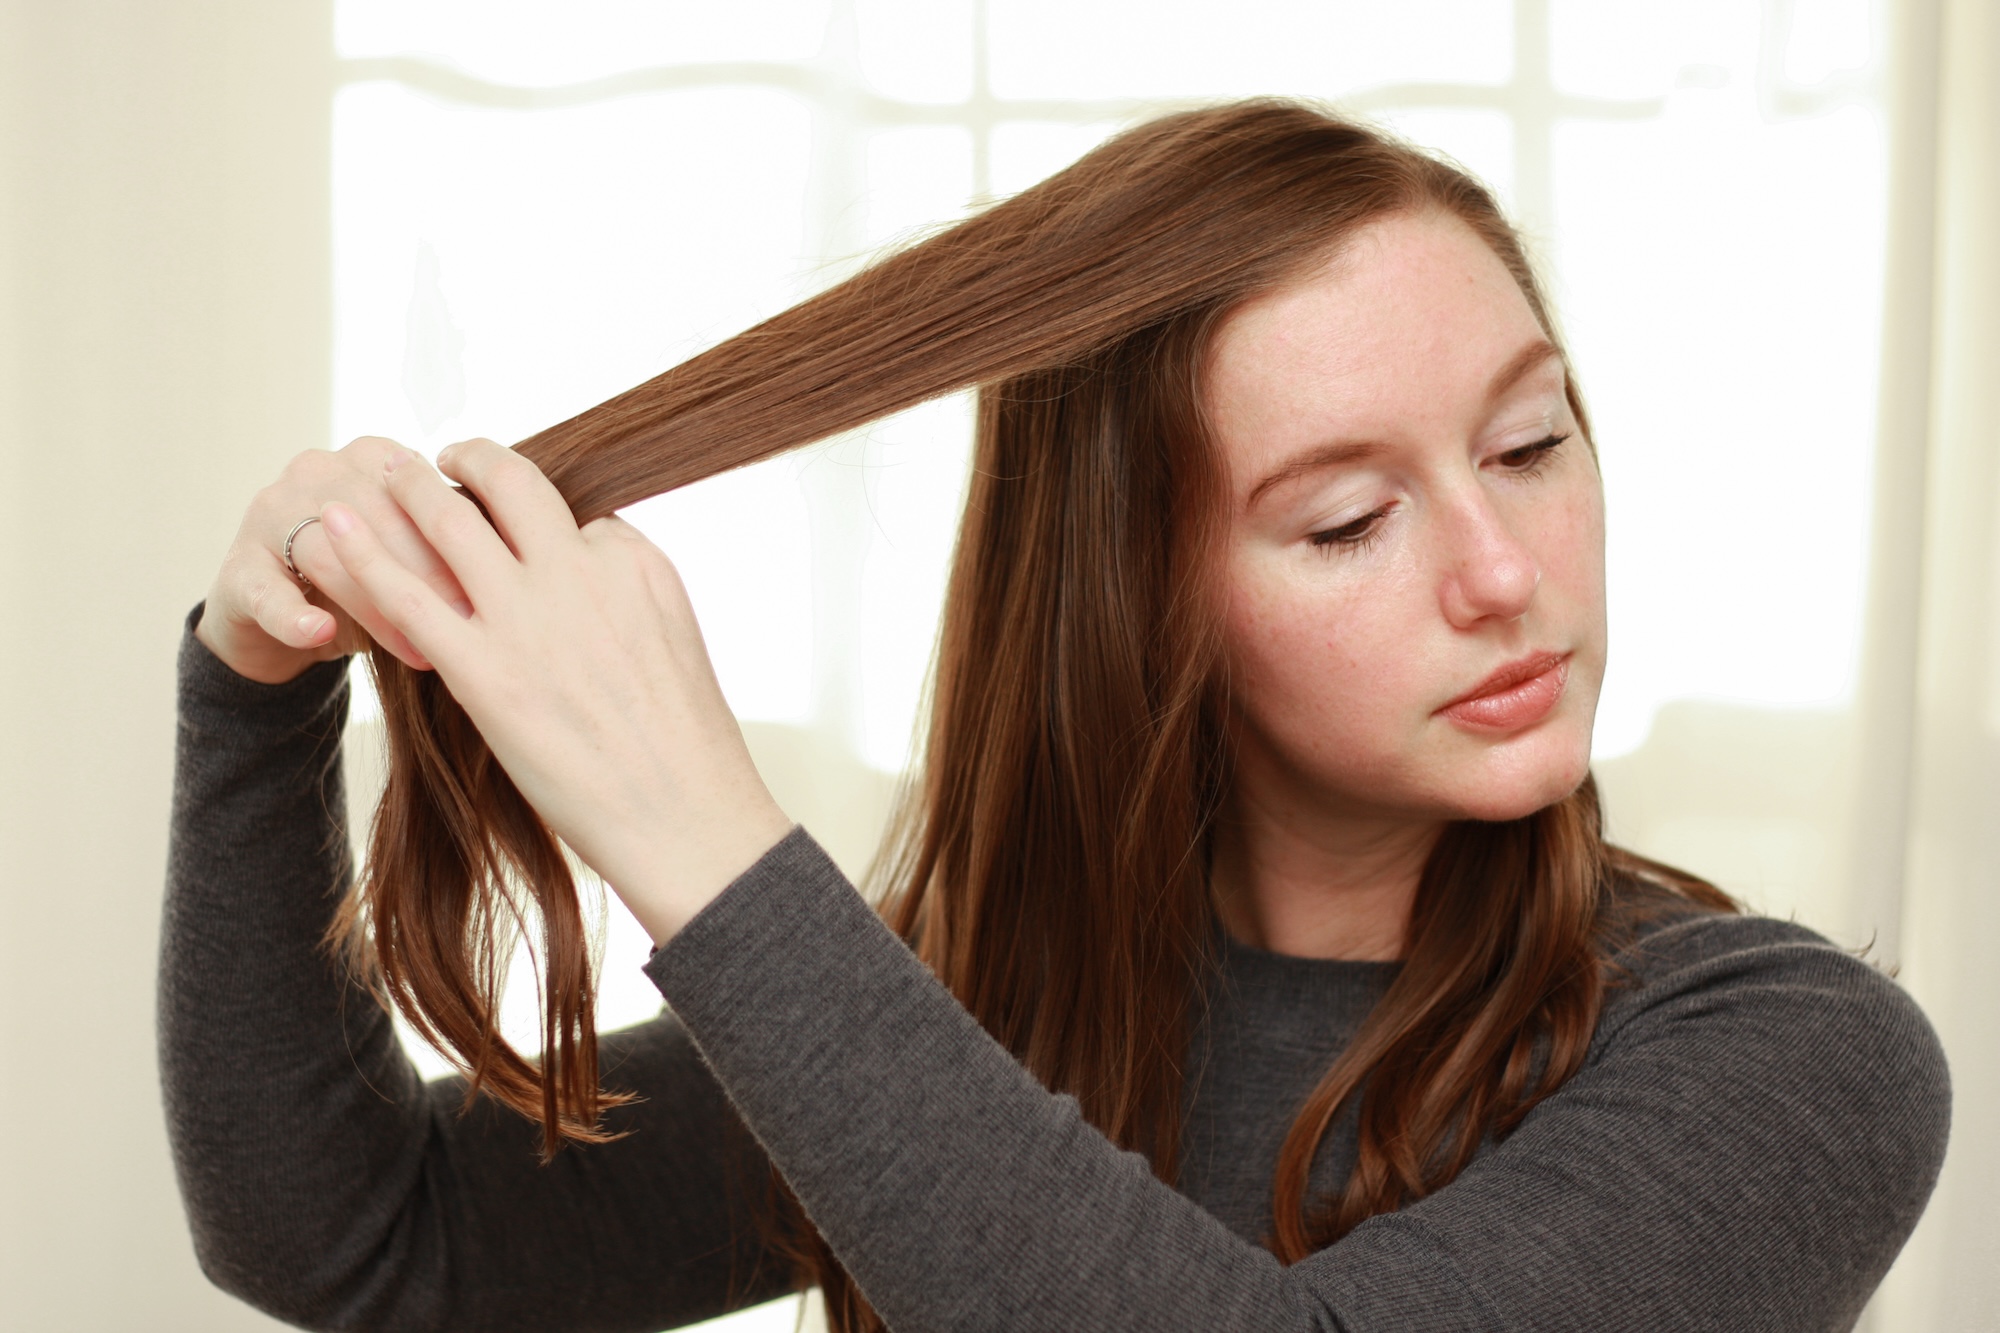
3. BRAIDED
You'll need a little dexterity to complete a French or Dutch braid, but all it takes is practice! I incorporate my side part into my braids, for an unexpected off-center version.
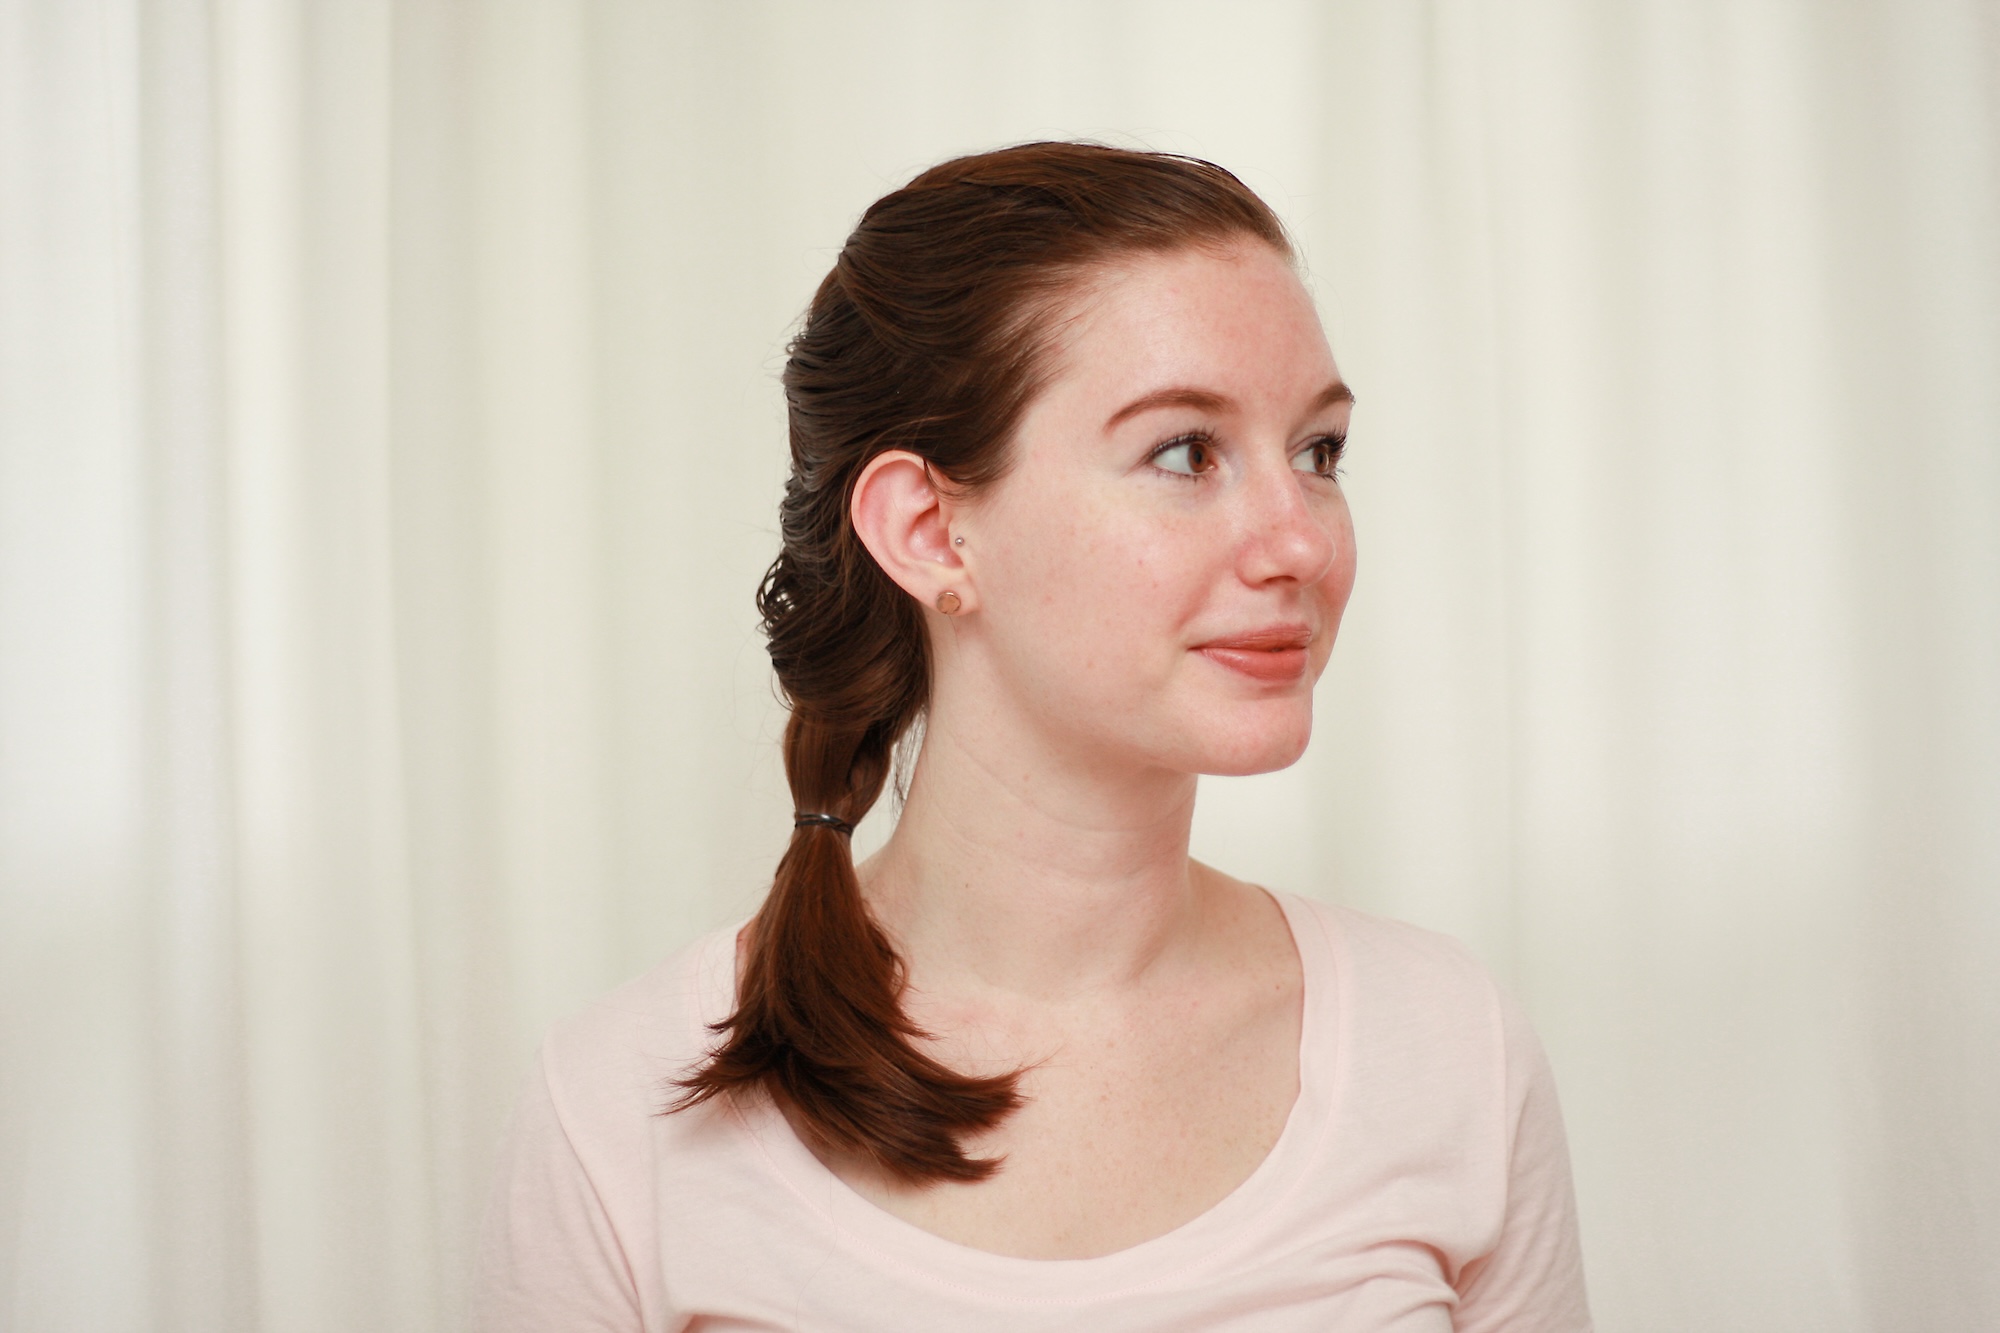
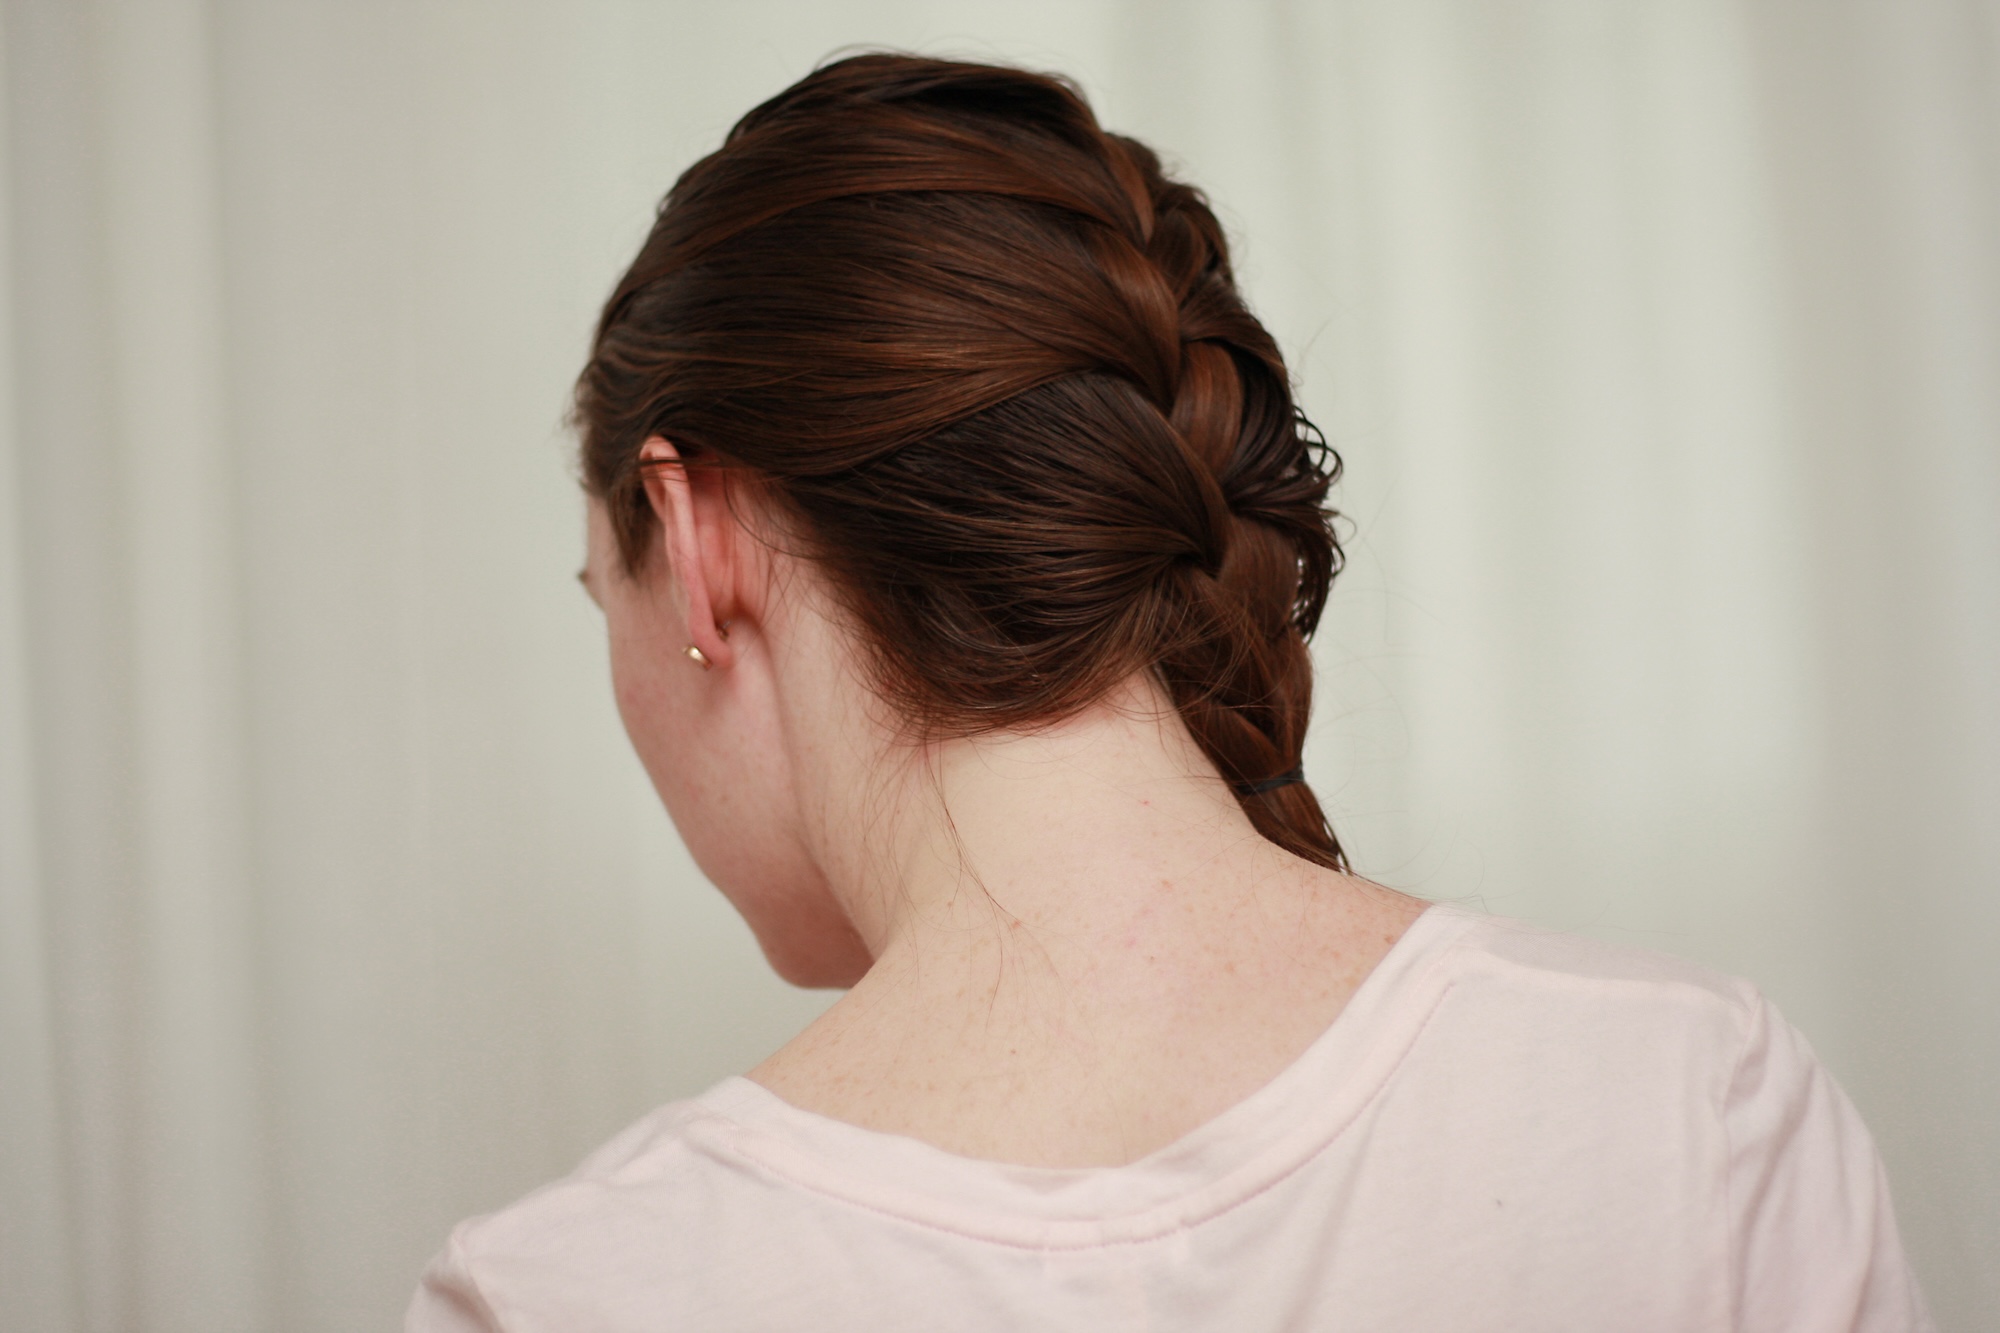
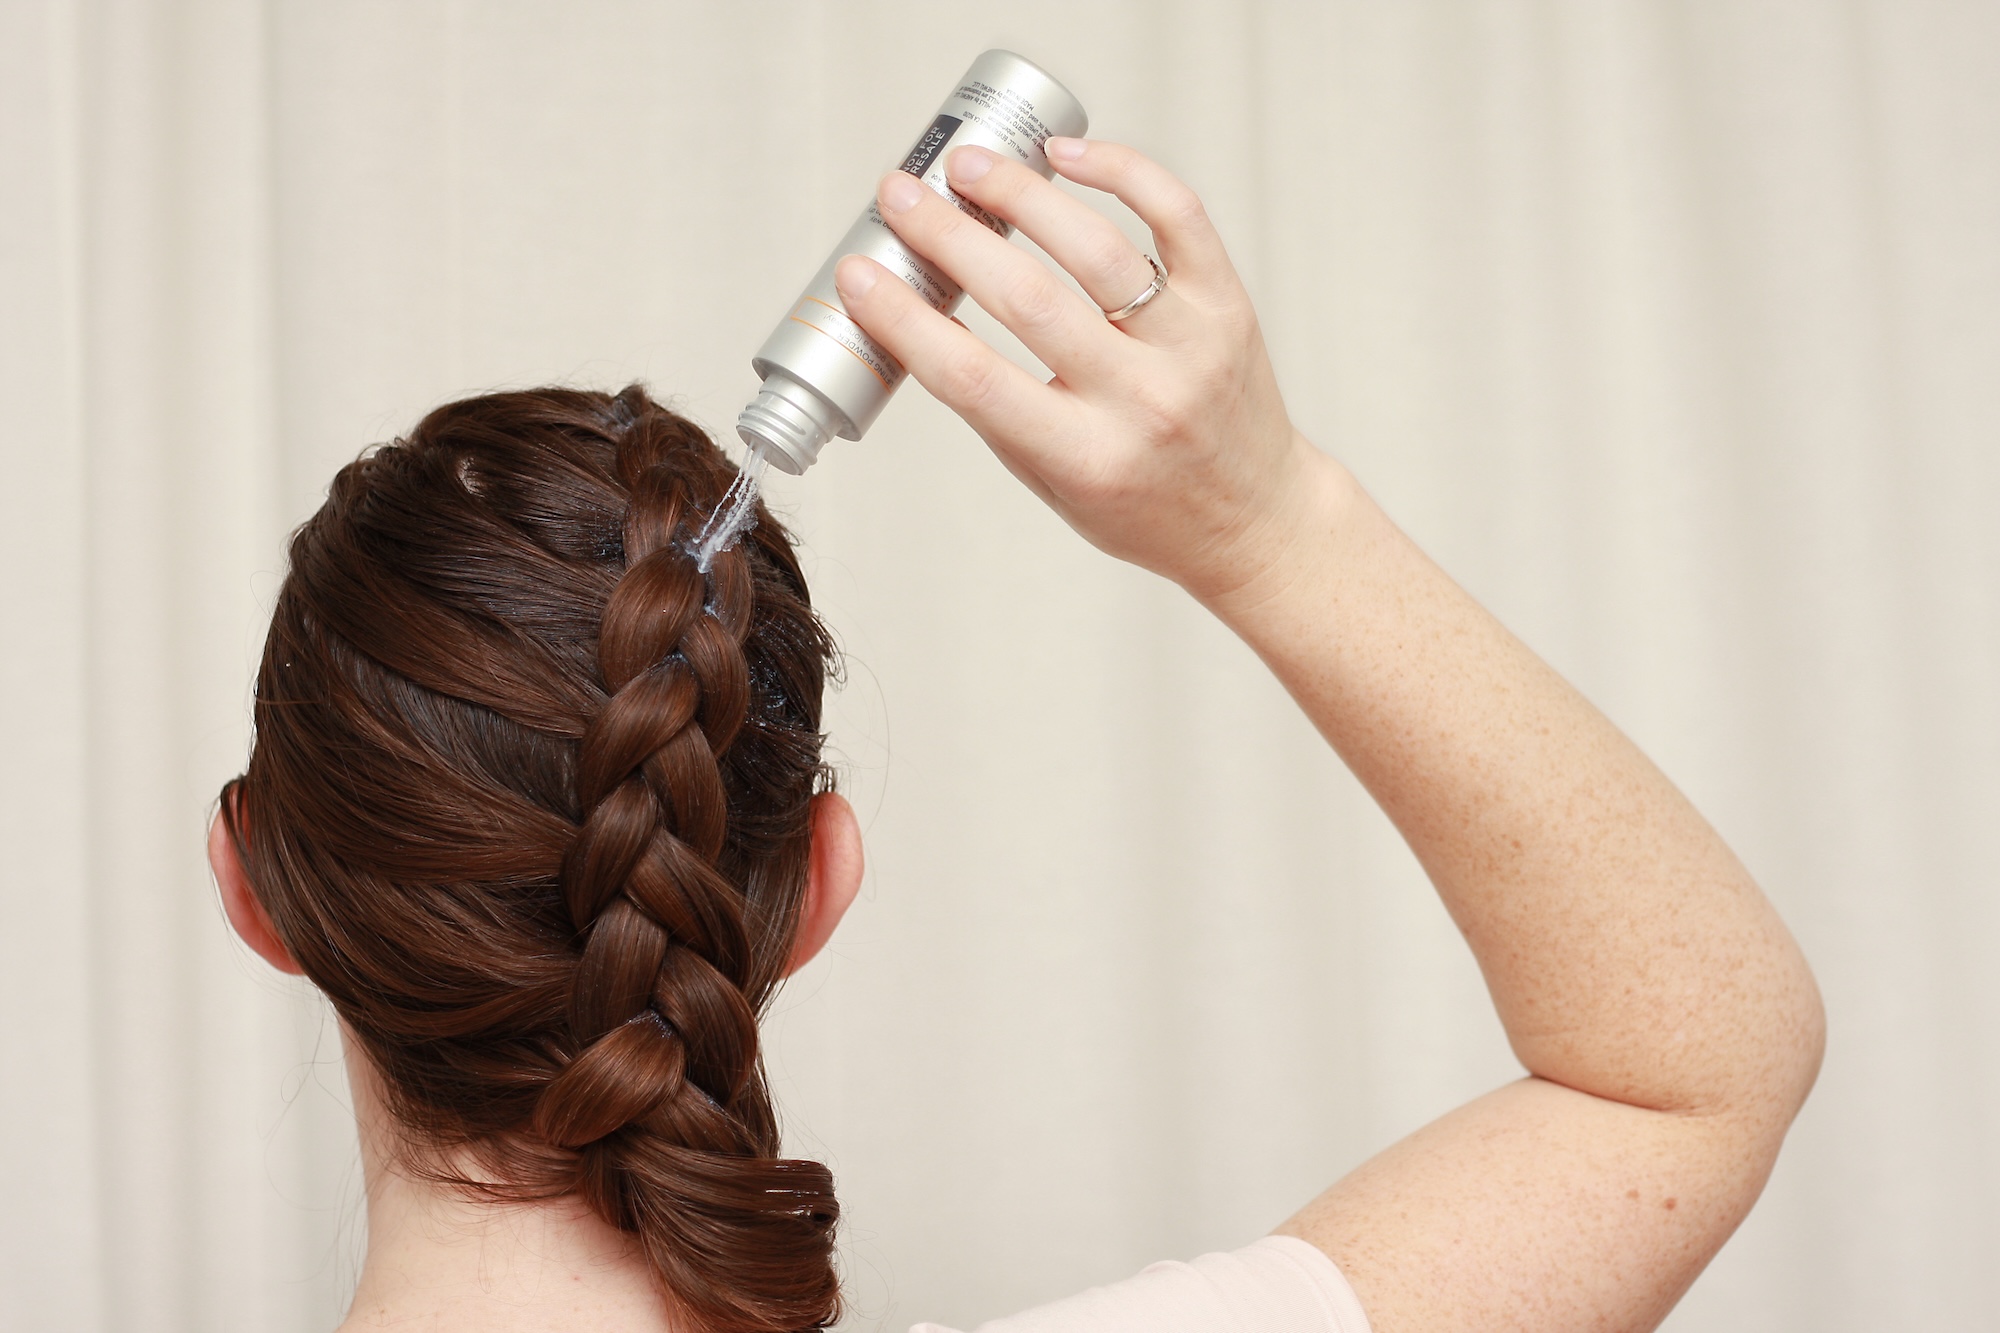
When my roots are so greasy that all the dry shampoo in the world can’t sop up their oils, or if I’m going somewhere incredibly windy or where I expect to work up a sweat, I braid my hair. Sure, I’ll change the placement of the braid or change from a French braid to a Dutch braid depending on the day, but the formula is basically the same (if you’ve never mastered a French braid, I suggest checking out a few of the countless videos on Youtube and you’ll be a pro in no time!).
To save time while making a maximum impact, I pull larger sections of hair into the braid to create a bolder shape. Braids work best on at least day-old hair, but if it’s freshly washed you can add a texturizing powder to help it stay put (it’s also great for adding definition to Dutch braids).
If the braid is even, you’ll also end up with nice S-shaped waves when you take it down – another heat-free style to work with! The braids shown below are the most common ones I wear when traveling:

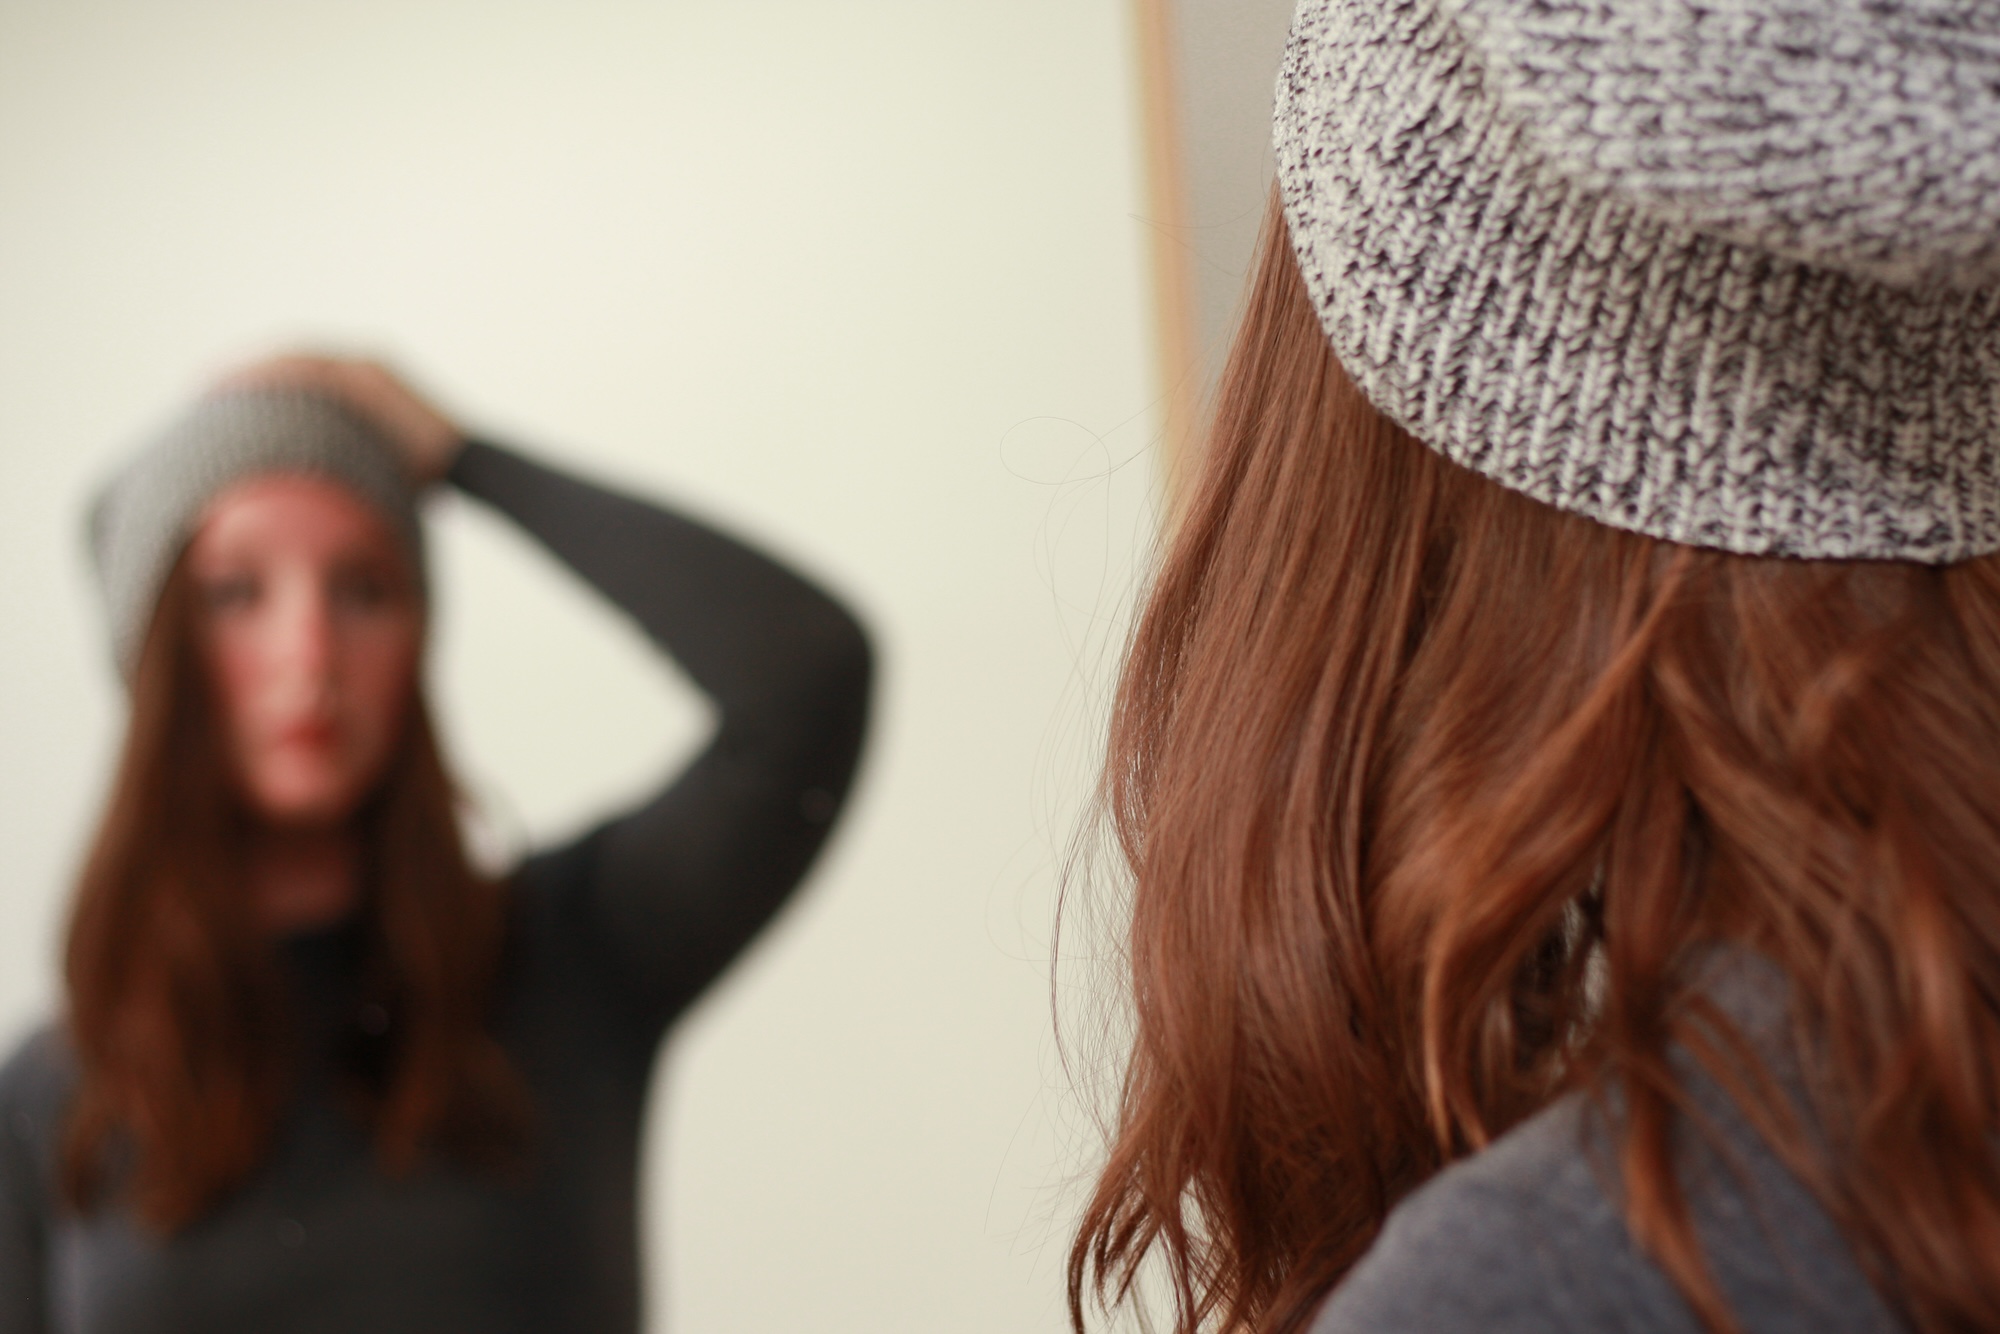
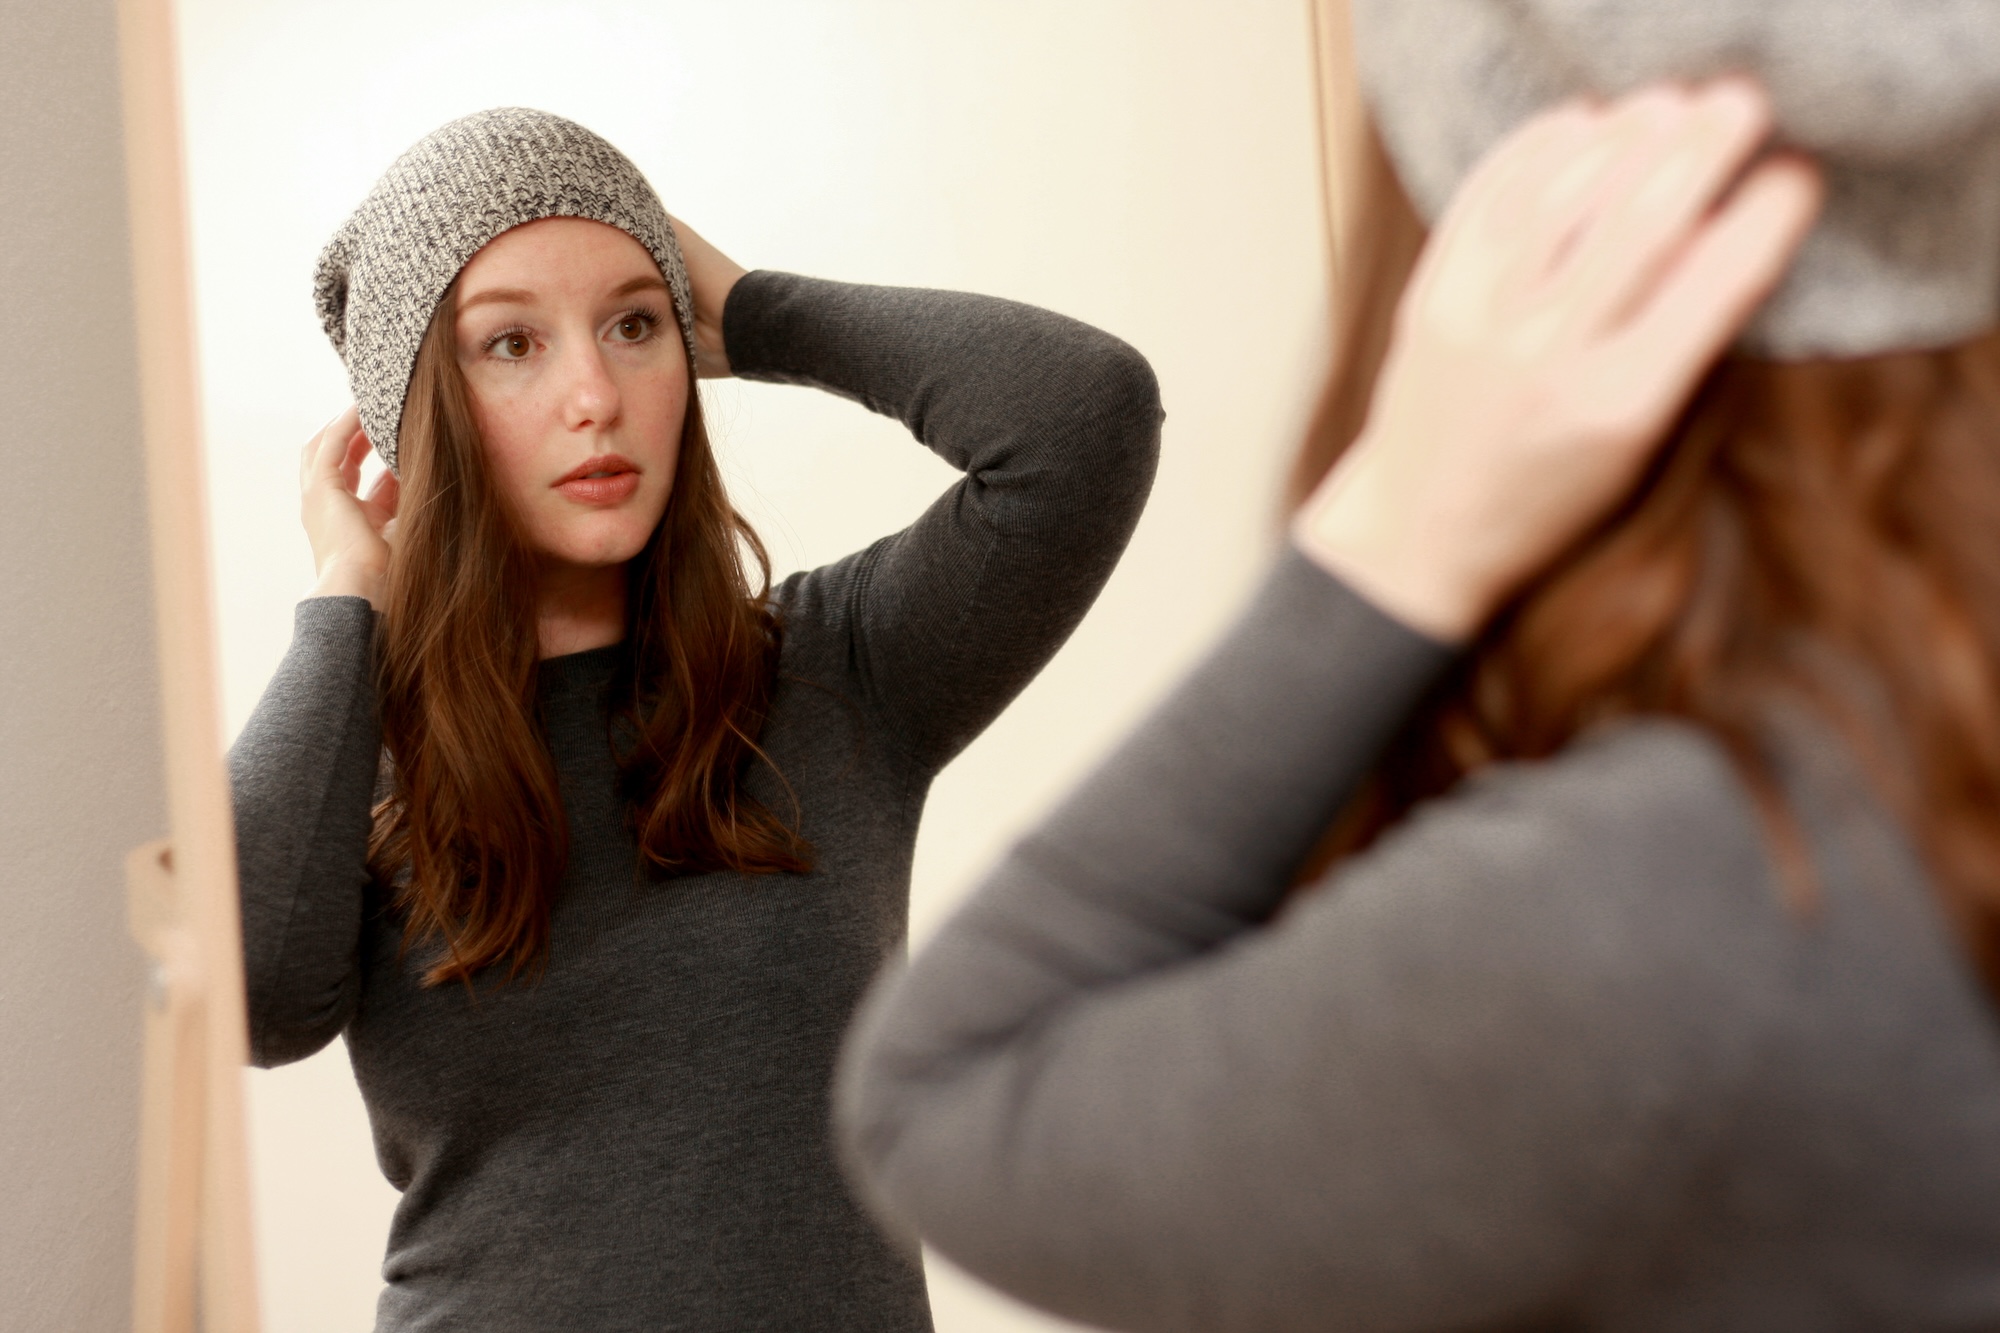
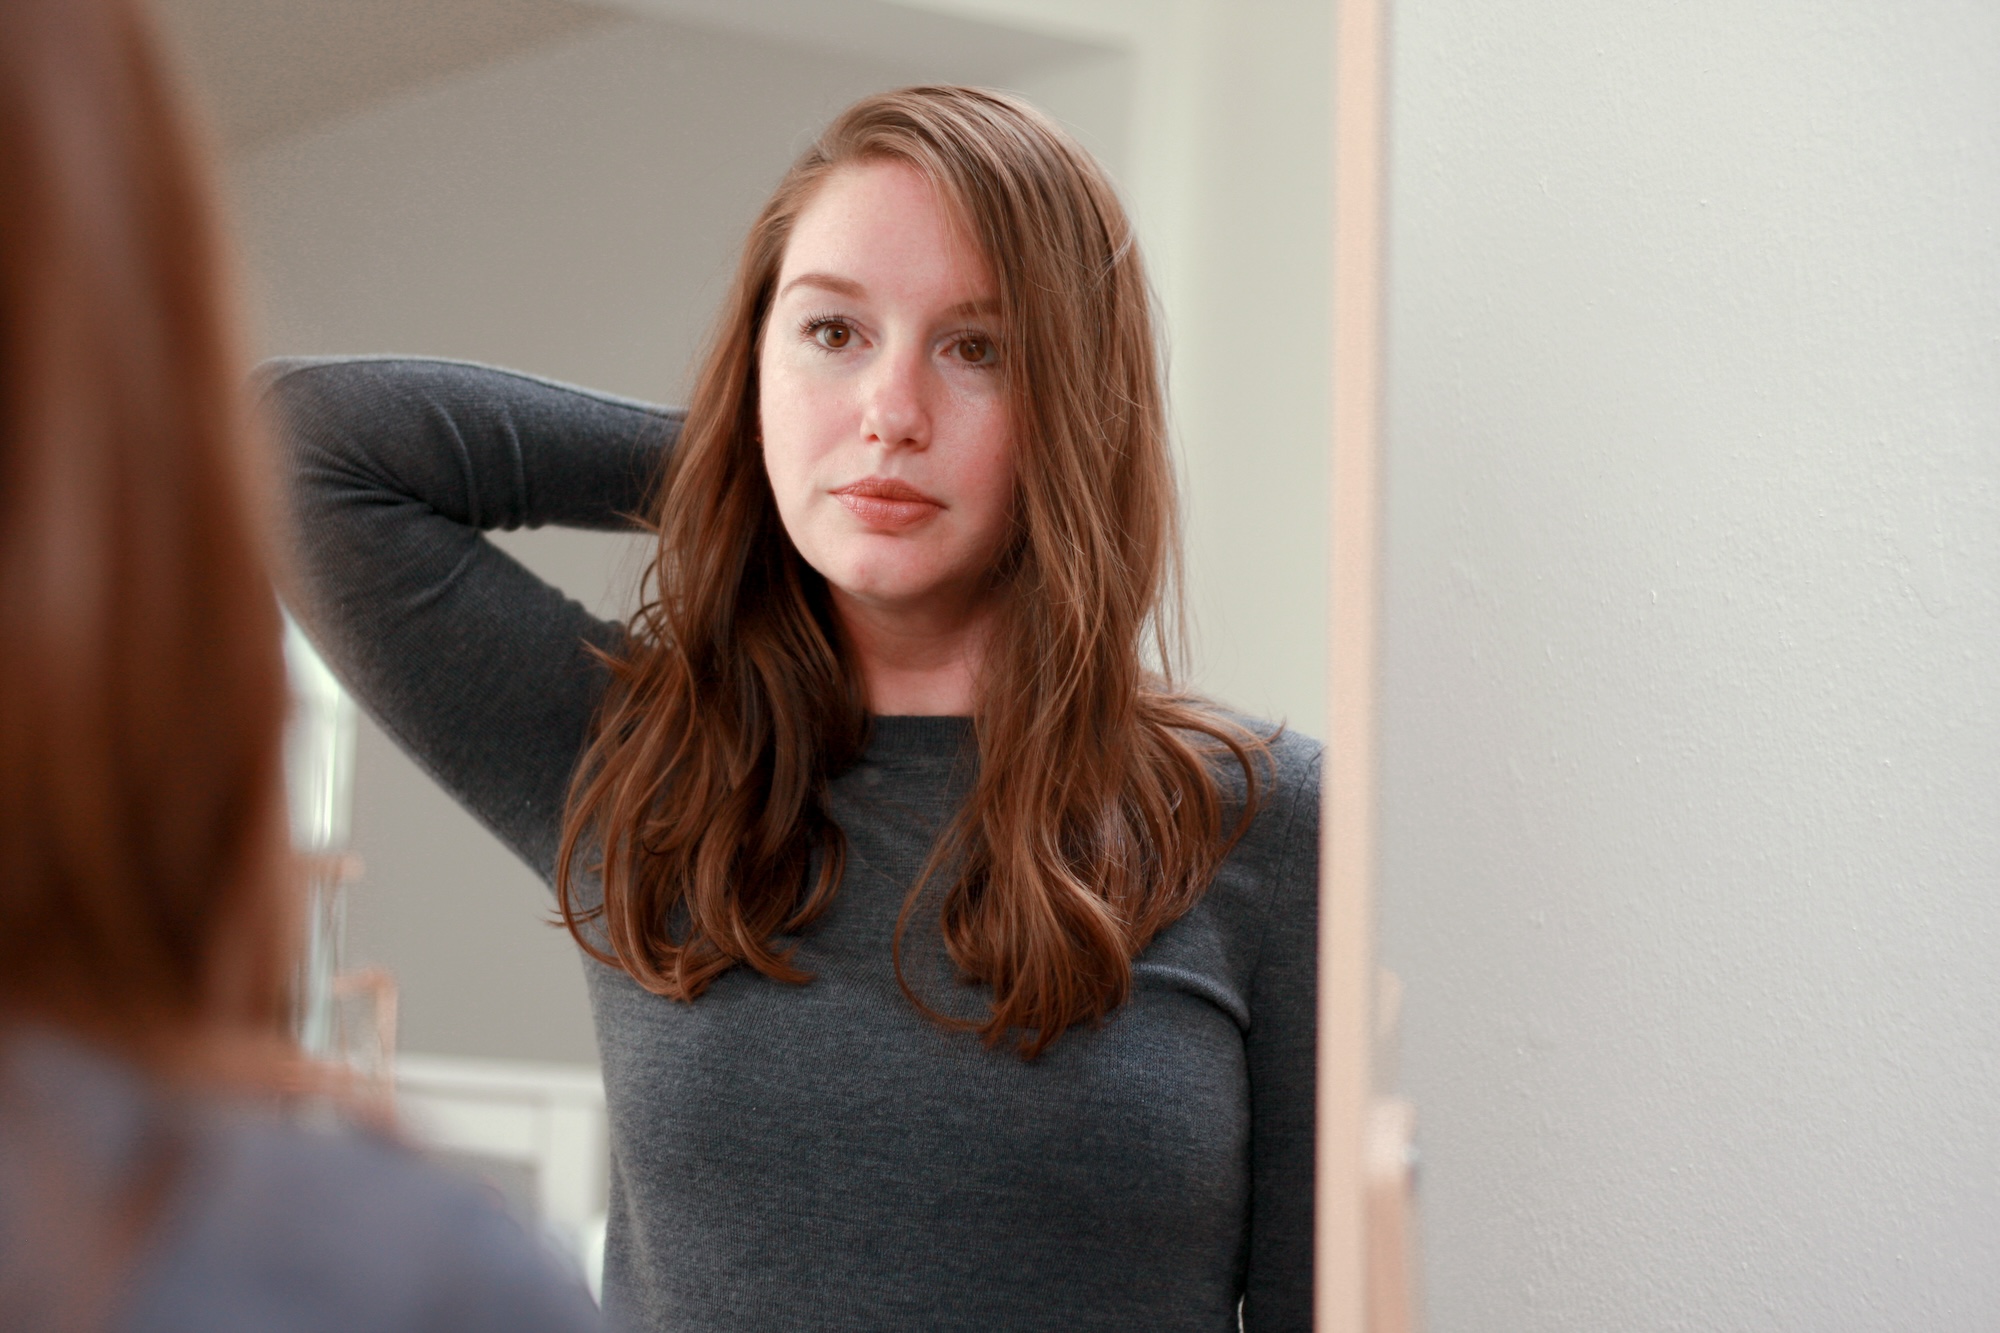
4. HAT
Yes, hat. A hat is a great way to extend the time between washings - but it's also a notorious hairstyle killer. I've found a way to wear a hat without going flat:
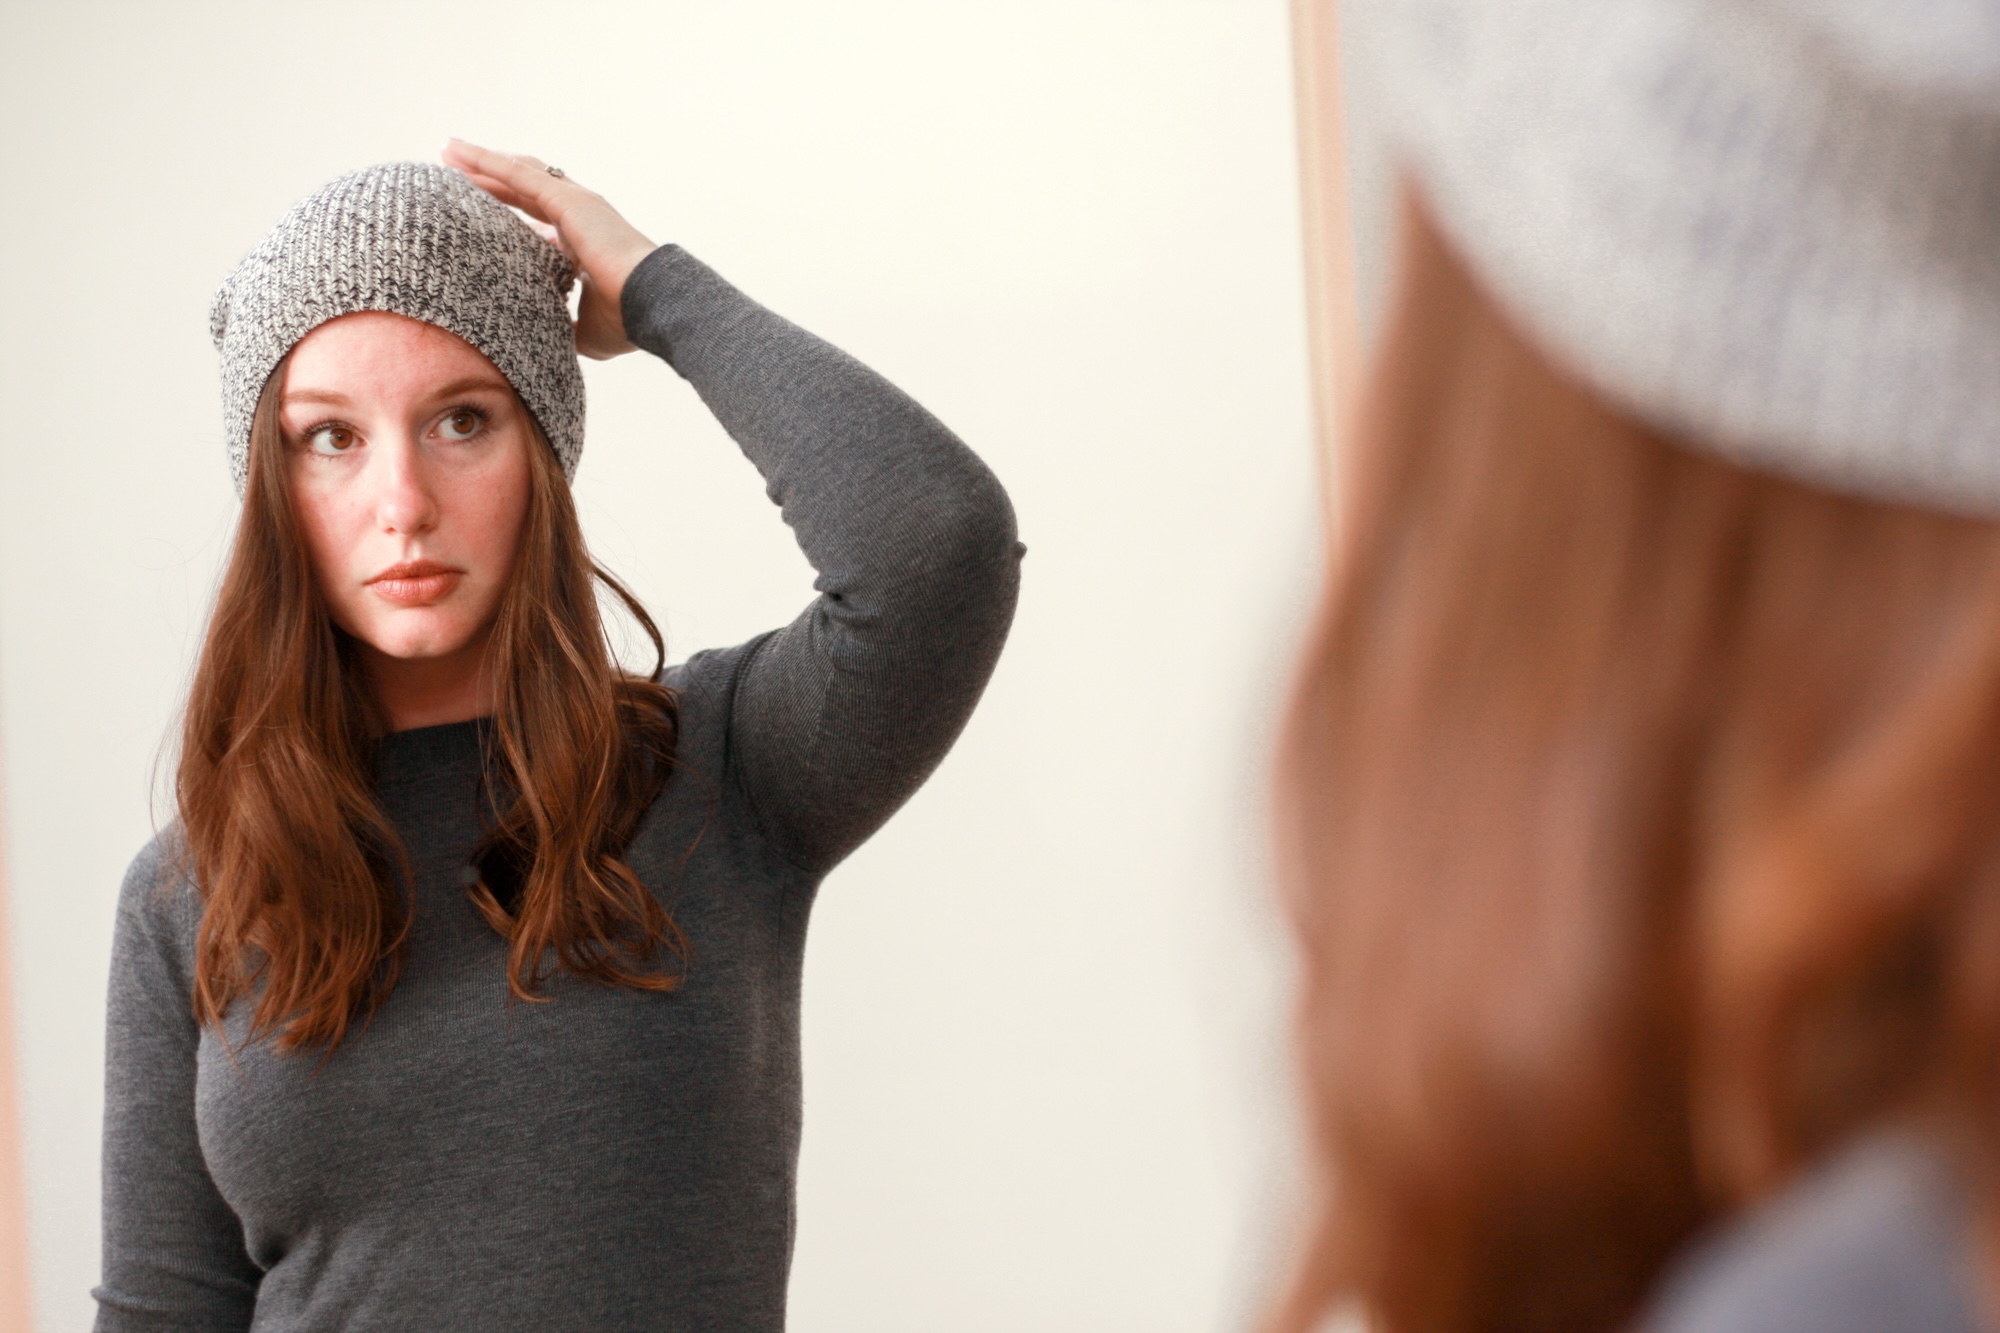
I can hear you thinking, “A hat is not a hairstyle,” so hear me out:
Yes, sometimes hats are for those days when you’re roots are too greasy or your hair creased in a strange way because you slept on your pillow funny, but sometimes you need them to stay warm. But then, *horror of horrors*, you need to remove them when you arrive at your destination. And now you have hat head and think you maybe should have sacrificed warmth for style (at least that’s how I used to feel every time I wore a beanie).
Since I part my hair on one side, I eventually discovered that if I flipped my part before putting the hat on my head, I could just flip it back when I remove my hat. So simple, and it took me so long to figure it out! Now when I remove my hat, I’m often left with more volume than when I started – and with my fine hair, that’s a very good thing.
Step-by-step, this is how I flip my part (there aren’t many steps!):
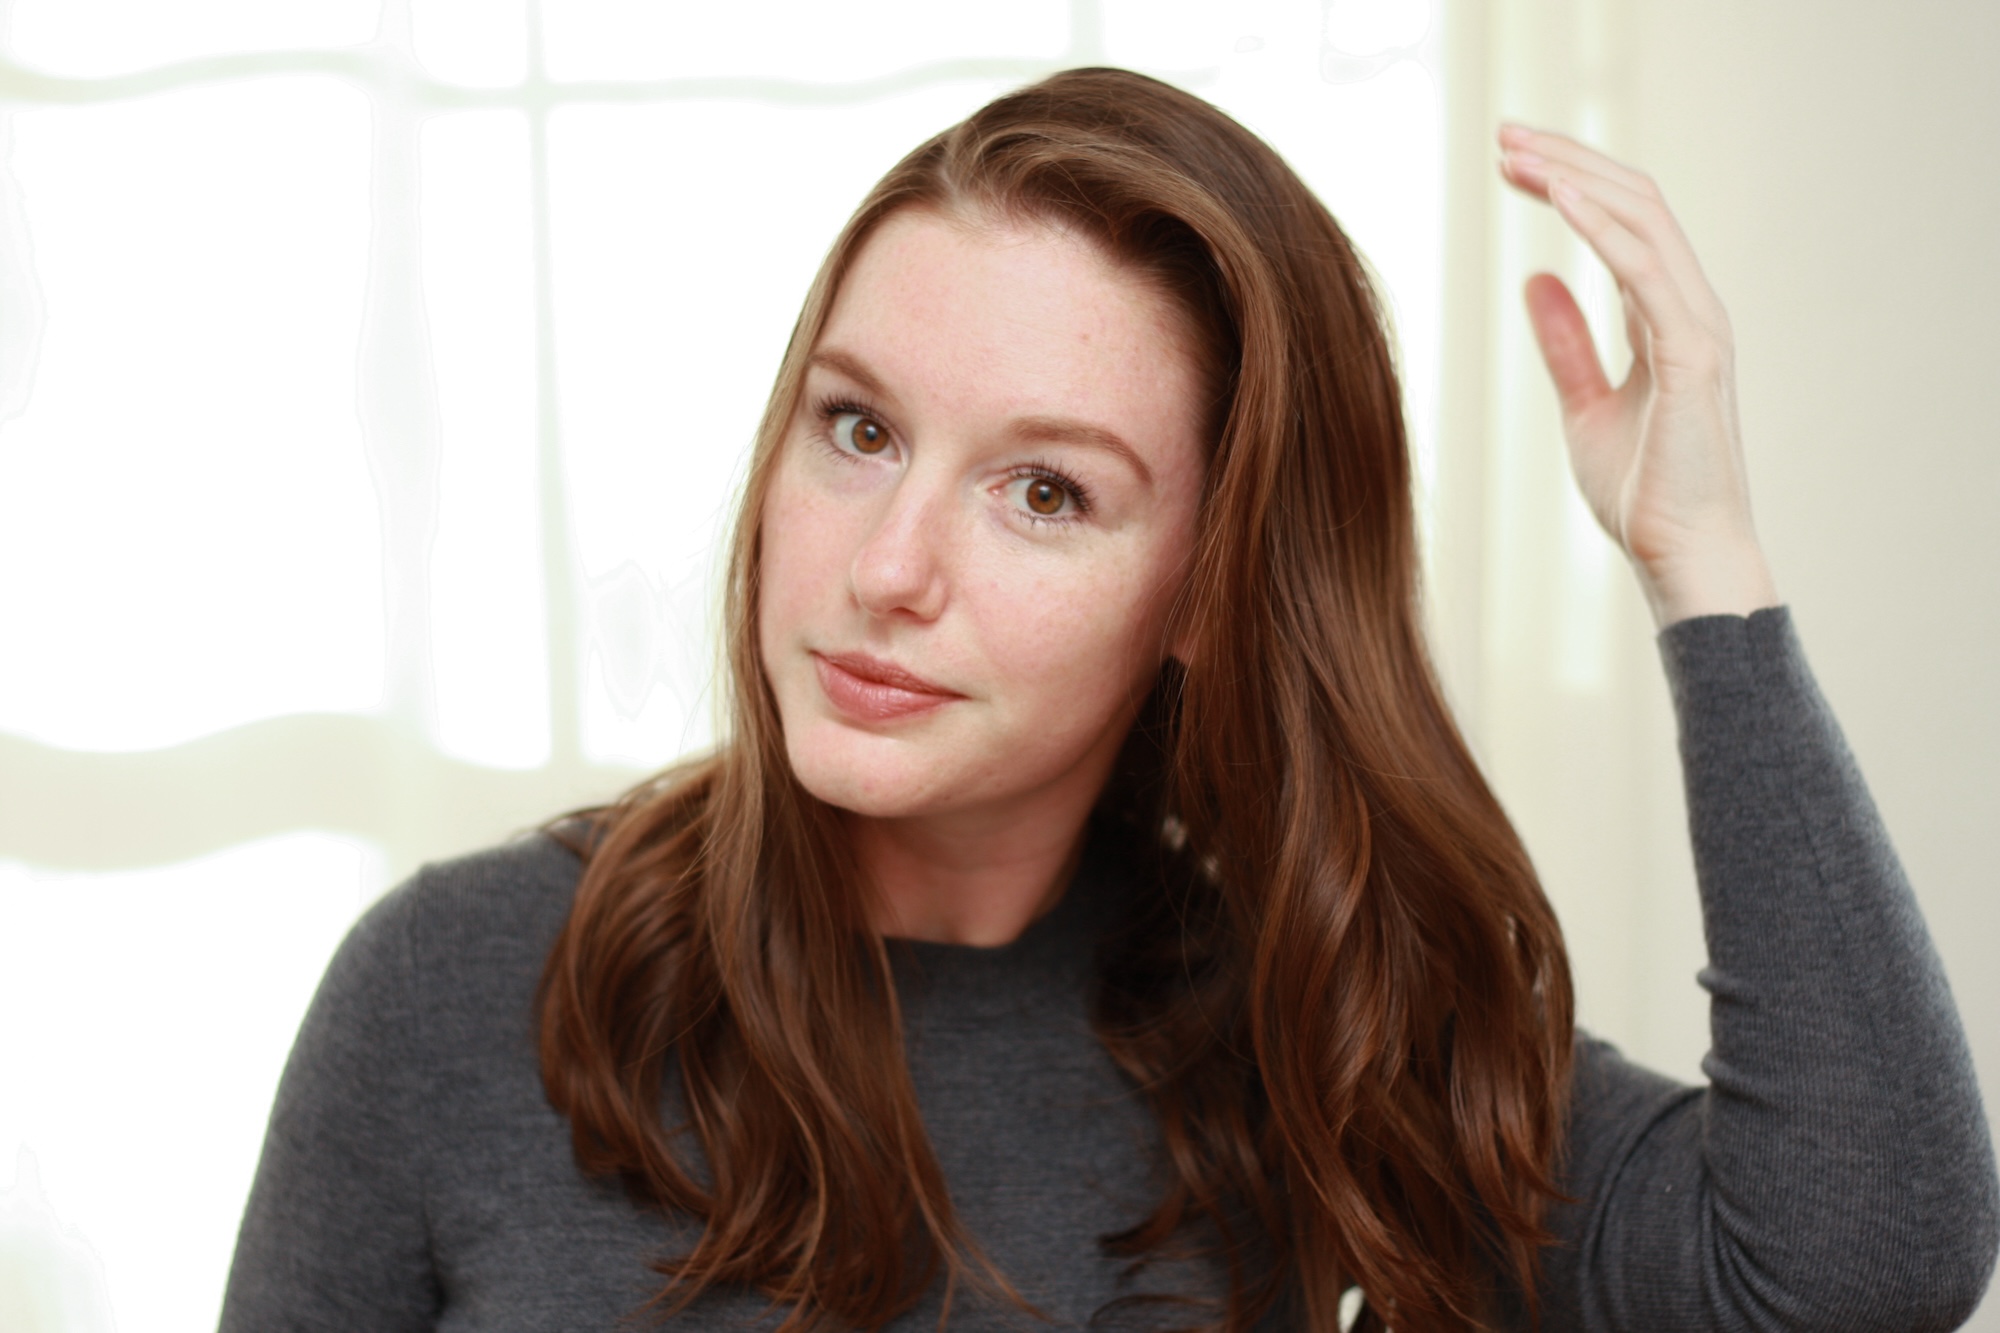
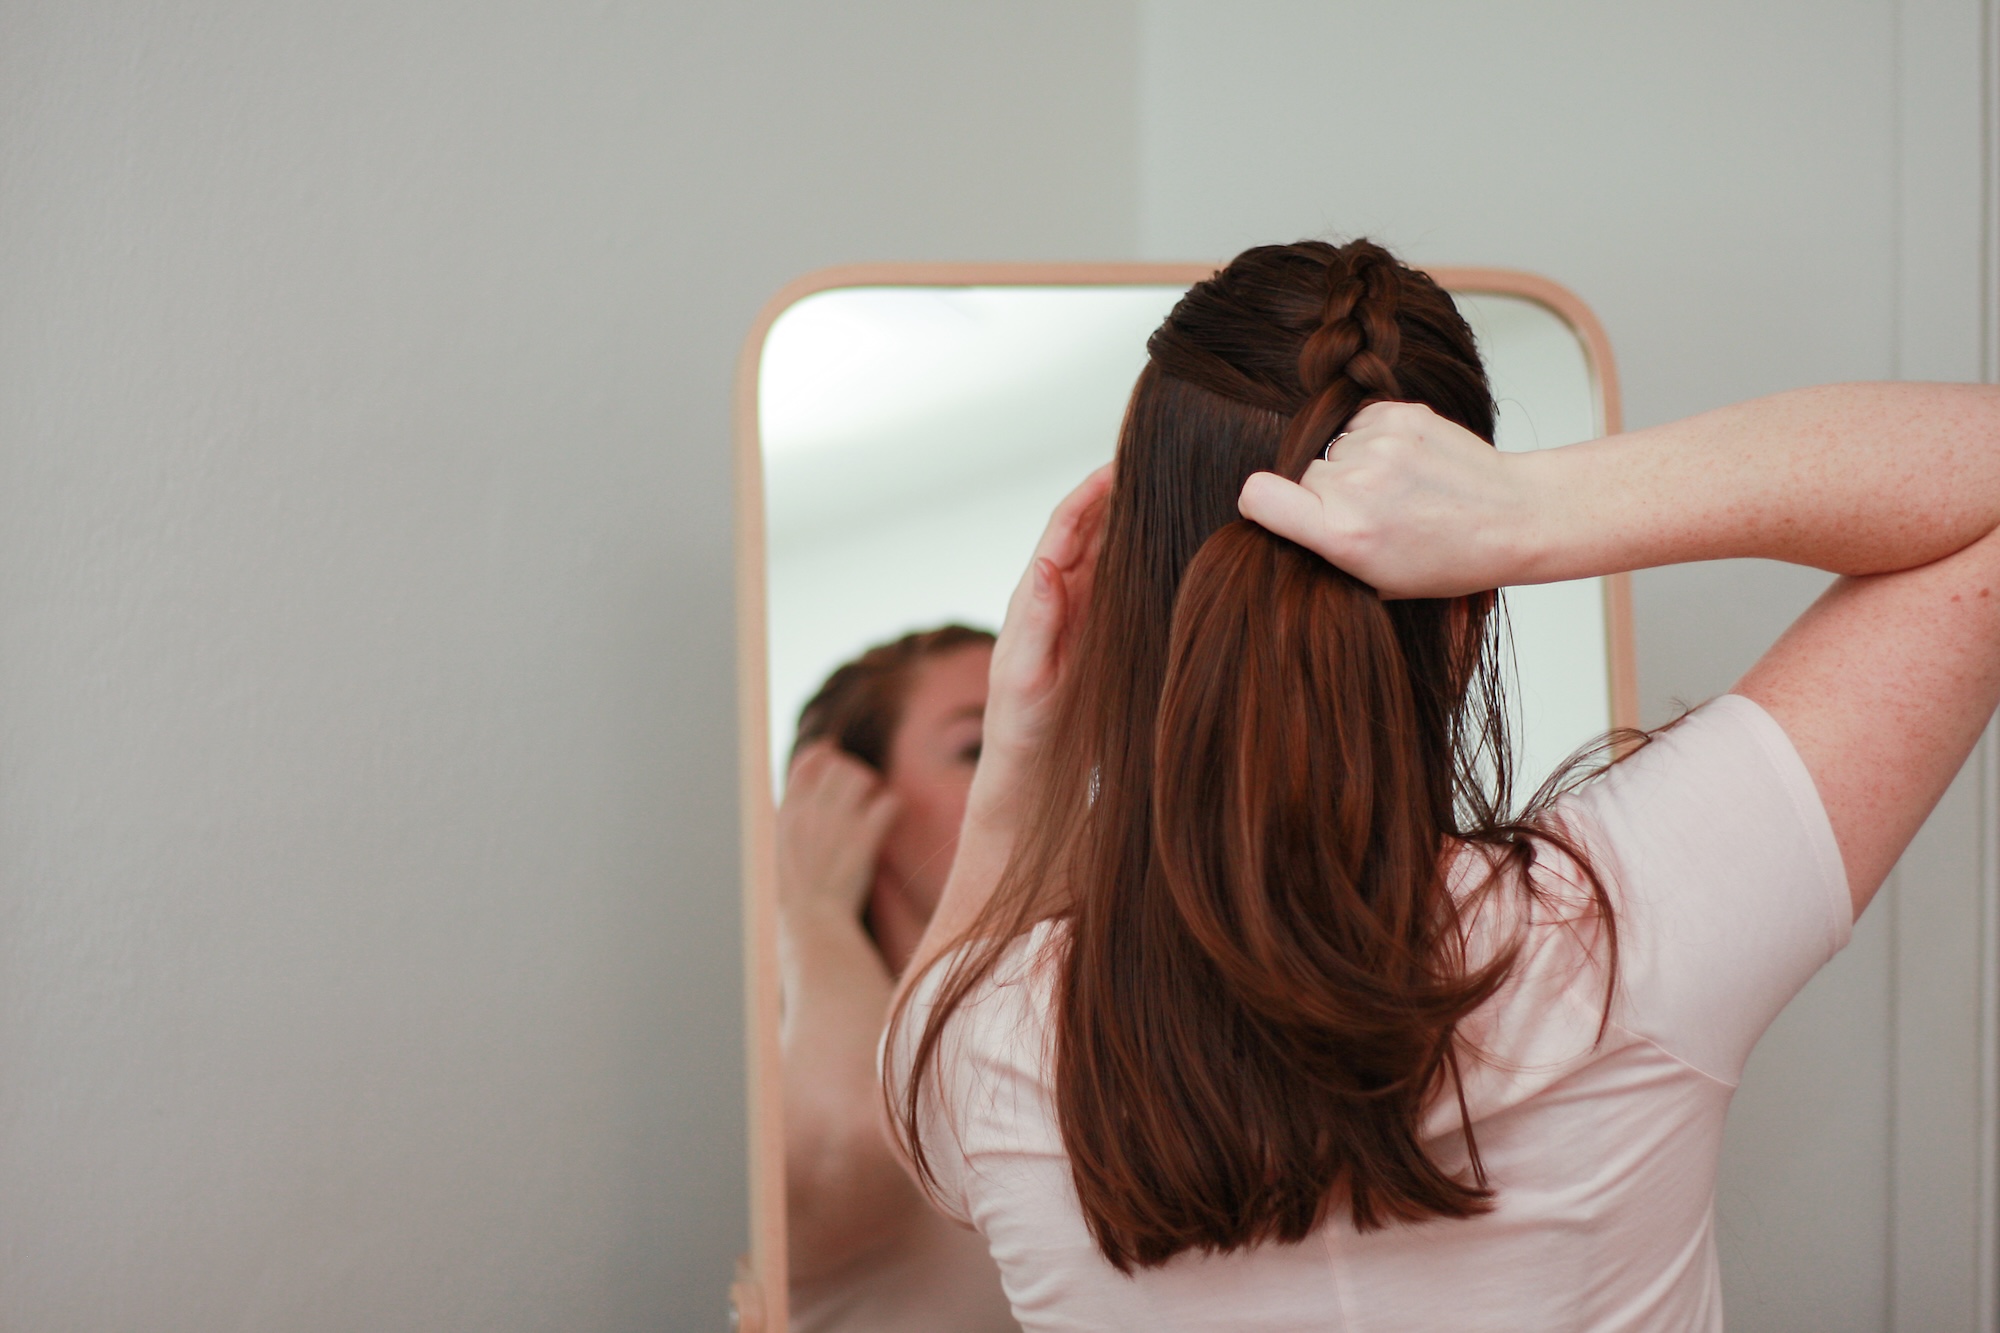
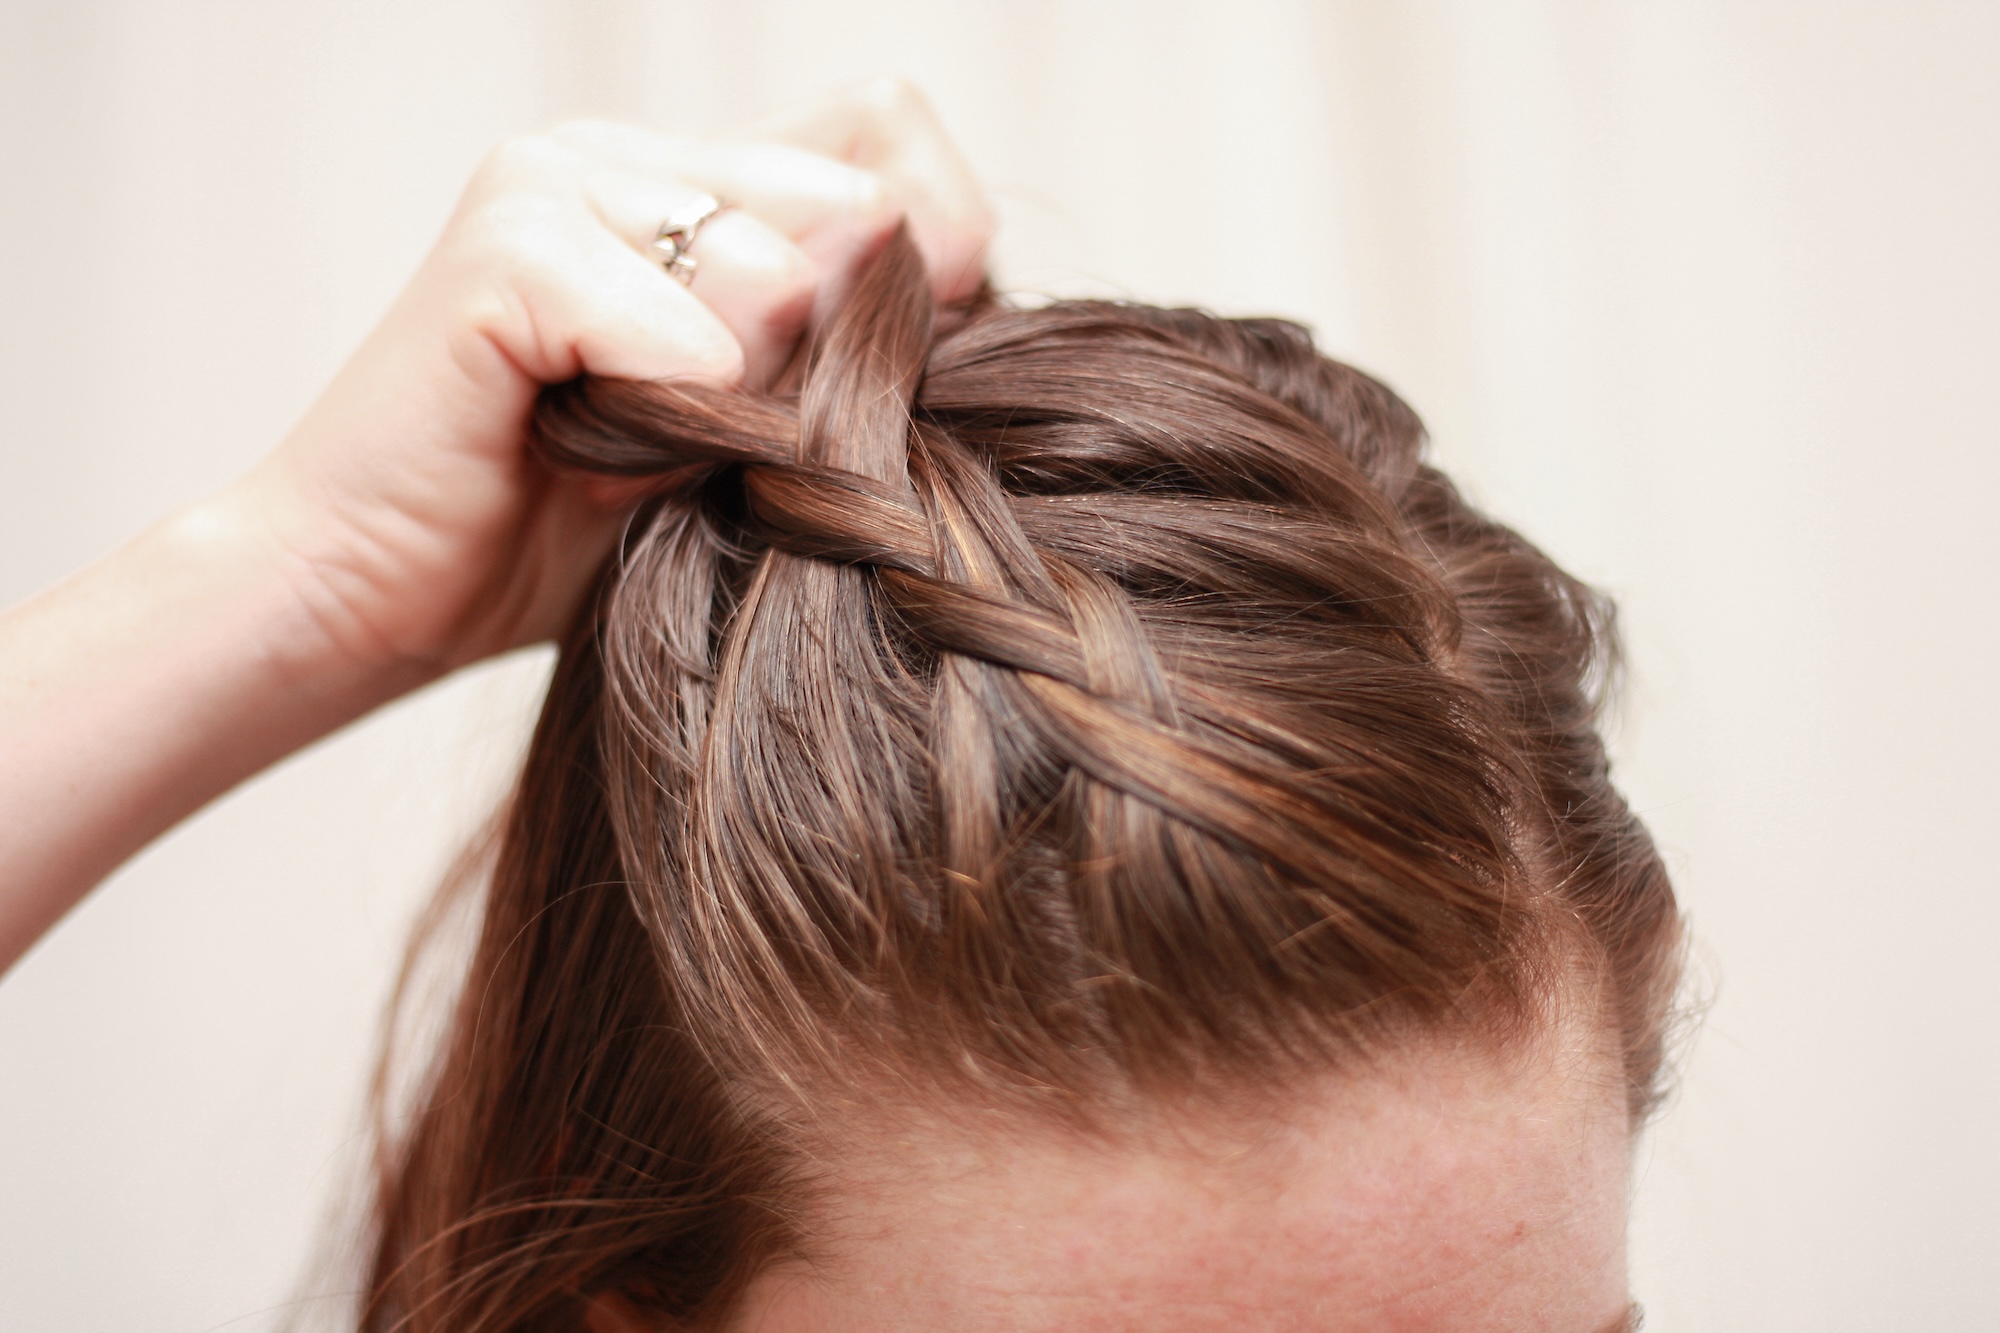
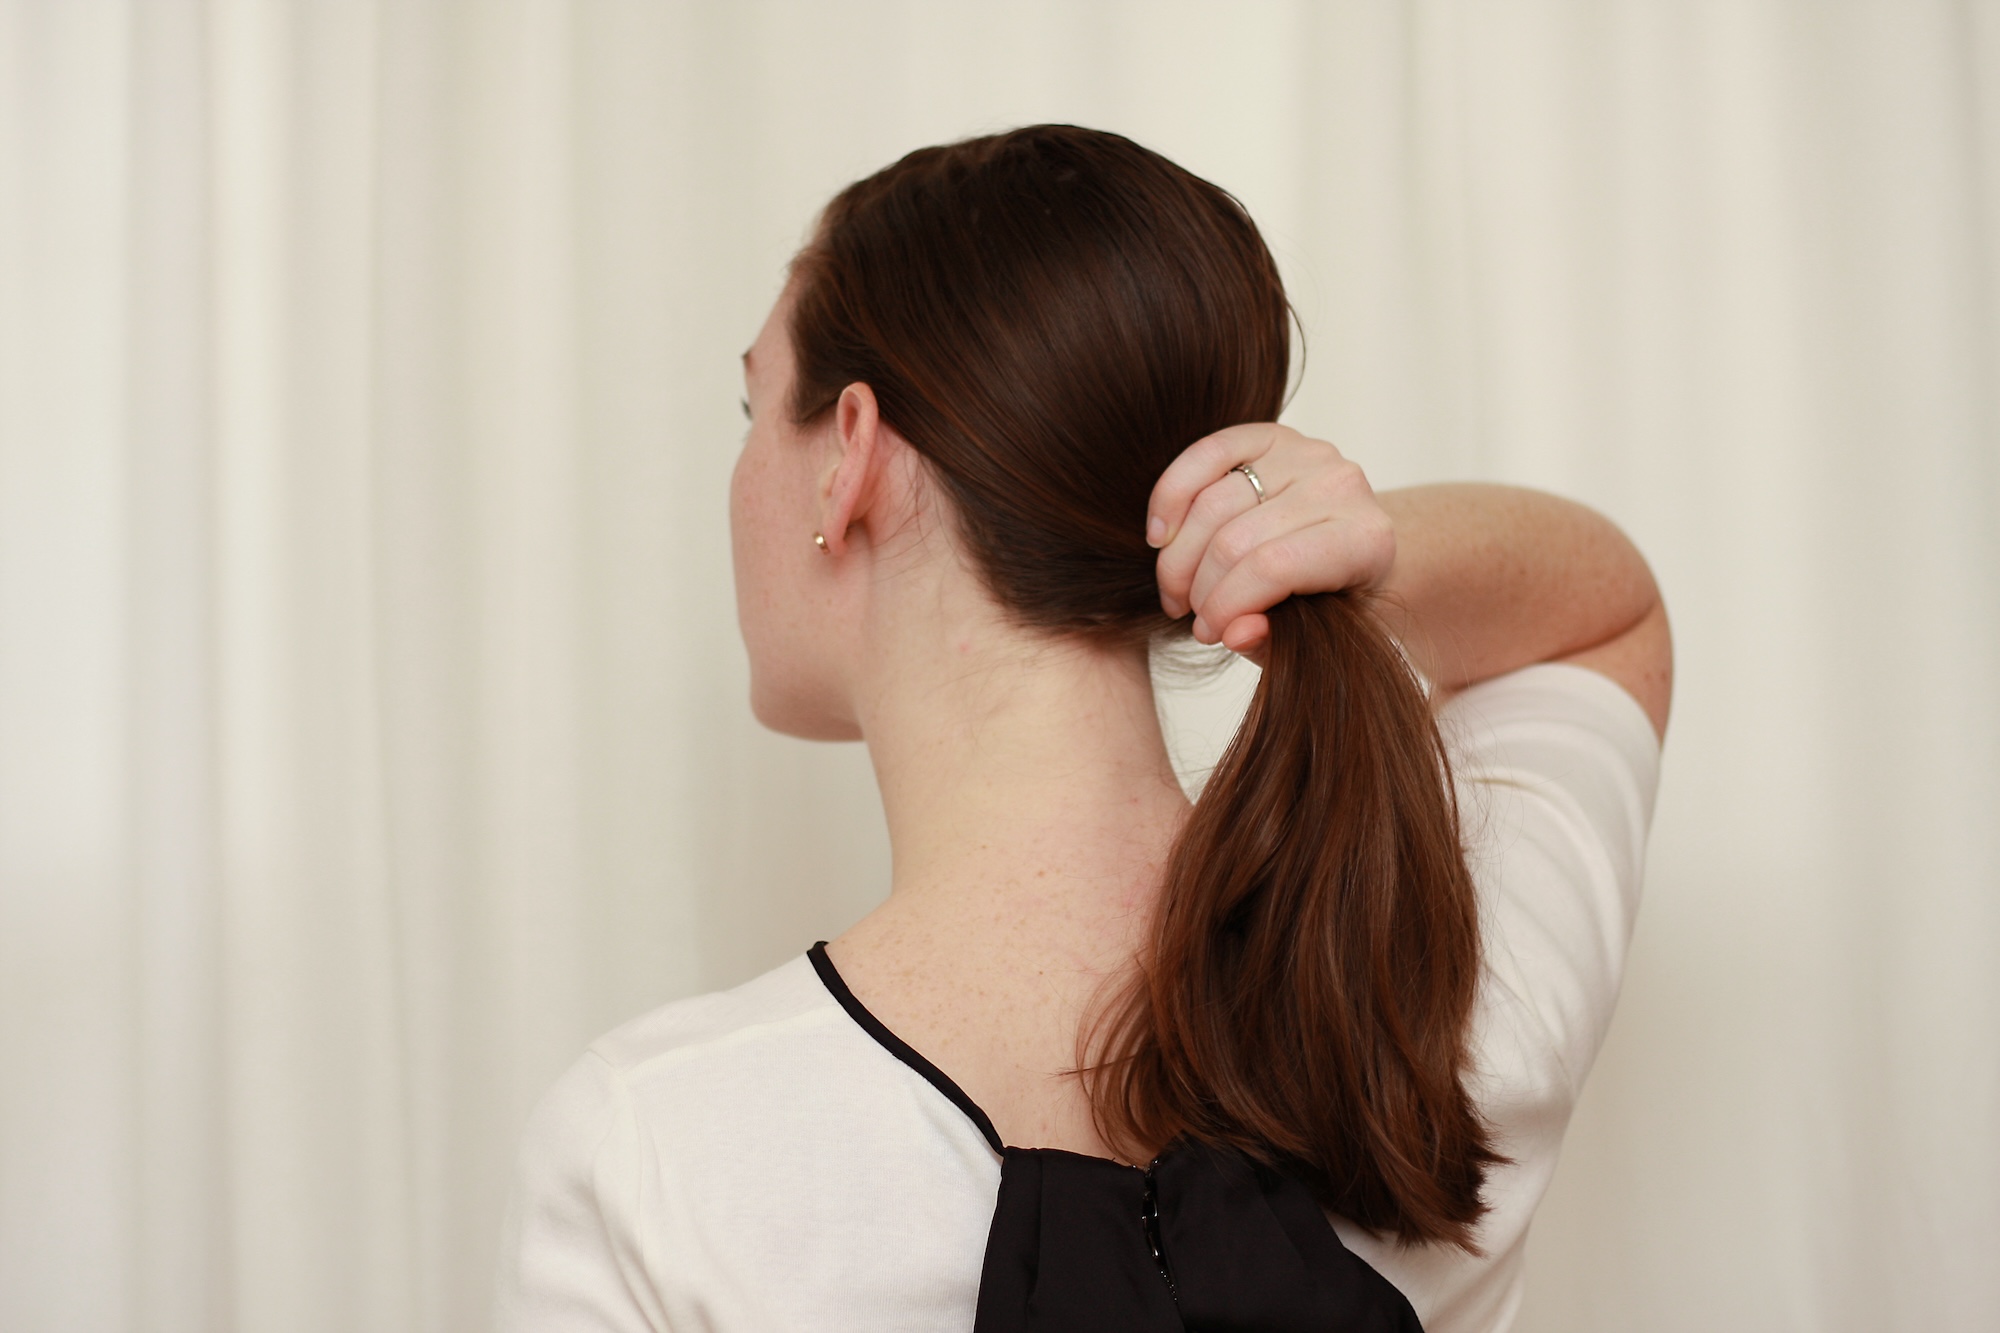
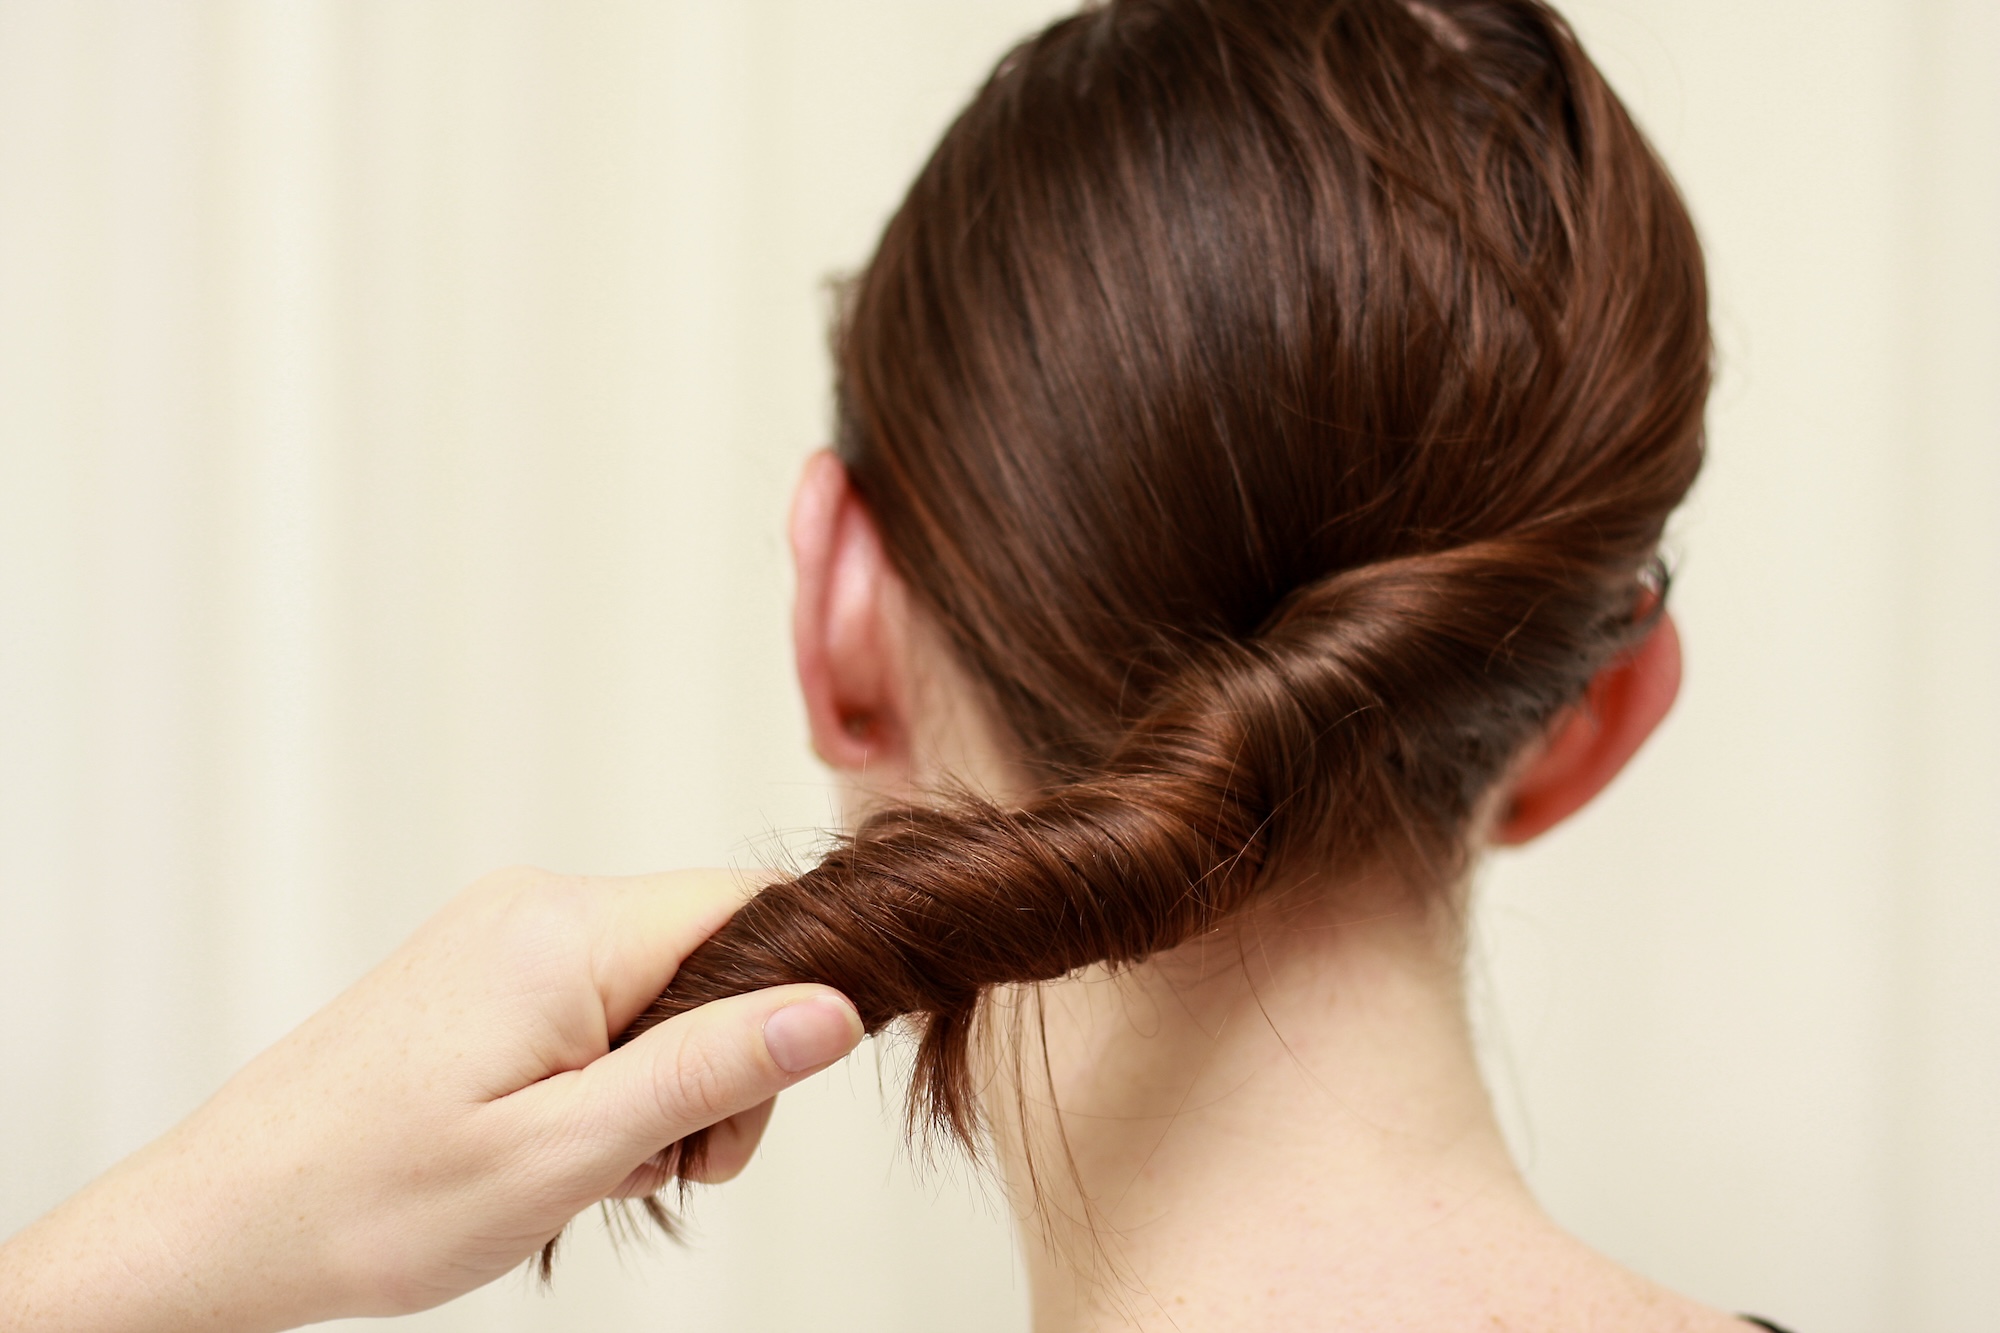
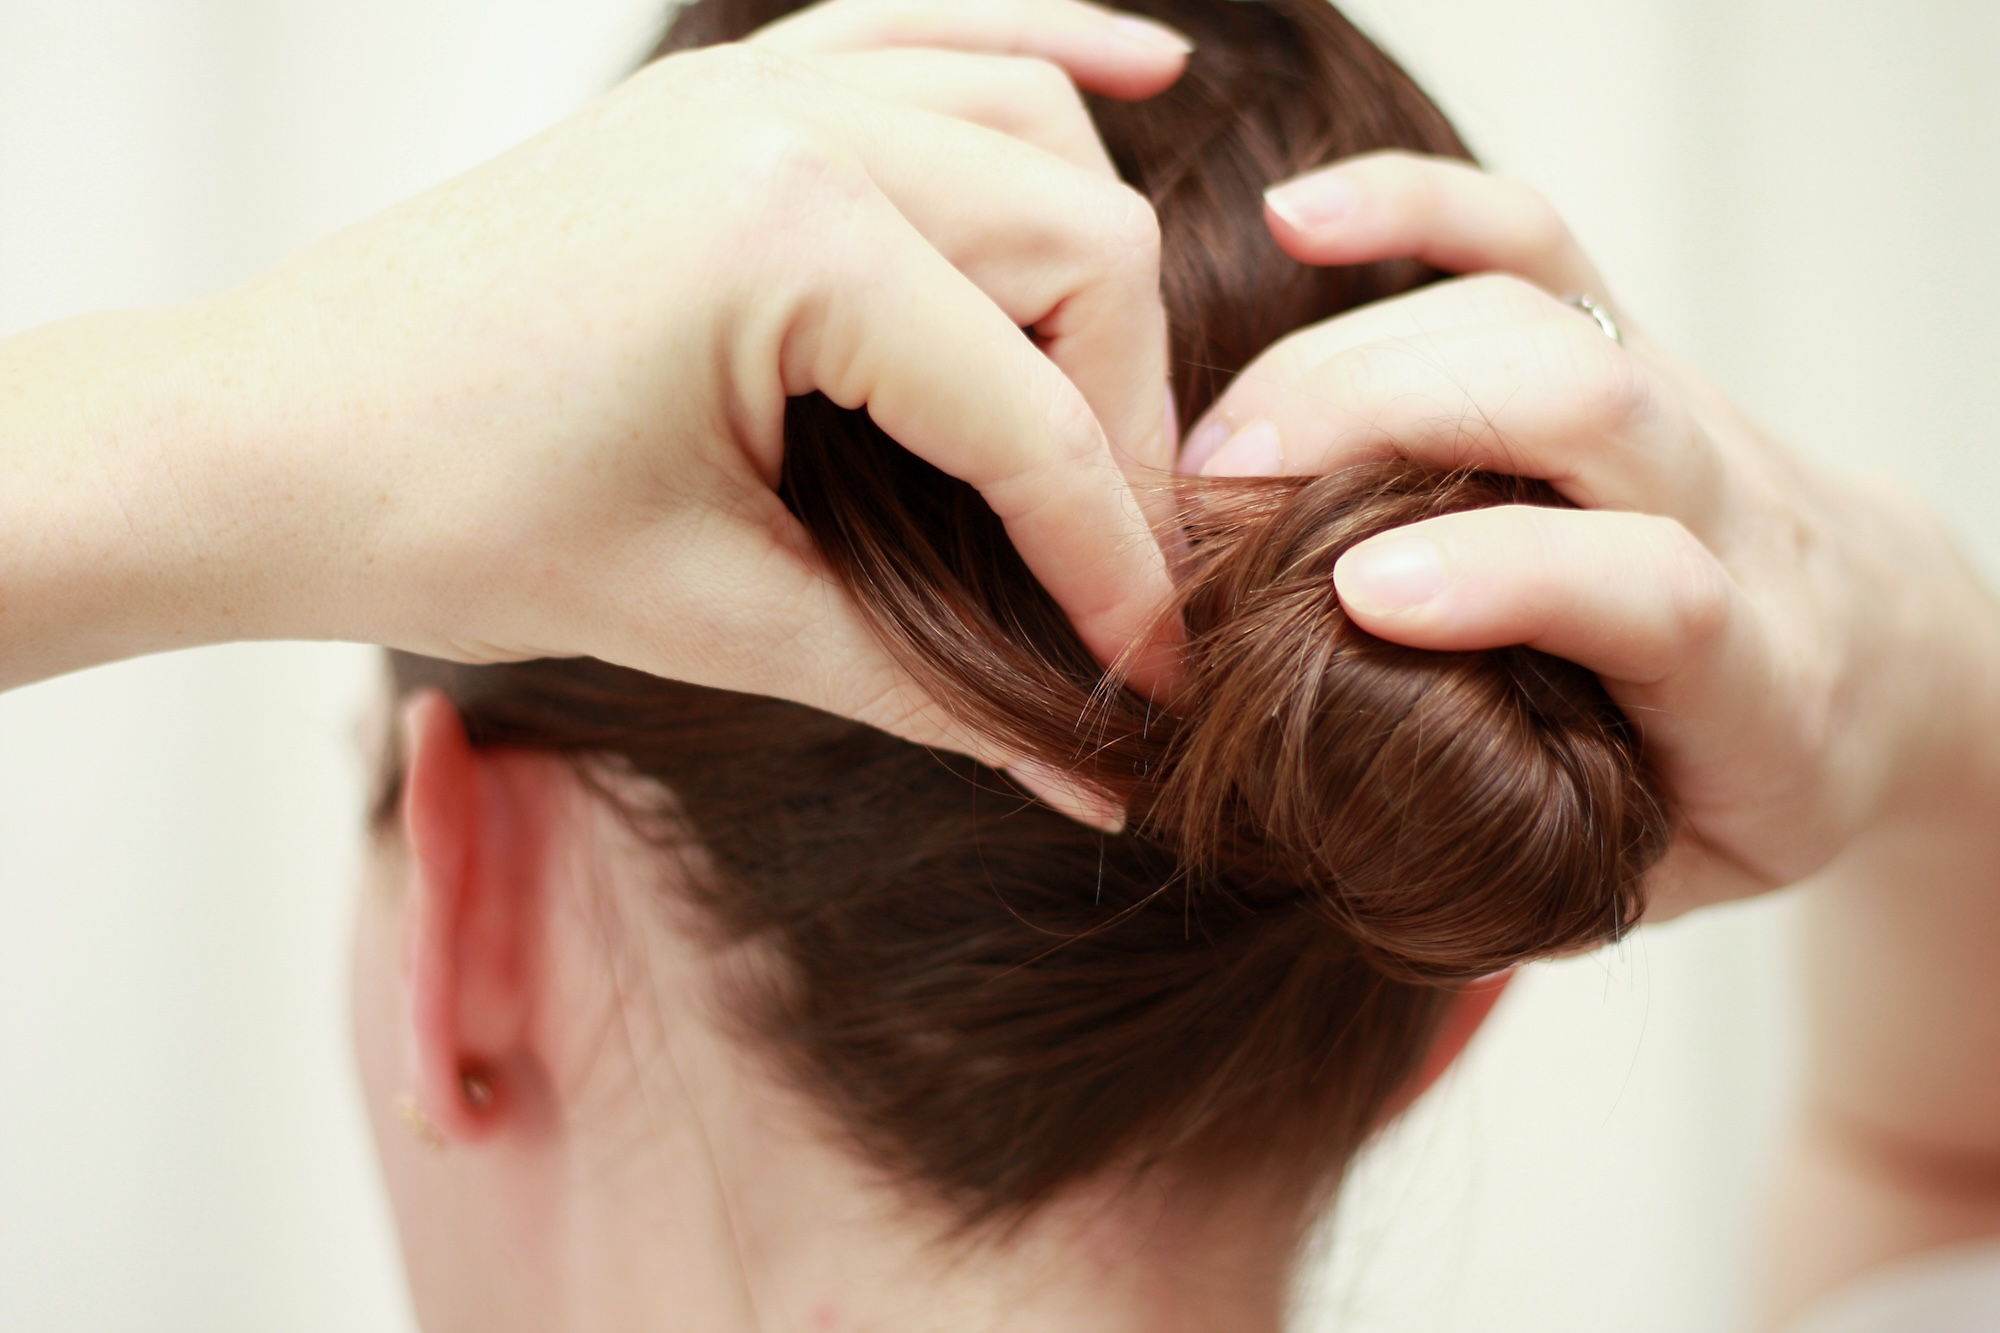
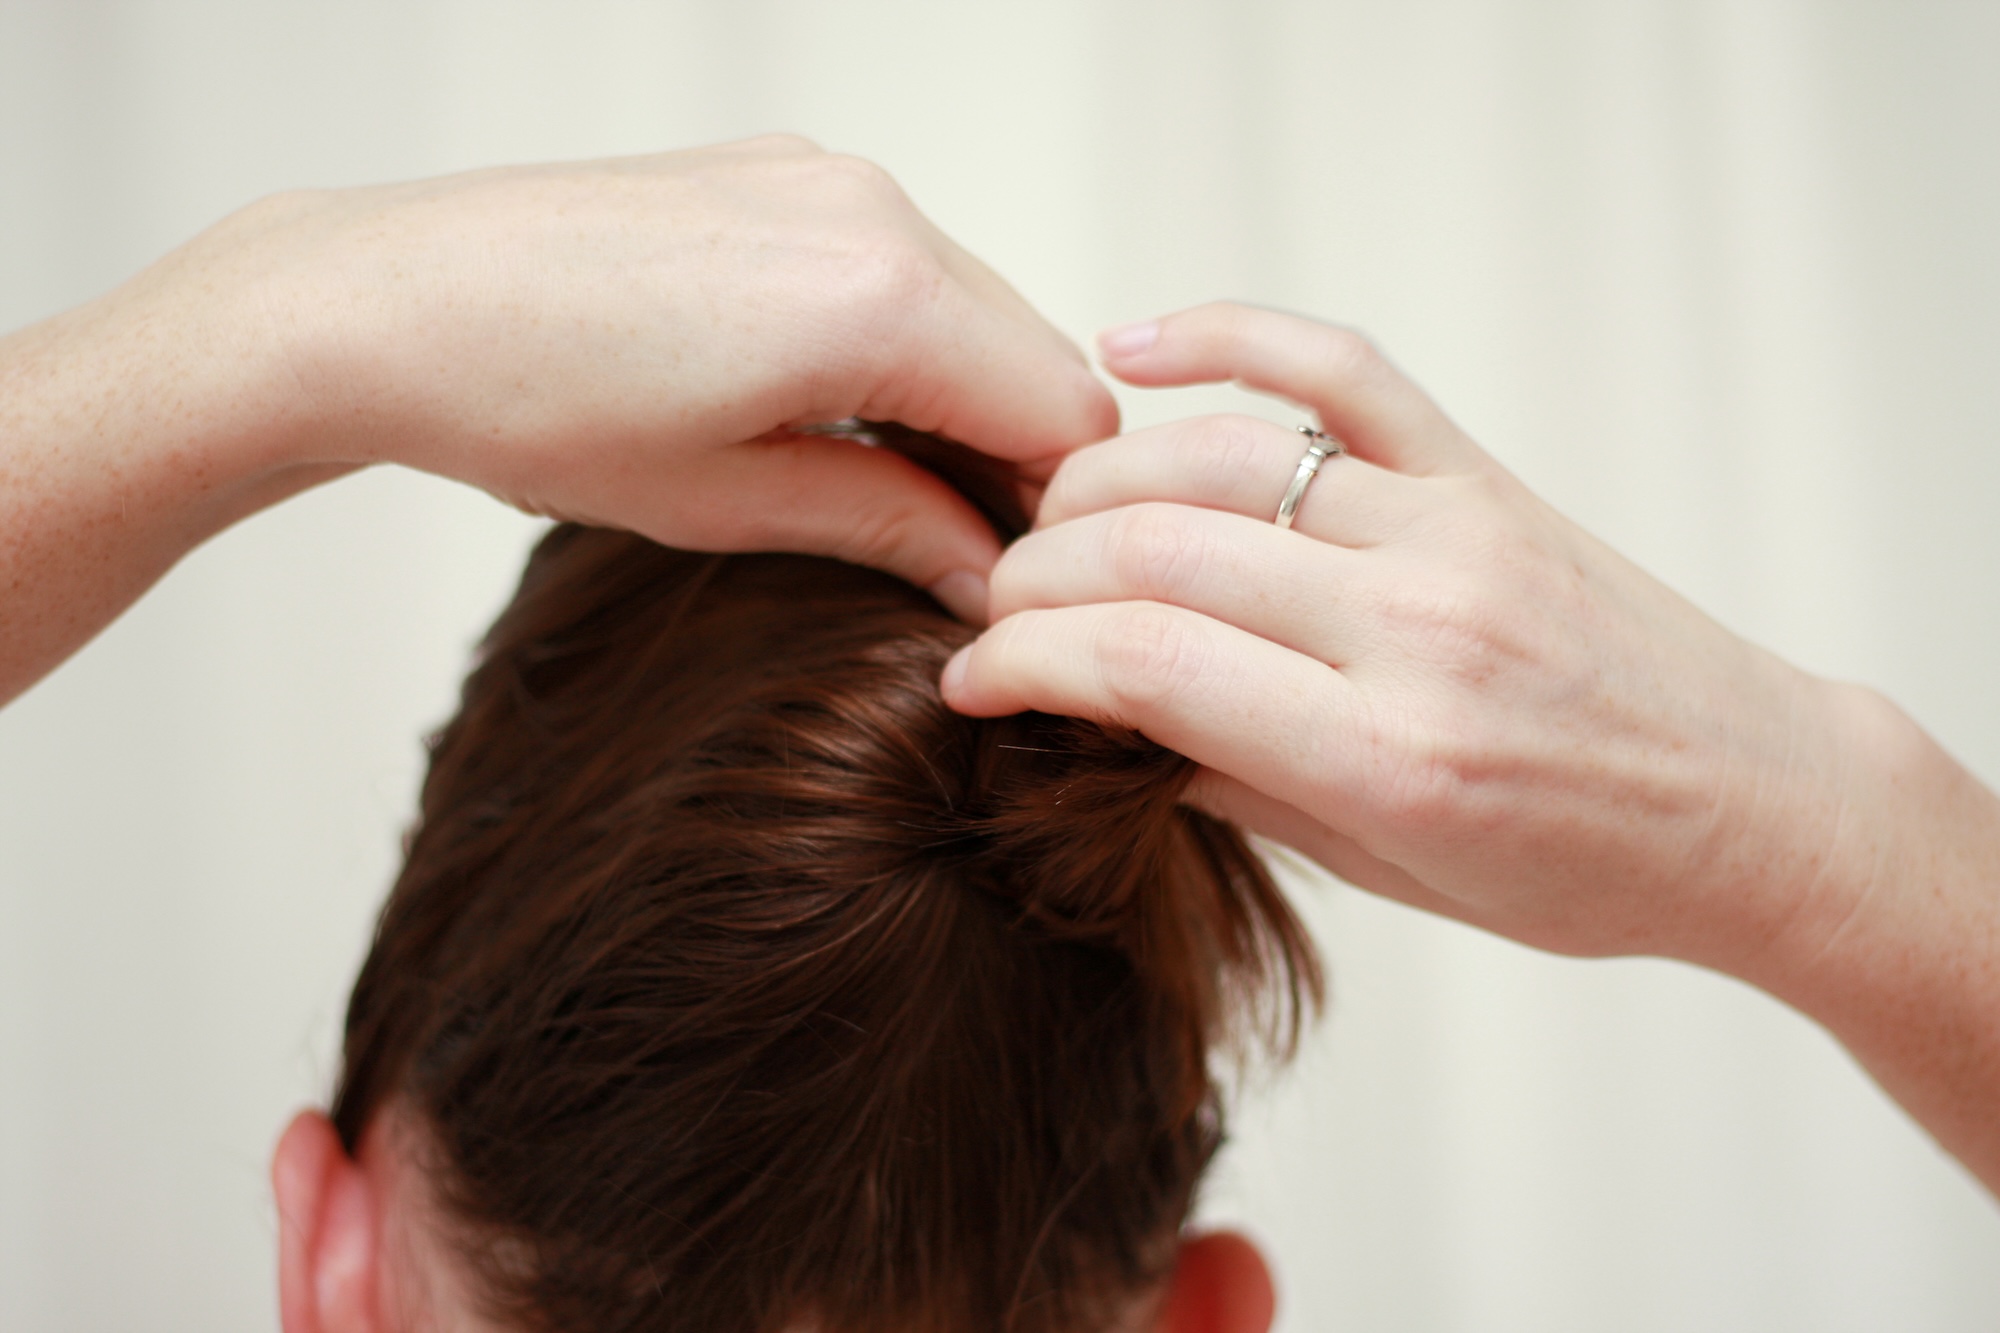
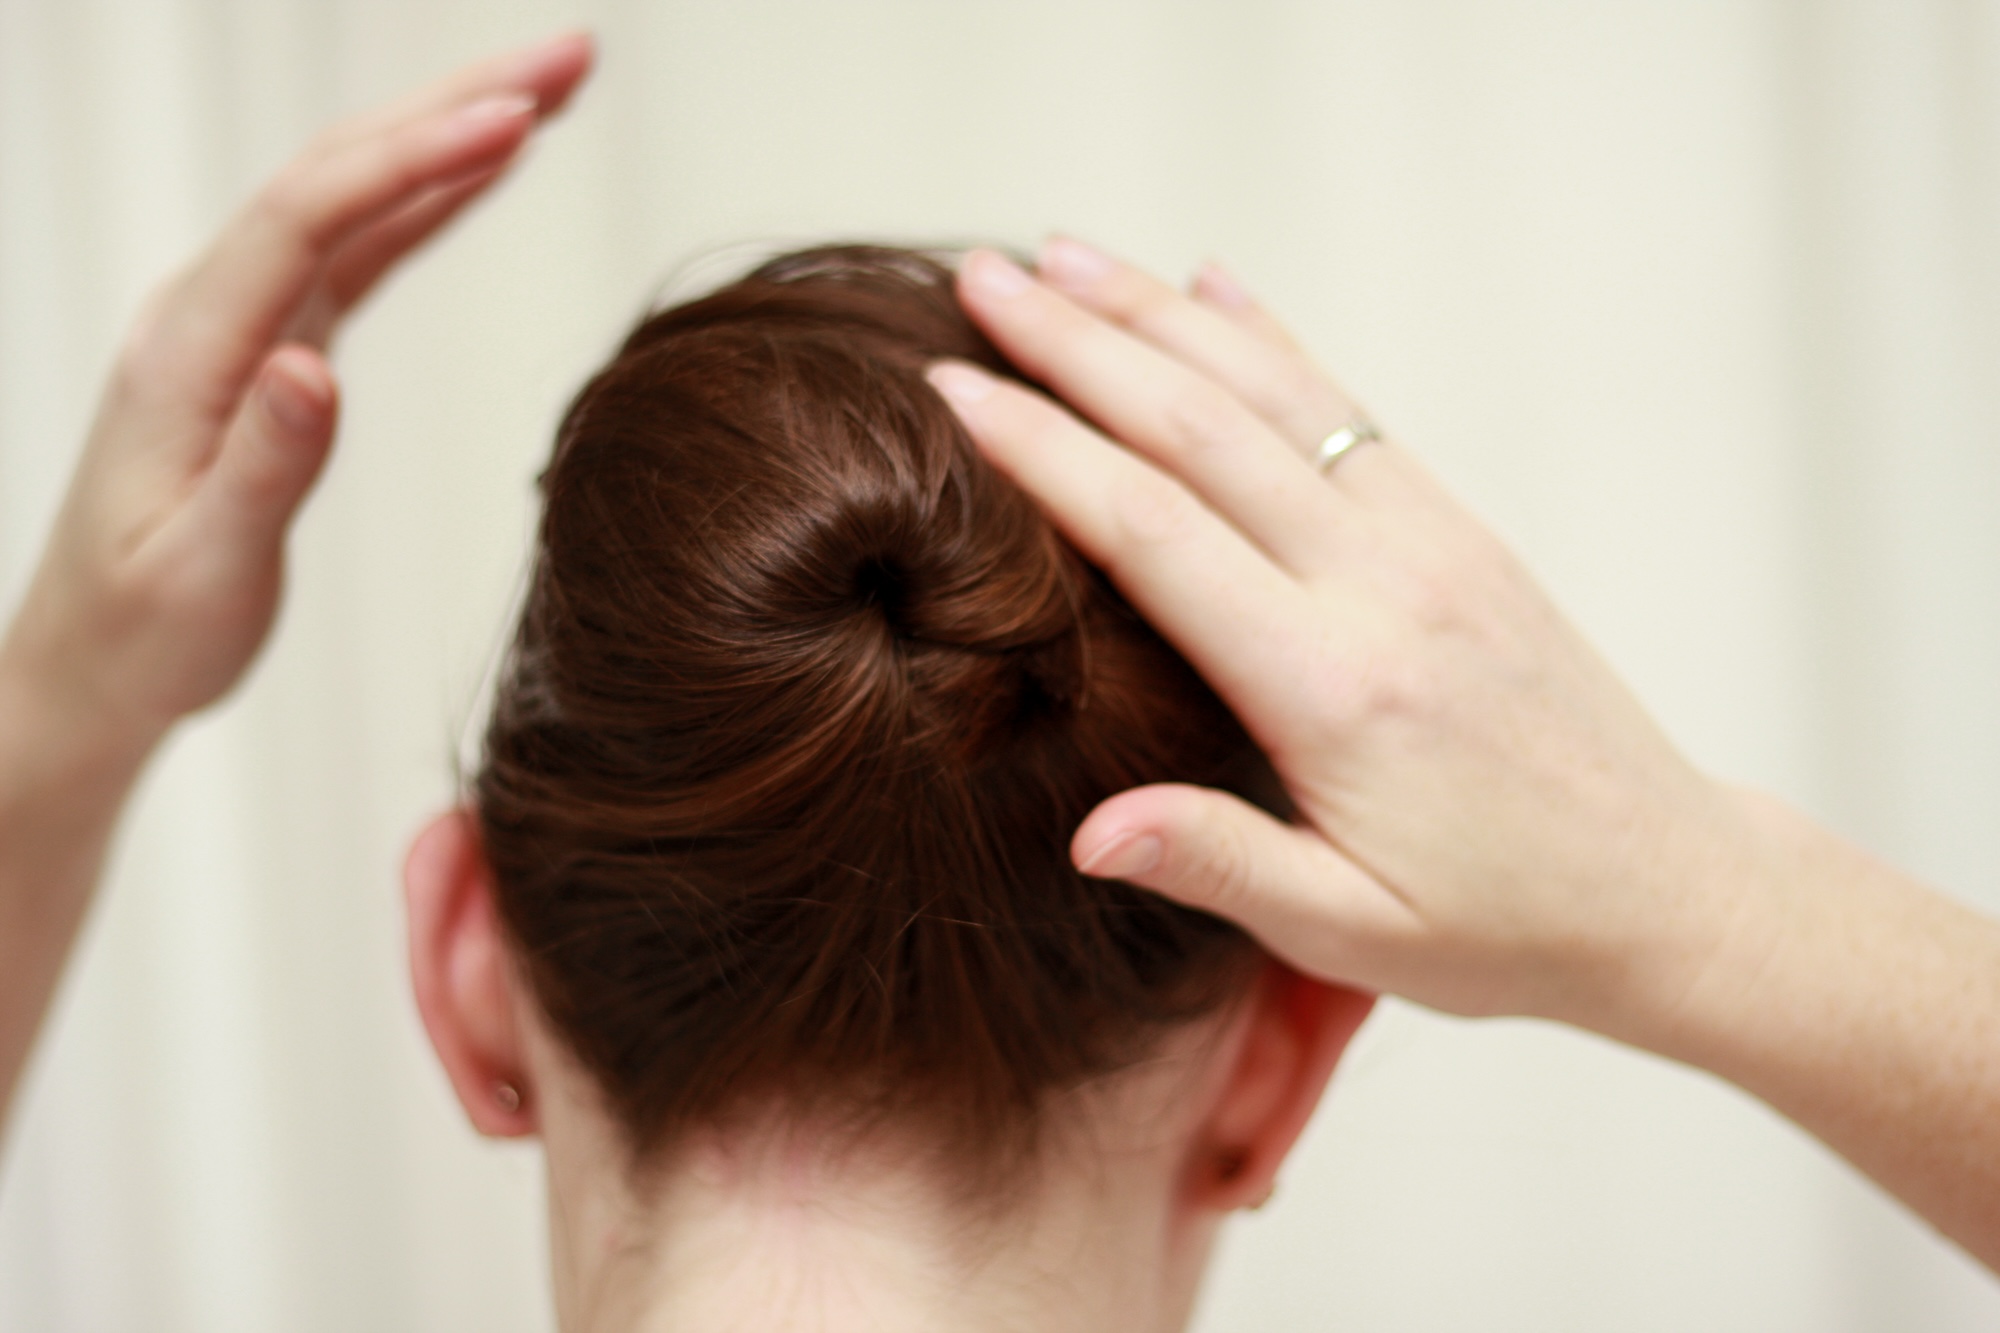
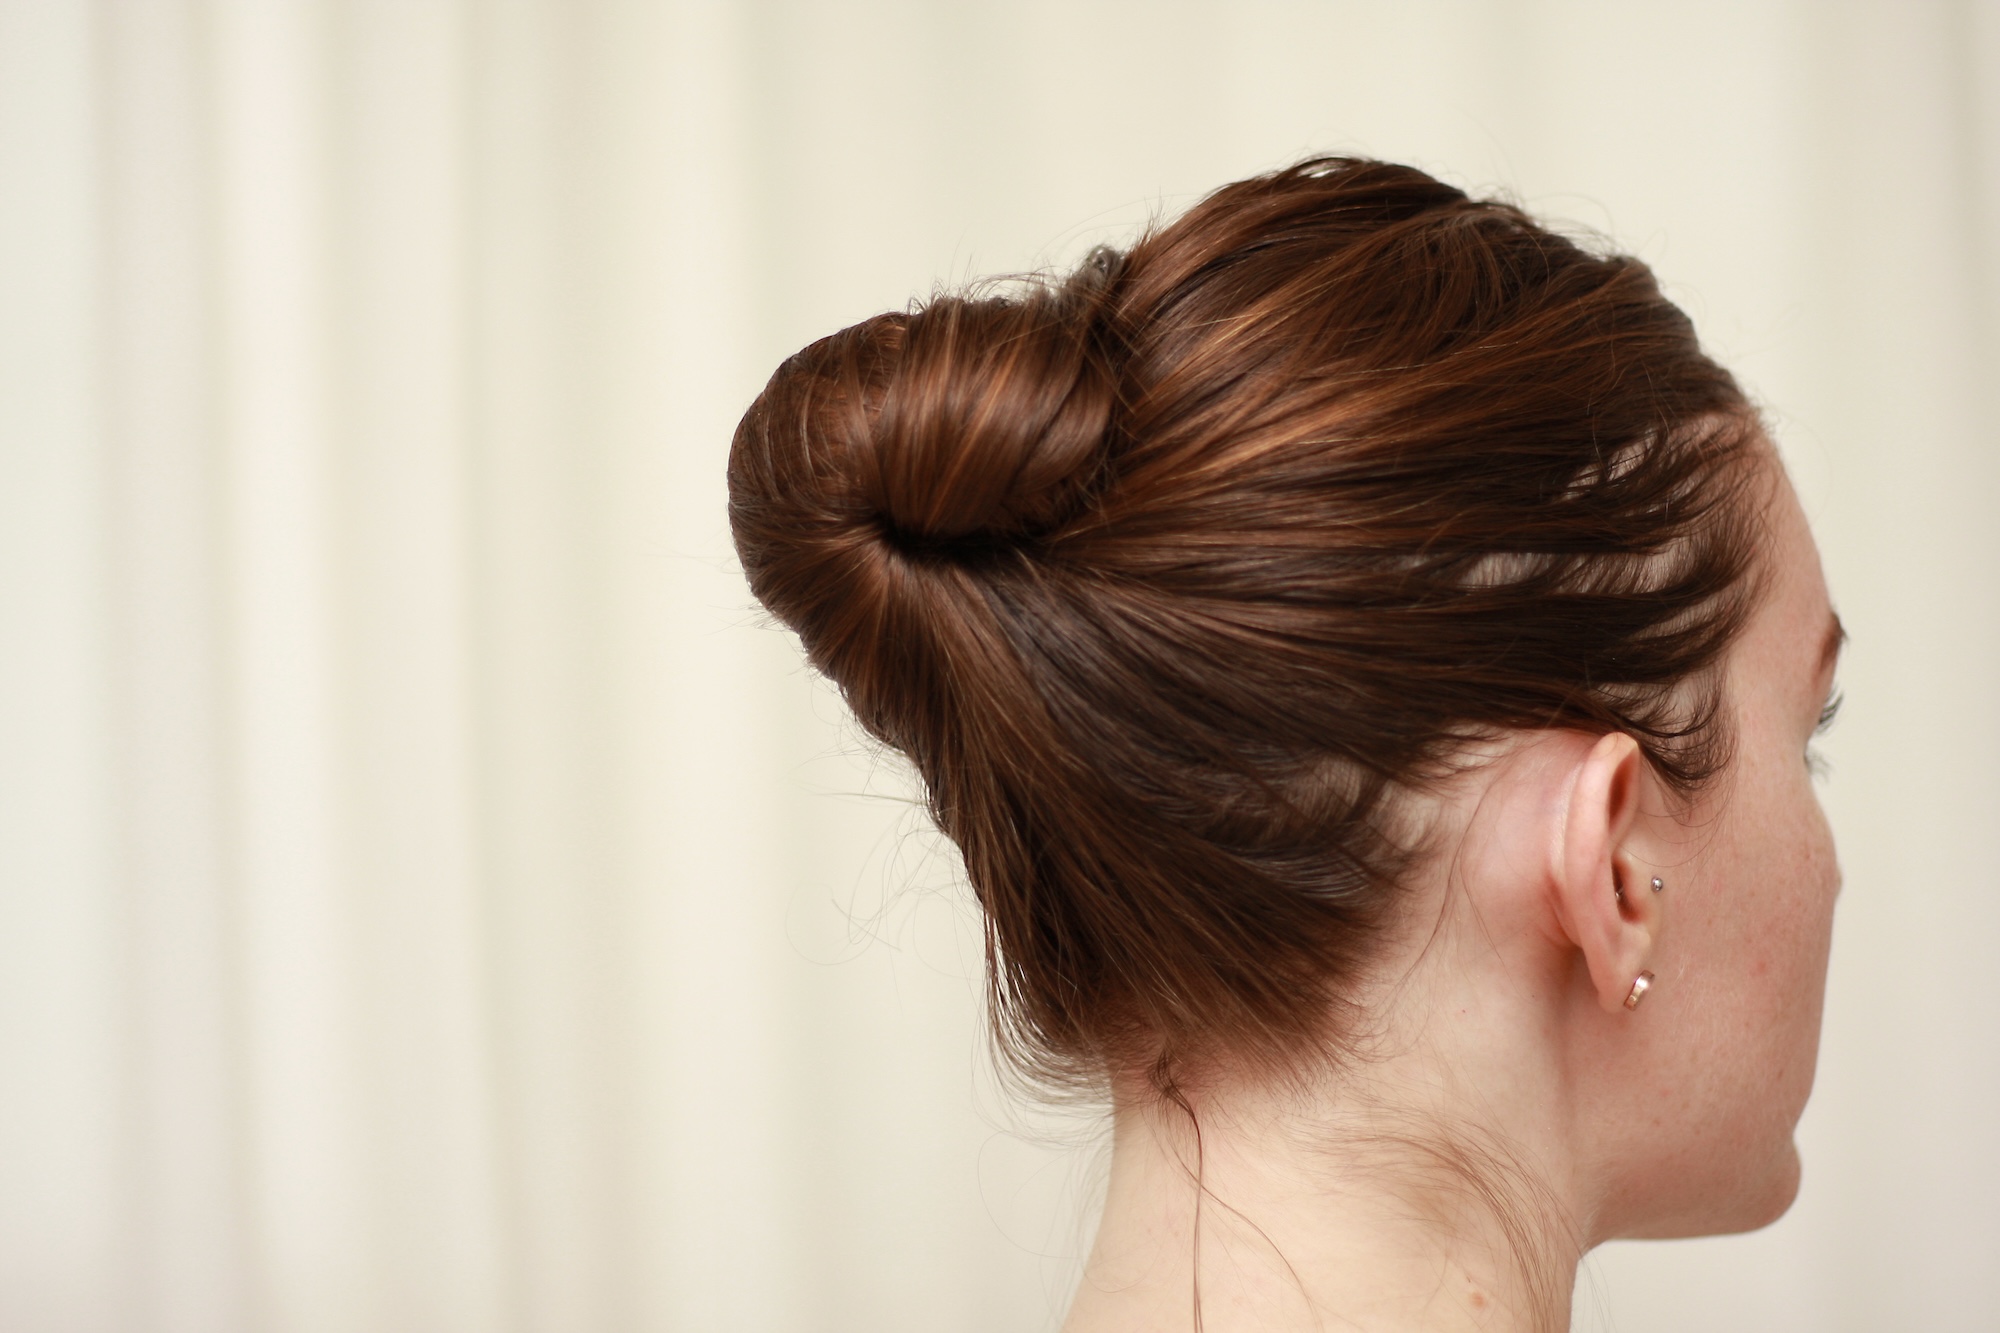
5. UPDO
A heatless, toolless hairstyle that is exceedingly elegant and makes for a cool party trick.
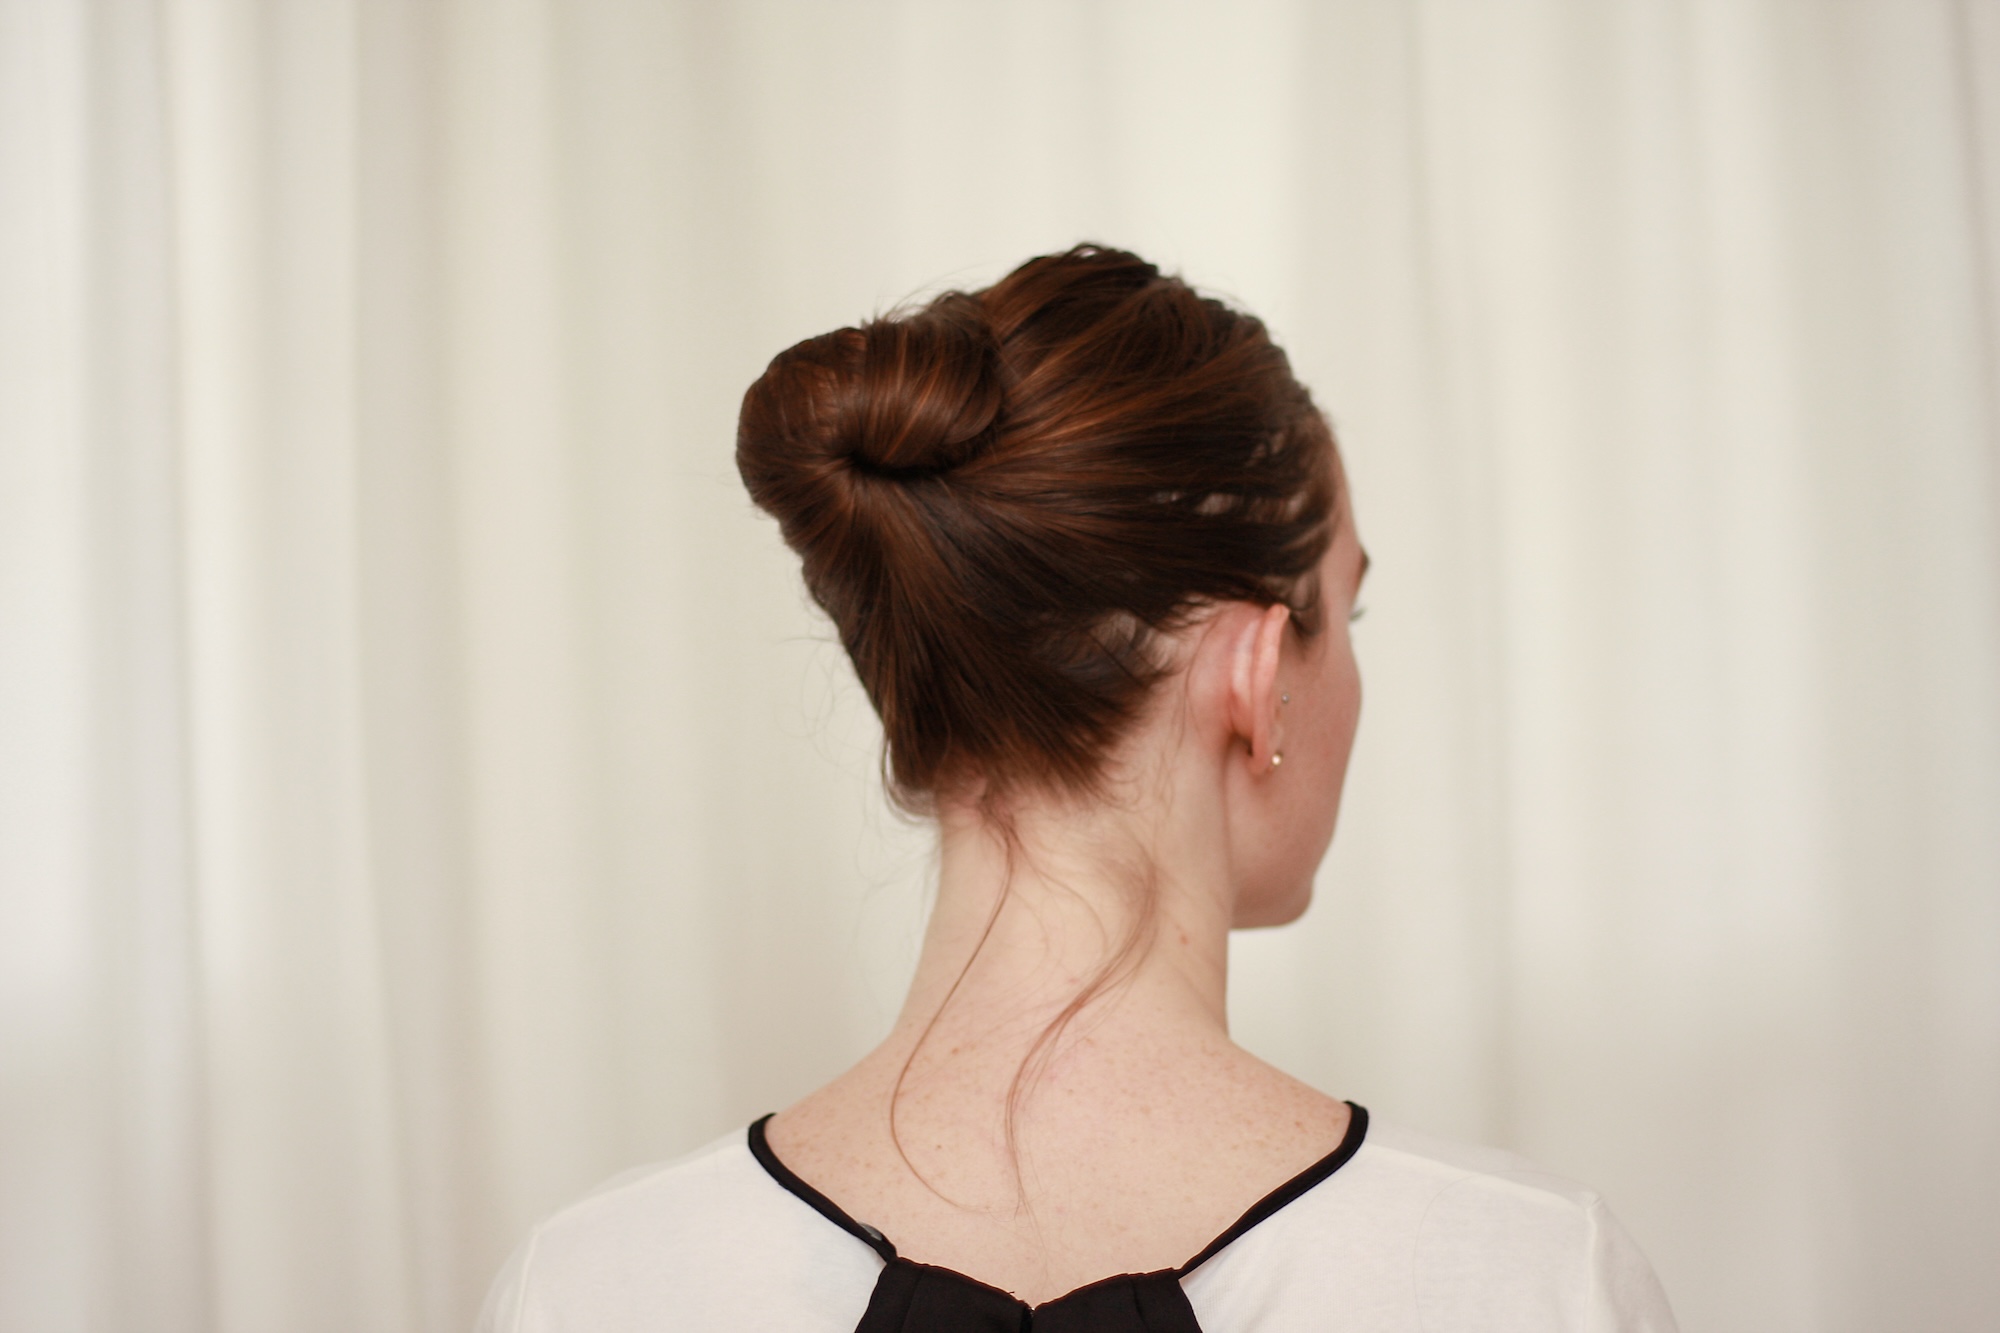
The first time I saw someone pull their hair back like this, I swore it was magic.
This hairstyle is classy and elegant, or can also be roughed up a bit to look more casual or edgy (my preference!). I’ll often pull my hair up like this briefly if it’s windy and I’m missing a hair tie, or if I need to shower and don’t want to wash my hair.
It takes a bit of practice to get it right, but once you have it down, you can accomplish this style in about thirty seconds. I find I have better success with this style on slightly dirty hair or with the use of hair texturizers, but if your hair naturally holds its shape well, you should be able to do this anytime! Here’s how:


FINAL THOUGHTS ON QUICK HAIRSTYLES FOR TRAVEL
Perhaps one day I’ll have a travel budget with enough room to accommodate a visit to a blow-dry bar before every trip, but for the foreseeable future, that’s not in the cards. For now, I’m happy to have a few quick and easy hairstyles ready to deploy so I can get out and enjoy my destination.
—
Questions for you
What are your favorite easy-to-accomplish hairstyles when away from home?
Do you part your hair down the middle or on the side?
Enjoyed this post? You may also like:
- A Review of Every Fragrance from Riddle Oil
- A Review of the Perfume Discovery Set from Skylar
- The Winter Skincare Edit
- A Flake-Free Pout: Comparing French Girl Rose Lip Polish and Olio E Osso Lip Scrub
- My Favorite French Beauty Finds
- Skincare Review: Dr. Jart+ Cicapair Tiger Grass Color Correcting Treatment
- My Five-Minute Travel Makeup Routine
- Cuyana Leather Travel Case Set Review – Four Year-Update
- Traveling Light: Packing a Liquids Bag for Summer Travel
- How to Pack Faster
- All Travel Guides by Destination
- Checking In: Hotel Reviews
- Shop My Closet
- Exclusive Discounts + Promo Codes


so many awesome hairstyles! I love the side braid one!
Thanks so much! It’s a favorite for sure