What on earth is an æbleskiver?
I’m so glad you asked!
These poppable, spherical, portable little pancakes also known as aebleskiver or ebleskiver are dangerous—both in the “you’re definitely going to eat too many” way and also the “you’re probably going to burn yourself at some point during the making process” way.
But they are worth it.
A quick disclaimer: though I've spent time in Denmark, I've never had æbleskiver during my time there. That's because these treats are traditionally served during the Christmas season (with gløgg, obviously) and I visited during the summer. But no matter, they're perfect wherever you are in the world!
And yes, you’re going to need special equipment to make them, but it’s only one thing and you can probably find other clever ways to reuse your new pan throughout the year (or so you’ll tell yourself, but really æbleskiver are all you’ll make).
This post contains affiliate links and I may receive a small commission if you make a purchase after clicking one of these links (at no additional cost to you!). Thank you for your support—it enables me to run this site ad-free!
I’m not doing a great job of selling these to you, am I?
Sorry.
How about I just show them to you?
Trust me, they are delicious and easy to make, you’ll see:
HOW TO MAKE ÆBLESKIVER
Get your æbleskiver pan and your ingredients ready (I don’t always do a mise-en-place but it really simplifies things here). Preheat your pan on the stove over medium heat.


Separate your eggs and beat your egg whites until you achieve stiff peaks. Once, I raced my stand mixer by whisking egg whites in a copper bowl—and I won. Now I nearly always whisk them by hand.


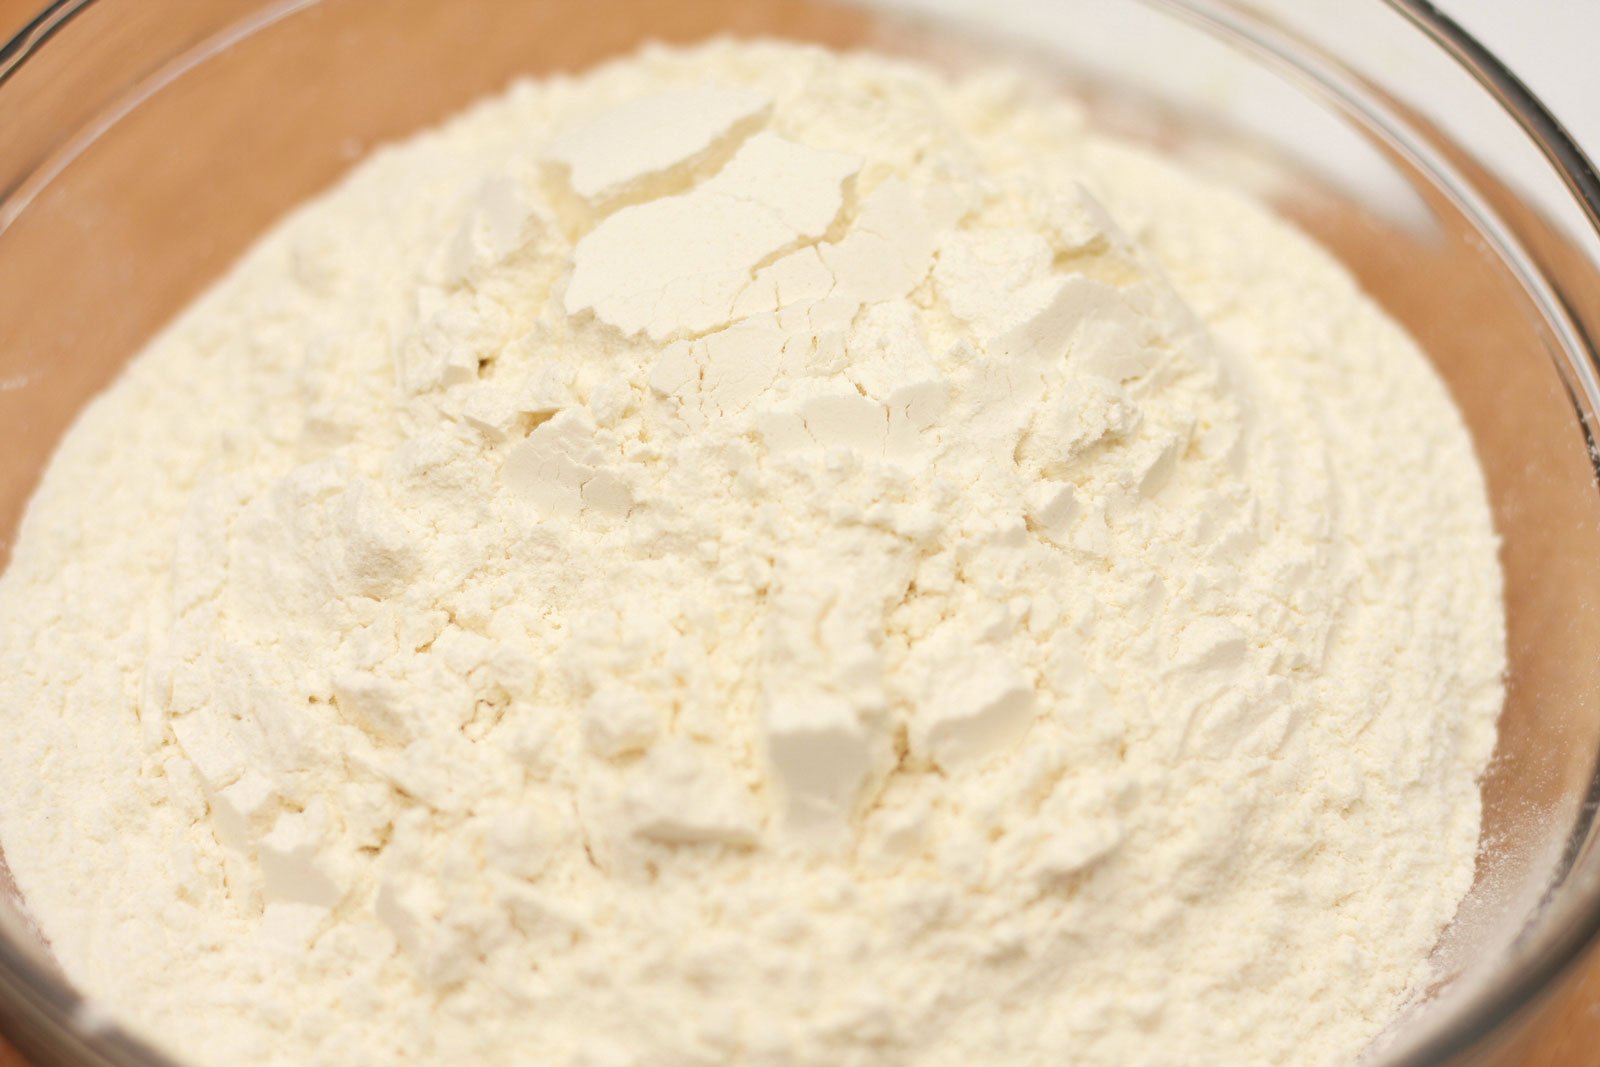
Mix your dry ingredients together (flour, baking powder, baking soda, sugar, and salt), and add in your wet ingredients (melted butter, buttermilk, and egg yolks). I don’t often have buttermilk on hand, so I add a splash of vinegar or lemon juice to my milk—a very acceptable substitute.


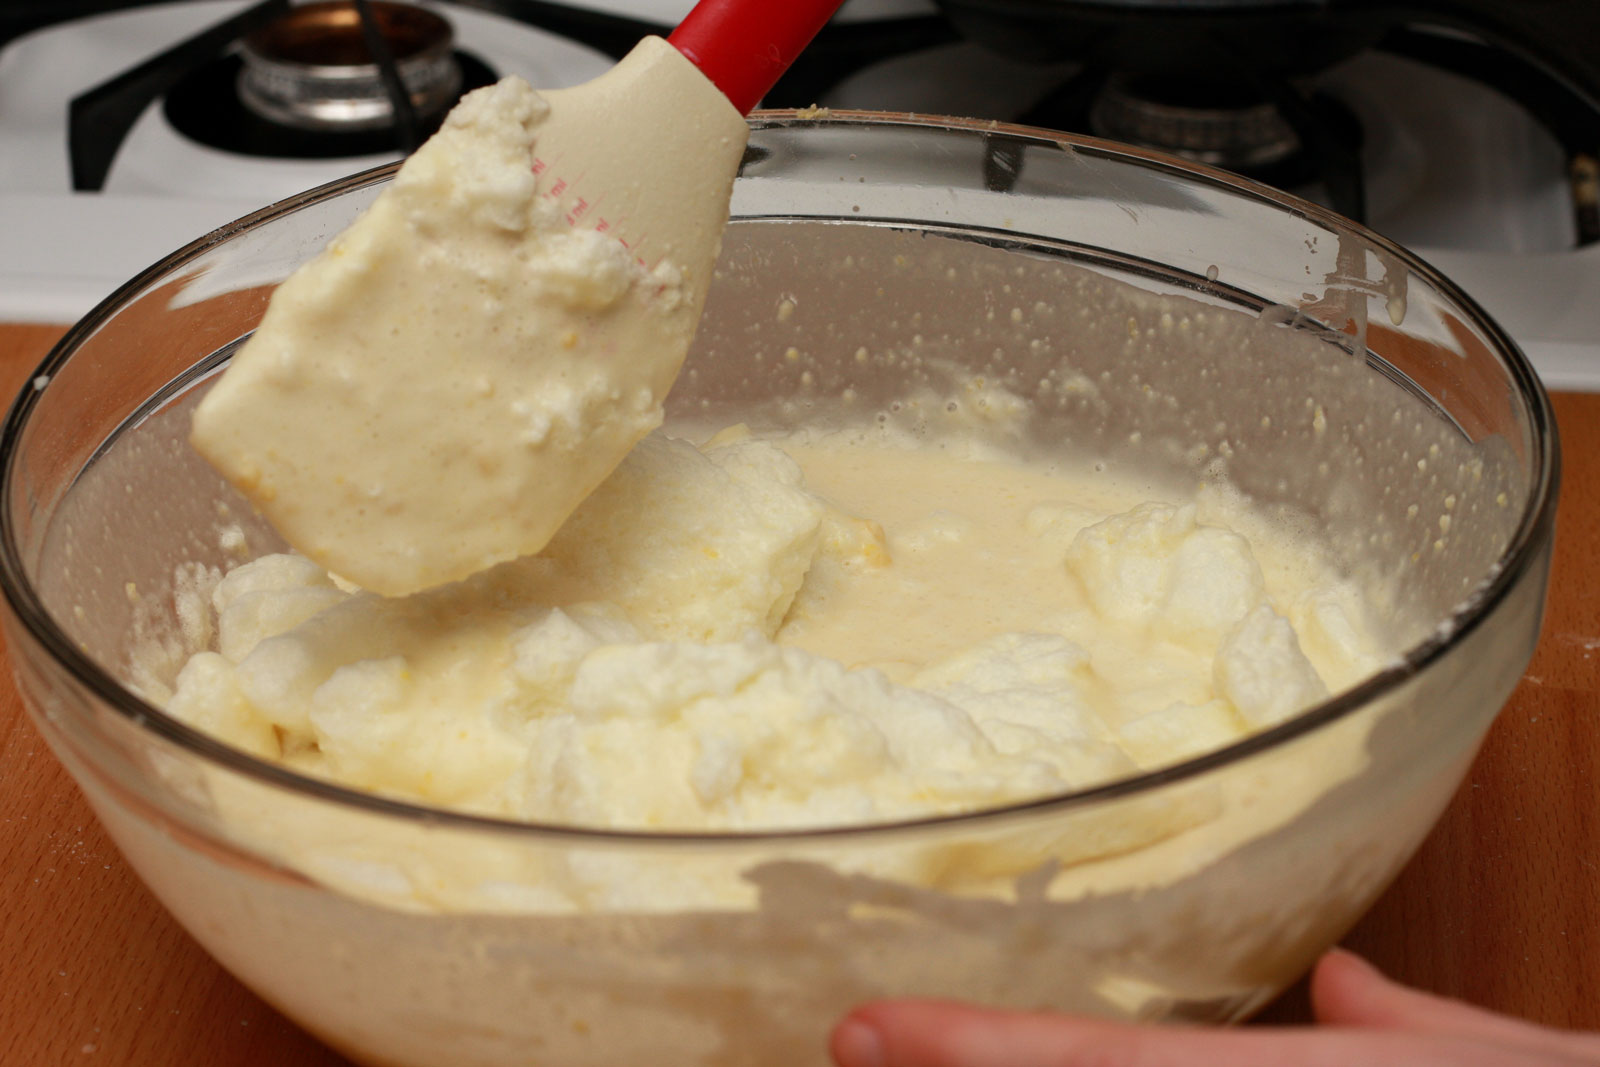
Gently fold in your egg whites. After all, you don’t want to knock out all of the air you just whipped in, right?
Add a small amount of butter or ghee (my preference) to each well in the pan. Once melted, ladle a little batter into each slot, just below full (it will swell as it cooks). Add in your desired fillings (apples are traditional, but feel free to make them your own—Michael enjoys his with a bit of ham and gruyere in the middle).
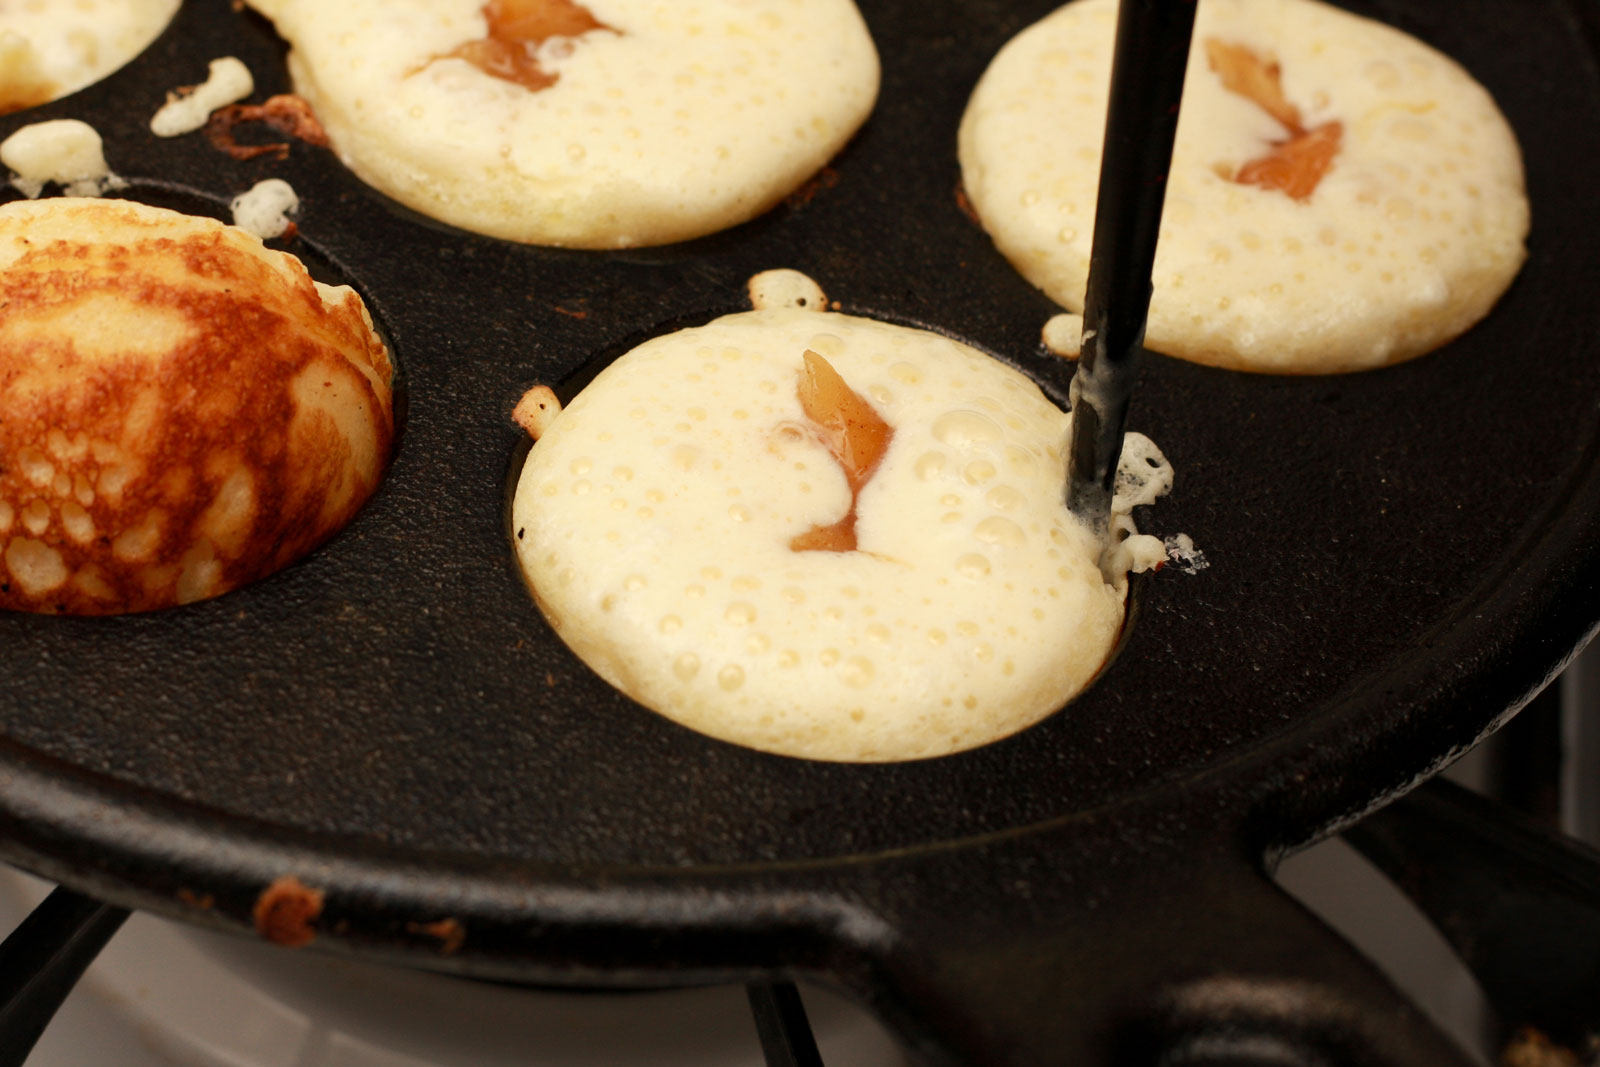
Now comes the tricky part, the part that may take you a little practice to perfect: once the batter has formed a cooked layer in the bottom of the pan, but still has a fair amount of wet batter in the middle, take a chopstick, knitting needle, or (if you’re super committed) a special æbleskiver turning tool and carefully turn each æbleskive a quarter-turn.
The still-wet batter will fill the newly created space, nearly rounding out the ball. Turn it once more as the batter cooks and hardens, and you’ll achieve a perfectly spherical pancake bite. Continue the process until all batter is used; chances are you’ll get better with each batch (and those imperfect ones? Chef’s treat).
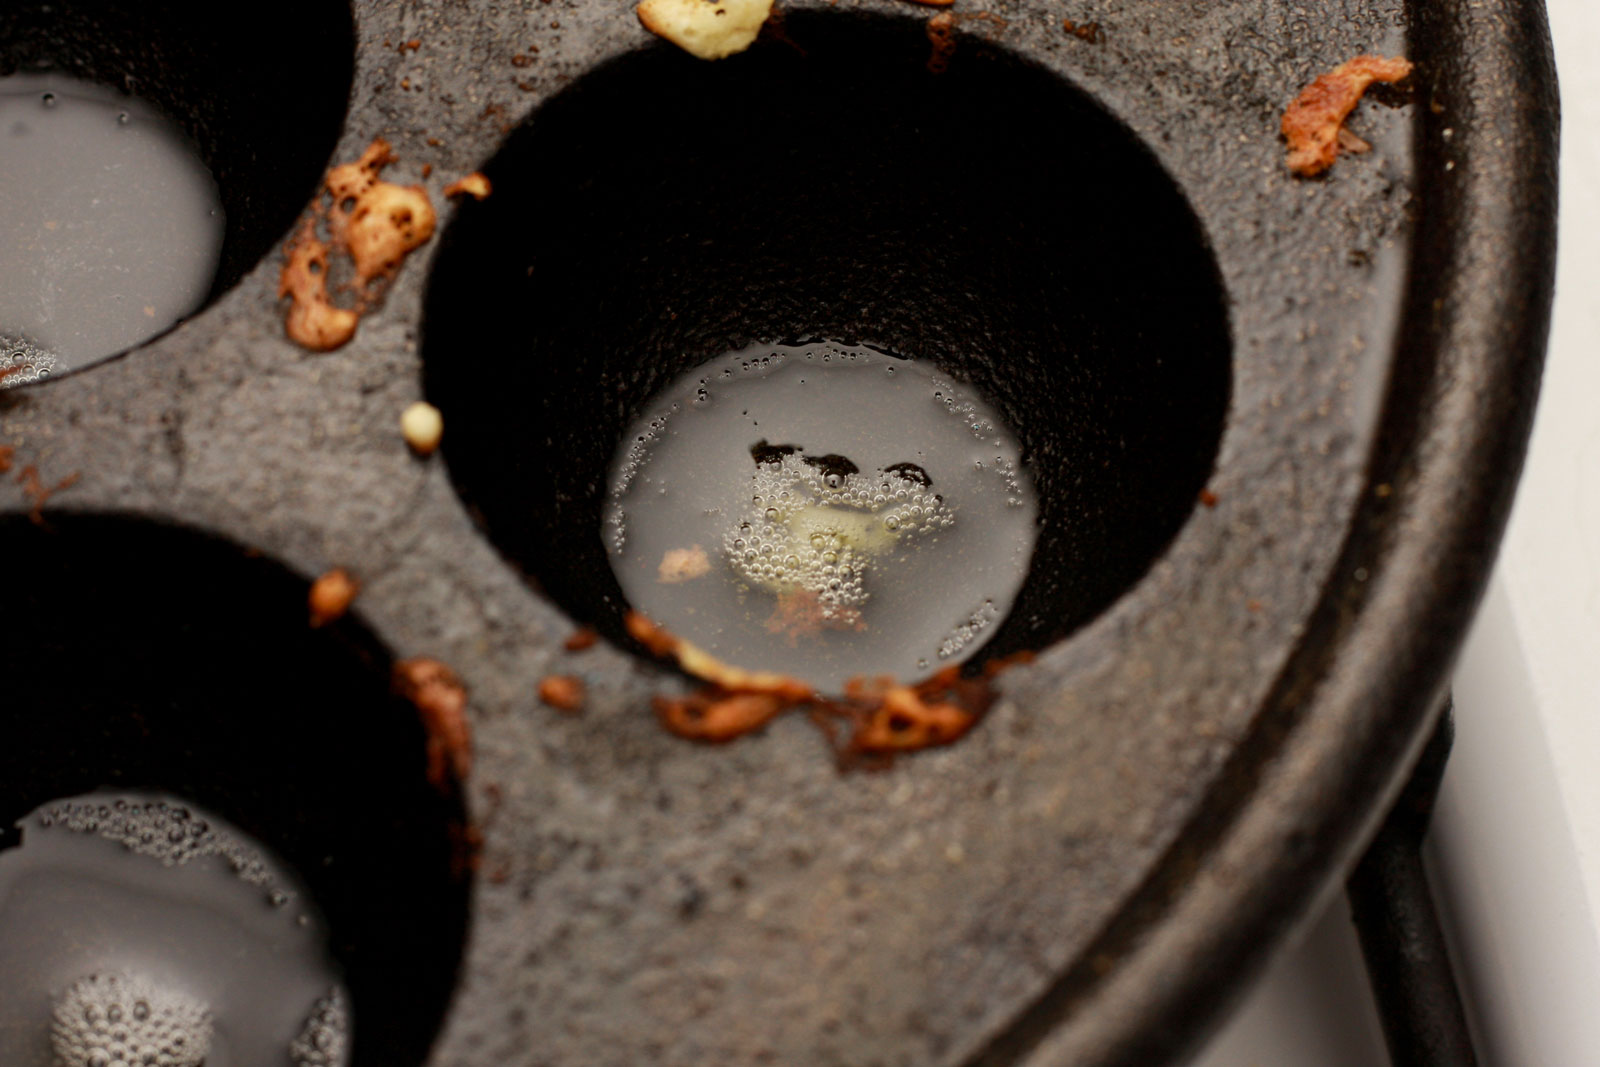



Top with powdered sugar (if desired) and enjoy! They can hang in the refrigerator for a couple of days or placed in the freezer for several months. Just pop them in the toaster oven to bring them back to life.

ÆBLESKIVER RECIPE
Yield: about 24
Adapted from Serious Eats
Ingredients
2 eggs
2 cups all-purpose flour
2 tsp. baking powder
½ tsp. baking soda
4 Tbsp. melted butter
2 cups buttermilk
1 Tbsp. sugar
½ tsp. salt
Ghee or butter, for greasing the pan
Spiced apples, jam, cheese, or other desired fillings (optional)
Powdered sugar for topping (optional)
Directions
Preheat your æbleskiver pan over medium heat. Separate the eggs, and beat egg whites until stiff peaks form. Combine all of your dry ingredients in a large bowl, and whisk in the melted butter, buttermilk, and egg yolks until smooth, taking care not to overmix as the batter may toughen. Gently and carefully fold in beaten egg whites until mostly incorporated.
Add a small amount of ghee or butter to each well in the æbleskiver pan. Once melted, pour in the prepared batter to just below the edge of each well. Add a small amount of filling to the center of each æbleskive. Once the edges have just cooked and firmed, carefully turn each pancake one quarter-turn. After the newly formed edges have cooked, turn at least once more to seal the sphere. Cook until golden and remove. Repeat until all the batter has been used, and top with powdered sugar if desired.
Æbleskiver are best served warm with a mulled beverage of your choosing. To store, refrigerate for several days or freeze for several months. Revive stored æbleskiver by toasting in a toaster or conventional oven for several minutes.
FINAL THOUGHTS ON MAKING ÆBLESKIVER
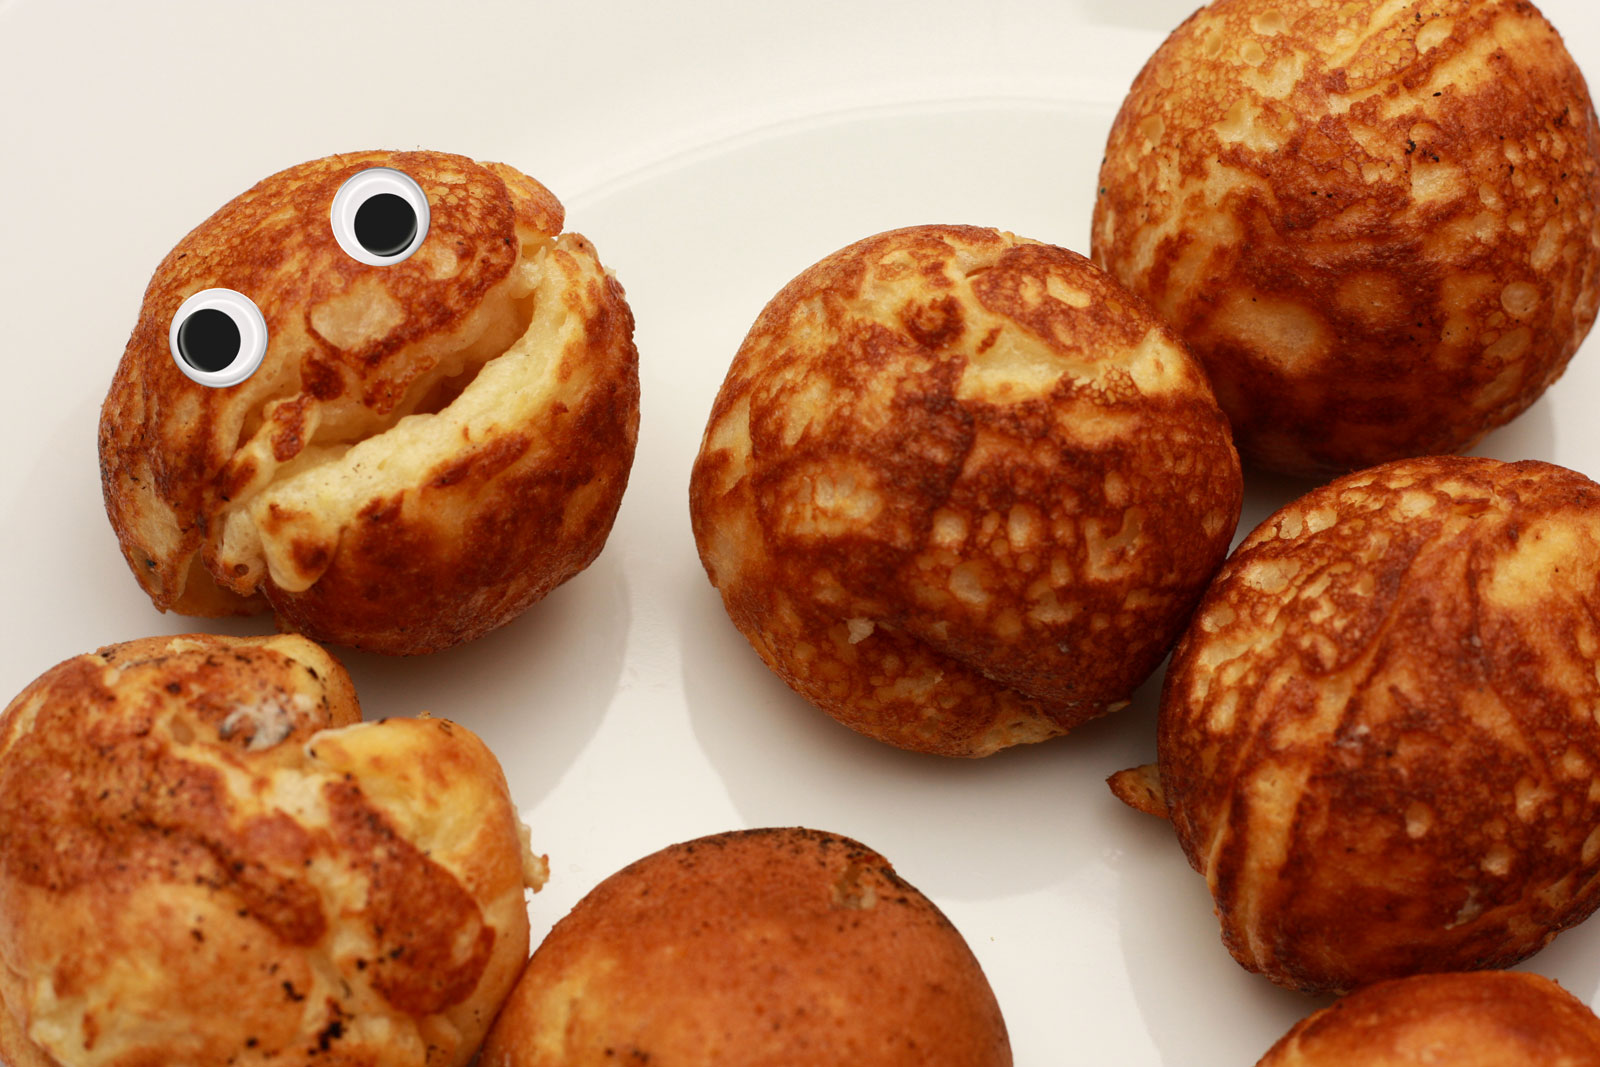
Even if they wind up looking more like a squishy face than a sphere, æbleskiver are still a delicious treat to add to your list of holiday traditions. What filling will you place inside?
—
Questions for you
Have you ever made æbleskiver?
What is your favorite holiday food tradition?
Enjoyed this post? You may also like:
- All New York City Travel Guides
- Fresh Pasta Carbonara Recipe
- Liege Waffles Recipe
- International Holiday Recipe: Æbleskiver
- Recipe: Pre-Trip Pizza
- Five Easy Meals
- Enjoying a Vacation Tradition at Home: Serving up Three Effortless Apéritifs with Le Moné
- Everything Cookies Recipe
- How to Brew Coffee at Home with Chemex
- Recipe: Swedish Sticky Chocolate Cake (Kladdkaka)
- Vegan Irish Cream Recipe
- Pistachio Ice Cream Recipe
- All Travel Guides by Destination
- Holiday Gift Guides
- Shop My Closet
- Exclusive Discounts + Promo Codes


