Ahh, bagels. I first tried bagels as a teen (yes, I know that’s way too old; in my defense, my parents don’t really eat them, so by default I didn’t either), slathered in butter and strawberry jam (related: my mom does not eat cream cheese). Despite these first bagels being of the grocery store variety, it was a transforming moment.
The first time I had a real, New York bagel I was well into my twenties. After that experience, I couldn’t go back to eating the plastic, gummy bagels sold at my local grocer. Each time Michael and I visited NYC again, we’d drop our bags and immediately head for a bagel place (in fact we still do), in complete bliss at the impossibly chewy, yet crunchy ring of goodness. Around this time, I began dabbling into bread baking, which eventually led to attempting bagels at home.
This post contains affiliate links and I may receive a small commission if you make a purchase after clicking one of these links (at no additional cost to you!). Thank you for your support—it enables me to run this site ad-free!
Bagels are not a quick thing to make (this shouldn’t come as a surprise; few things in this world that are made quickly are really any good), but they are also not terribly difficult to tackle if you take it one step at a time. You can go ahead and get started now and finish them in your pajamas tomorrow morning.
I promise you’ll have plenty of downtime for a movie tonight and for tomorrow’s paper with a cup of coffee. You won’t regret it.
Oh, and if you bake a lot, particularly bread, you probably already have the ingredients for bagels and are already one step closer to fresh chewy goodness. If not, the recipe only contains a few ingredients, so a quick trip to the store (or online store) won’t be too troublesome.
Gather the ingredients below, and let’s get cracking!
HOW TO MAKE NEW YORK-STYLE BAGELS
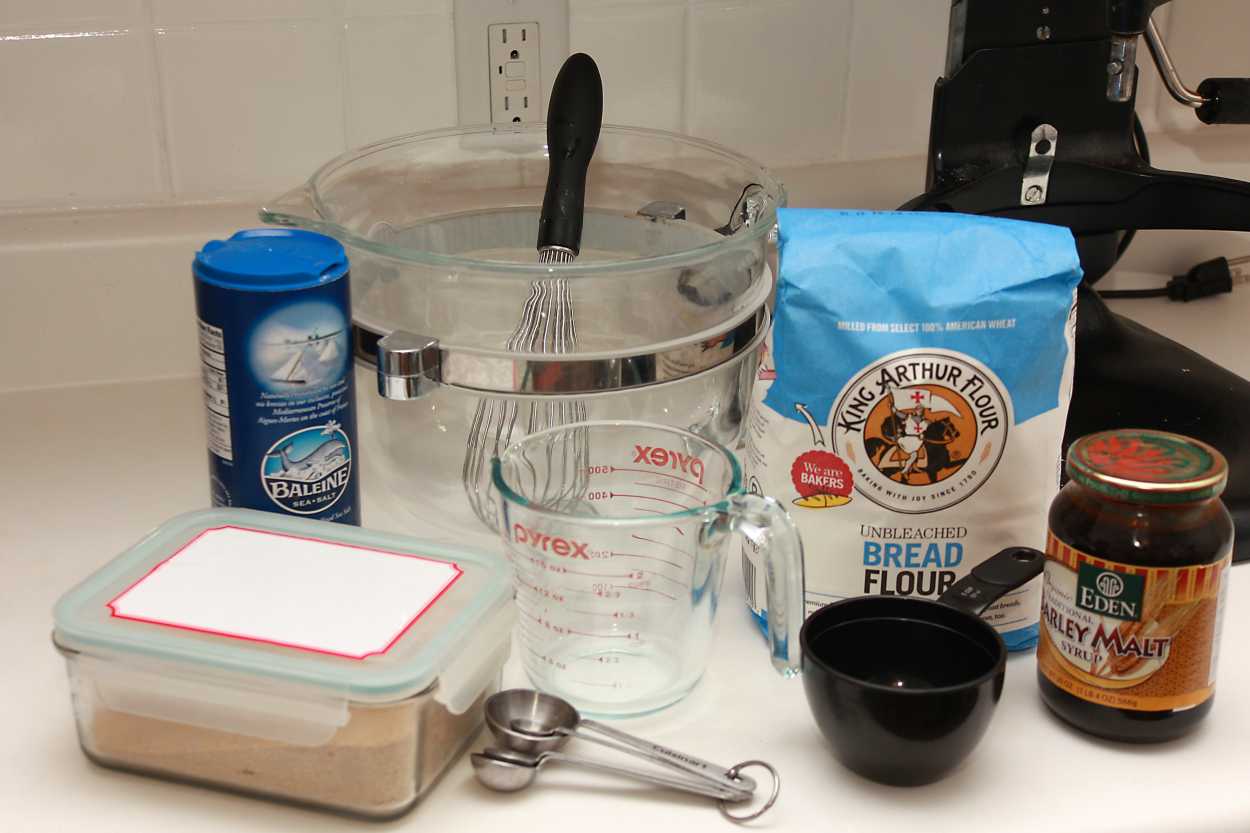
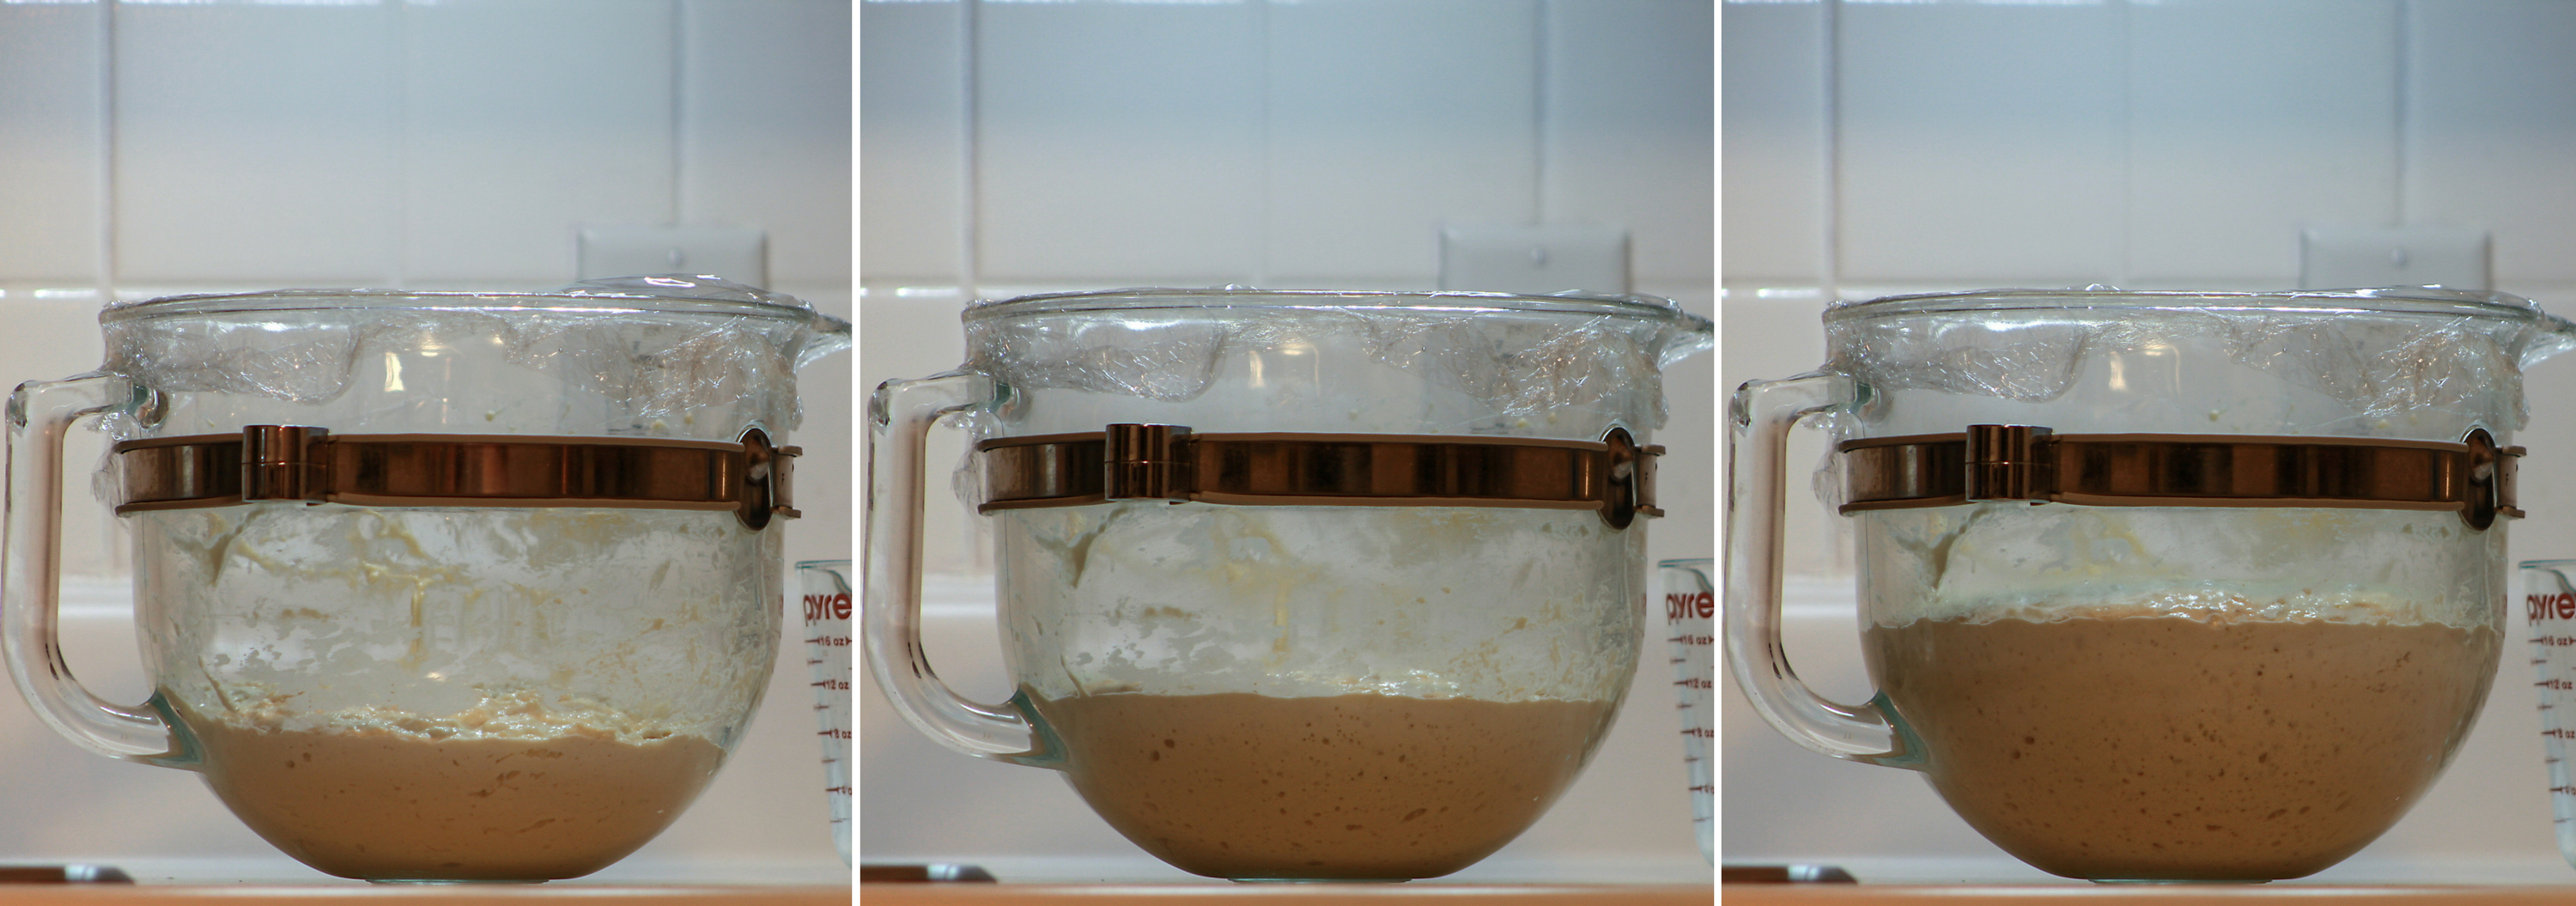
The recipe starts with a sponge, which is simply mixed together and allowed to rise for a couple of hours (this is where you start your movie!) until it doubles in size.
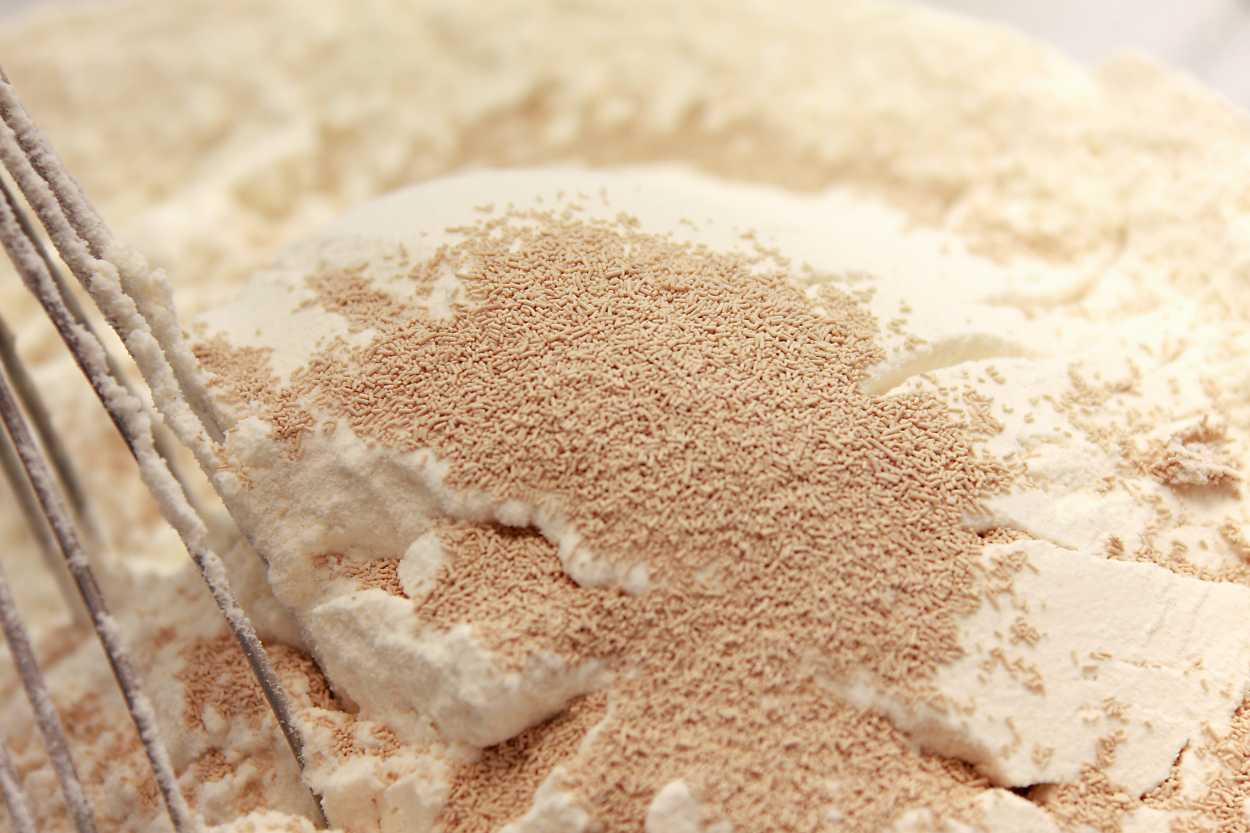
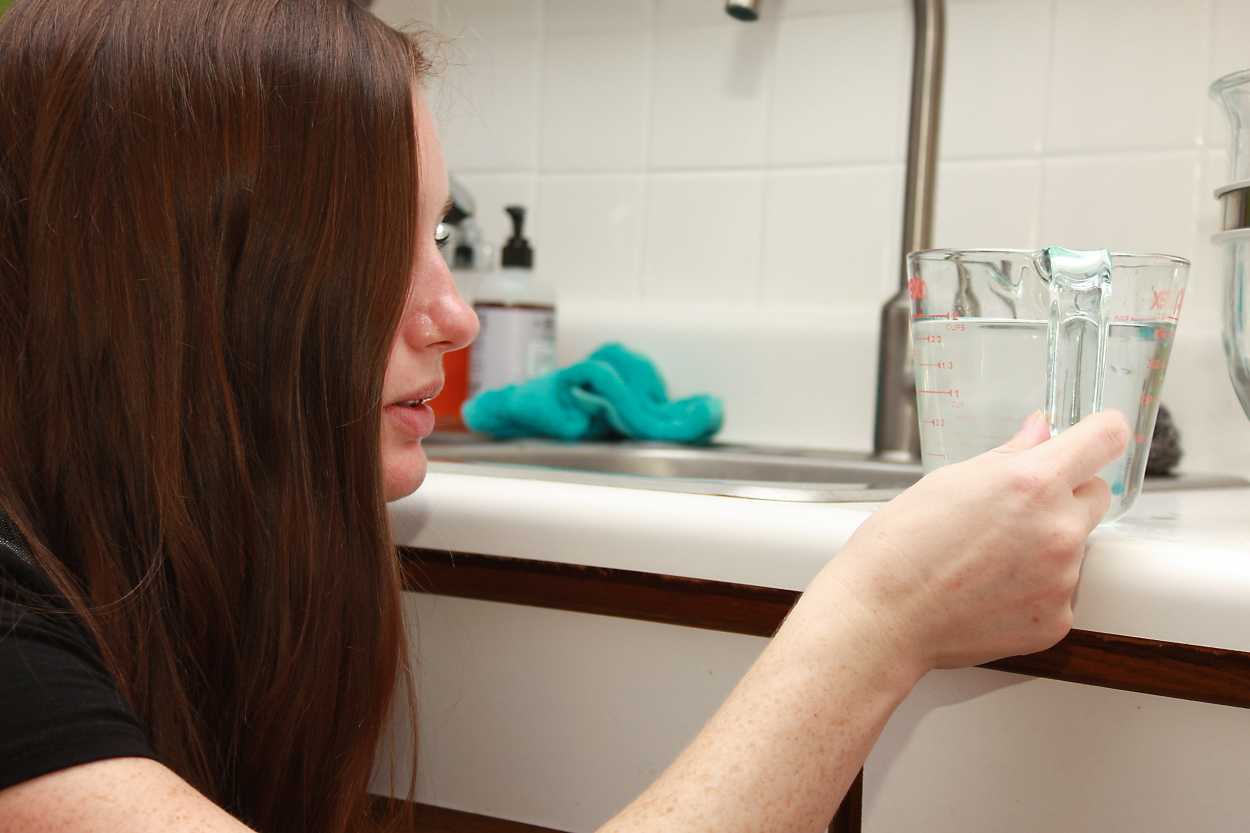
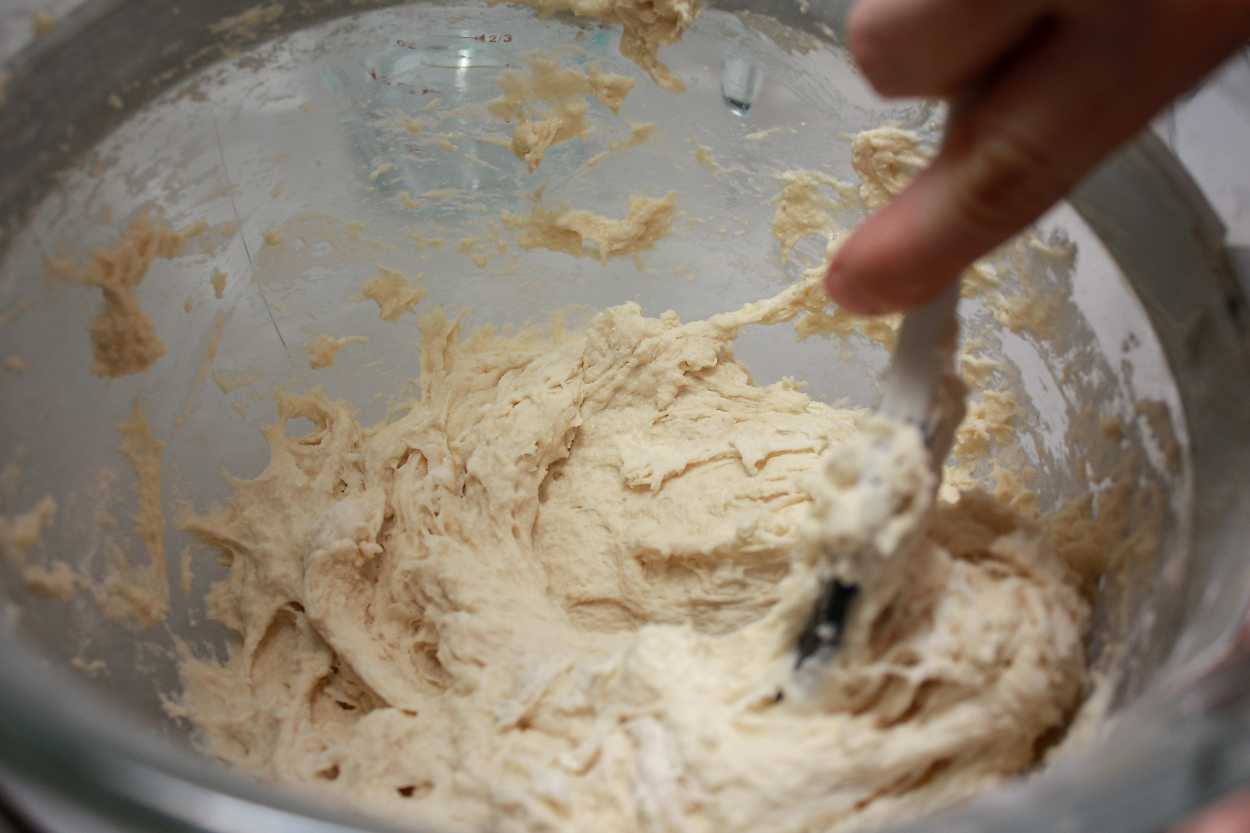
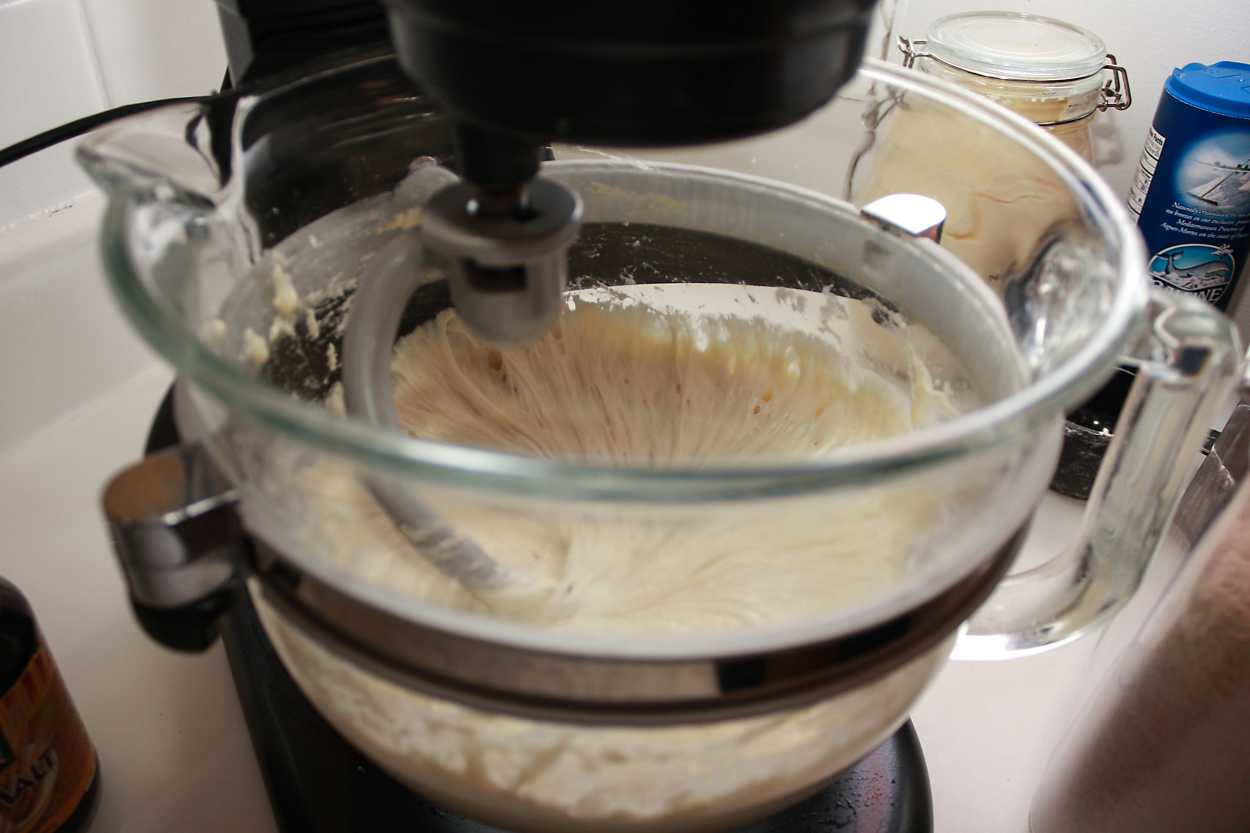
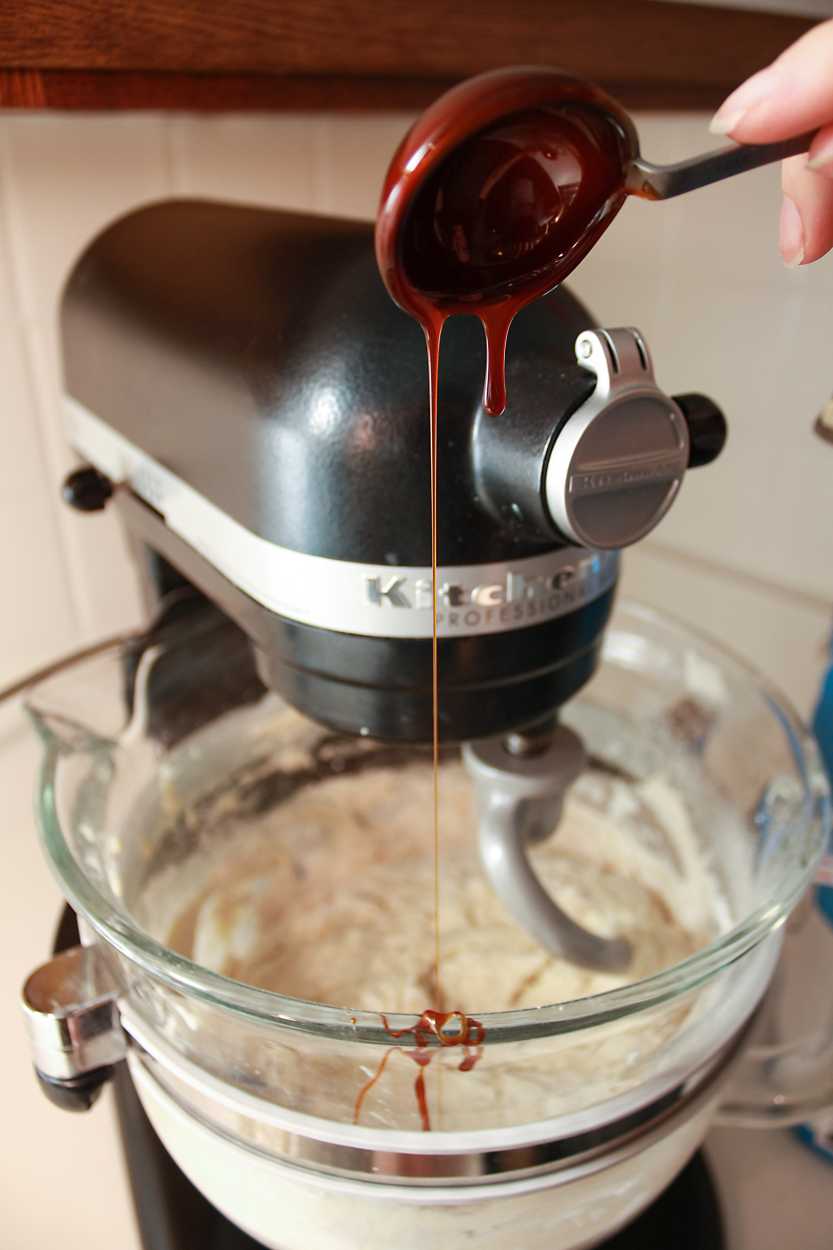
The dough is made in the same bowl by first adding the yeast and stirring, and then adding the remaining ingredients. It can be made by hand or by stand-mixer (I would advise against using one of the smaller mixers, however).

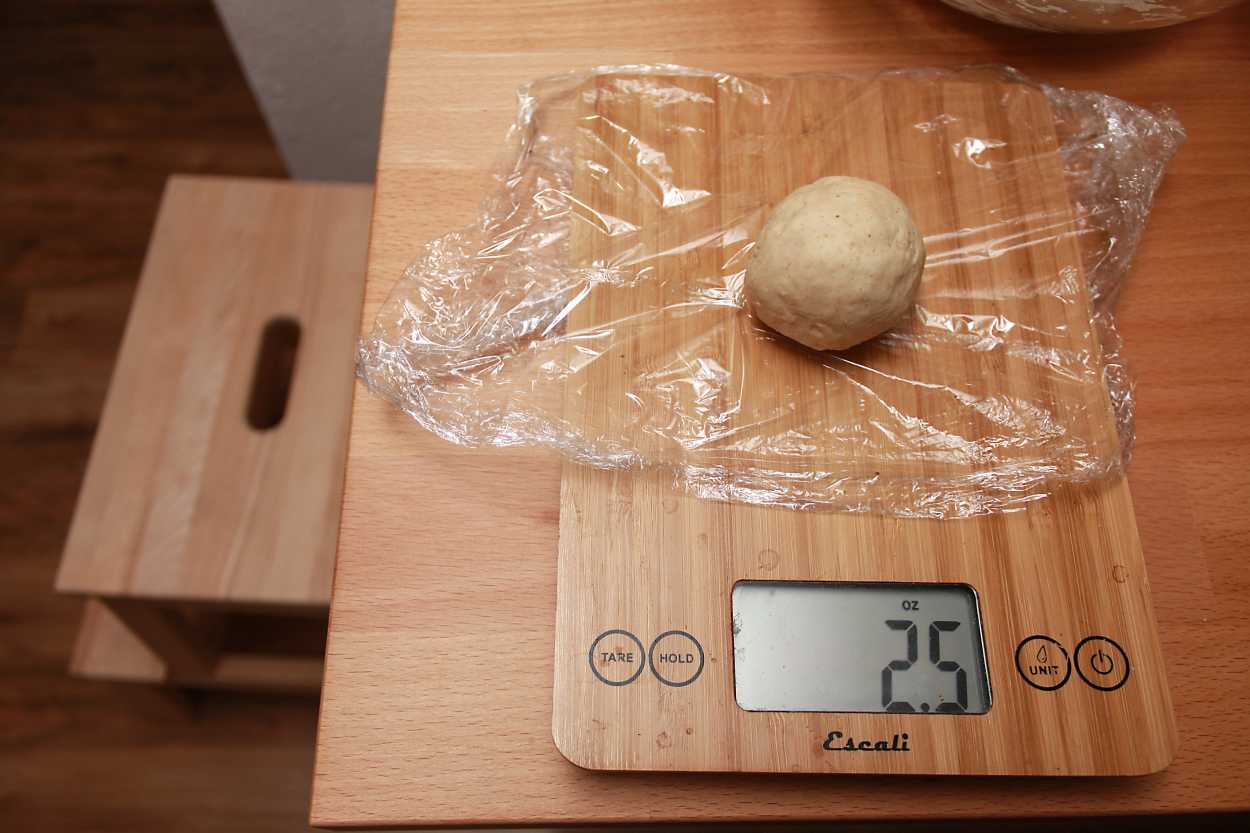
To make sure our bagels are the same size we use a kitchen scale, aiming for about 2.5 ounces (they cook at the same rate, plus there’s no fighting over the larger ones). Weigh them out and shape each one into a roll, then place them on a sheet of parchment paper and cover them with a damp towel to rest for twenty minutes.
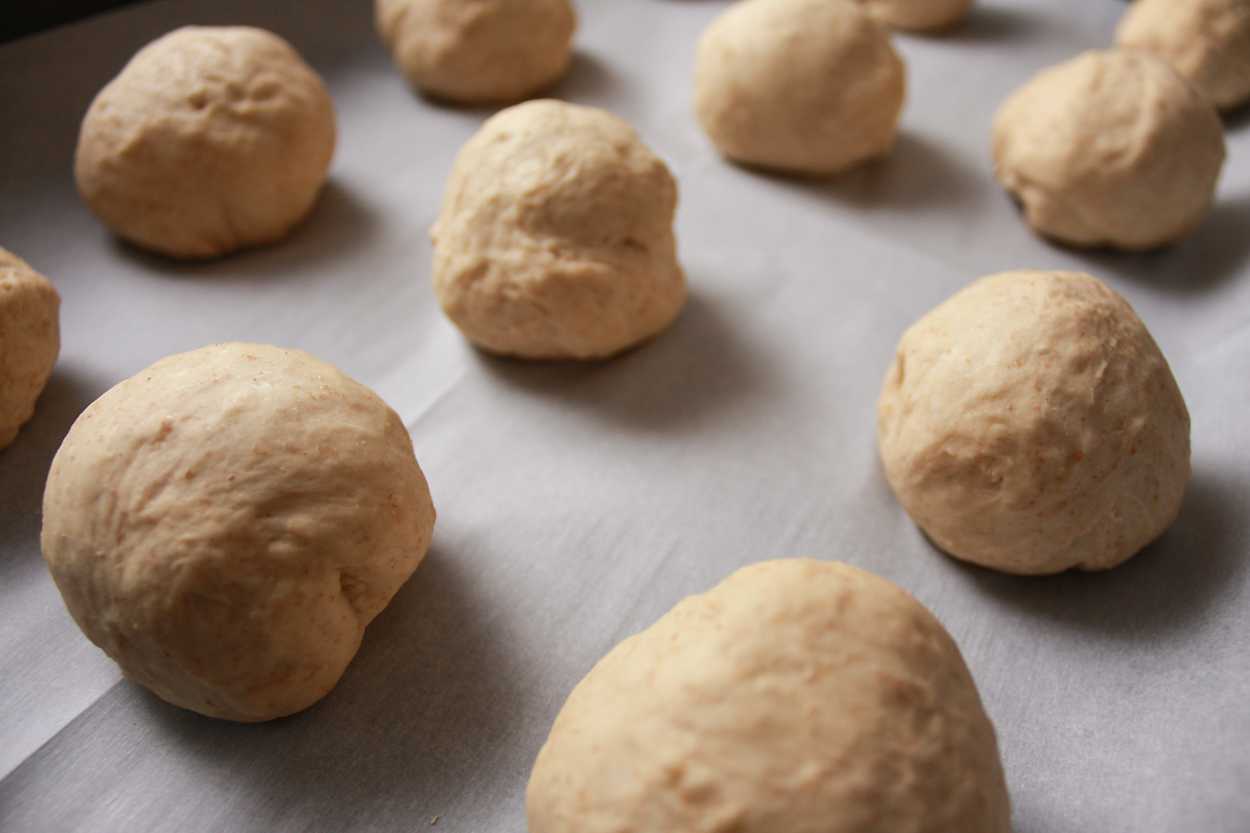

Begin to shape the bagels. There are several ways to do this, but for me, the easiest way is just to gently poke a hole through. Once you’re done, re-cover them with the towel, and let them rest for another twenty minutes.
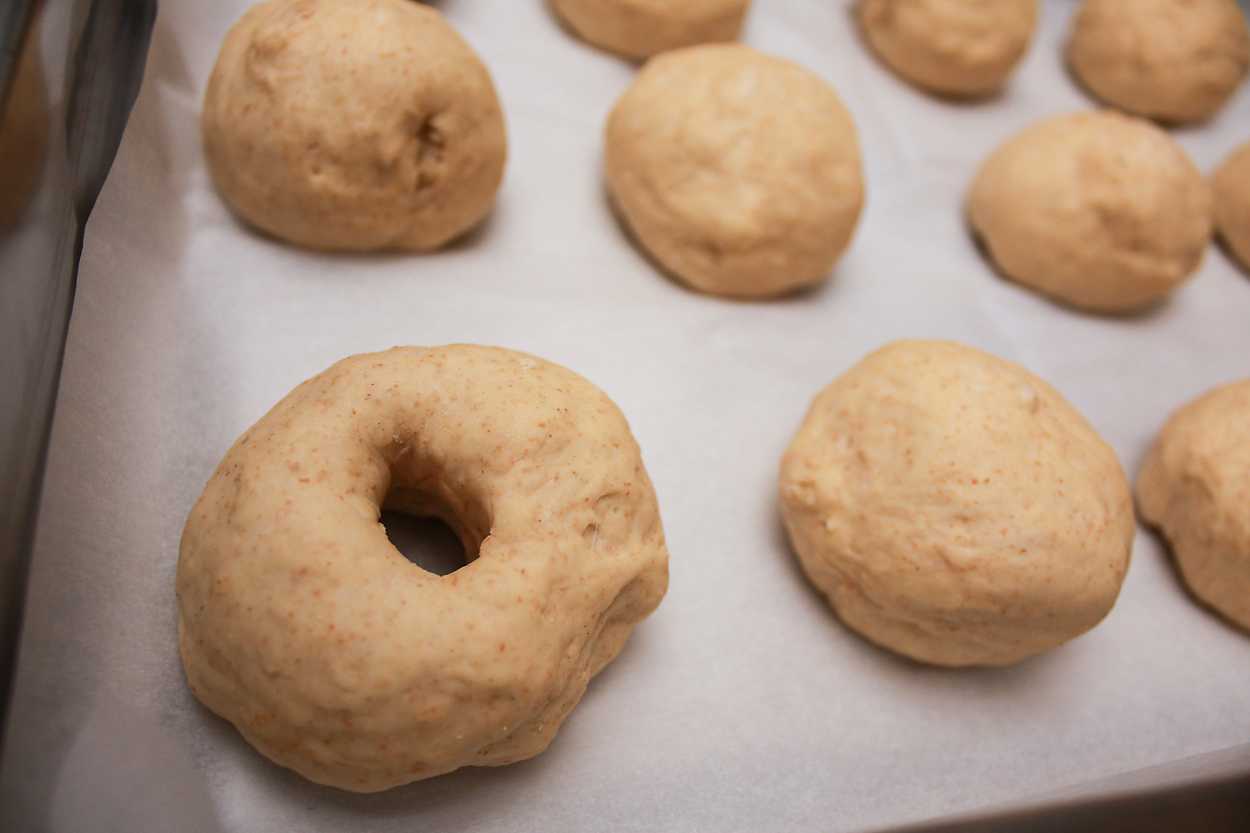
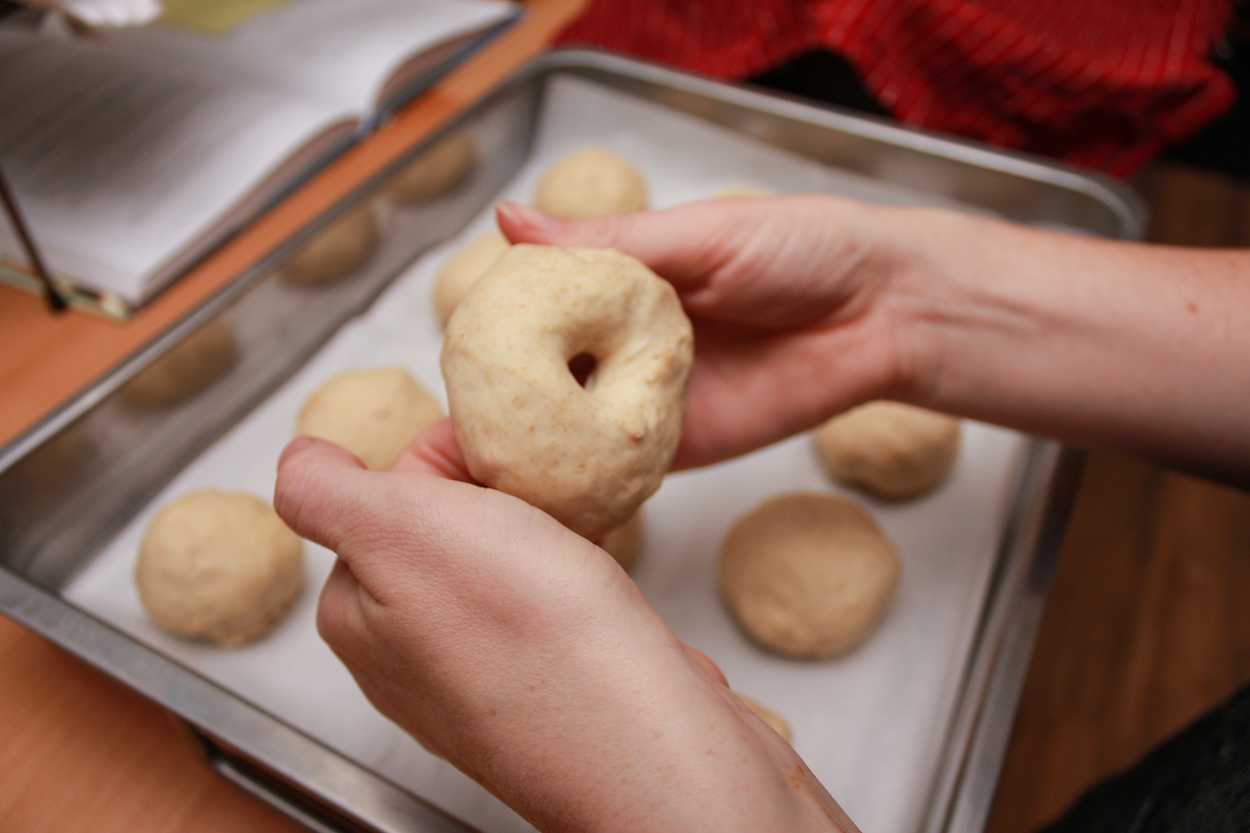
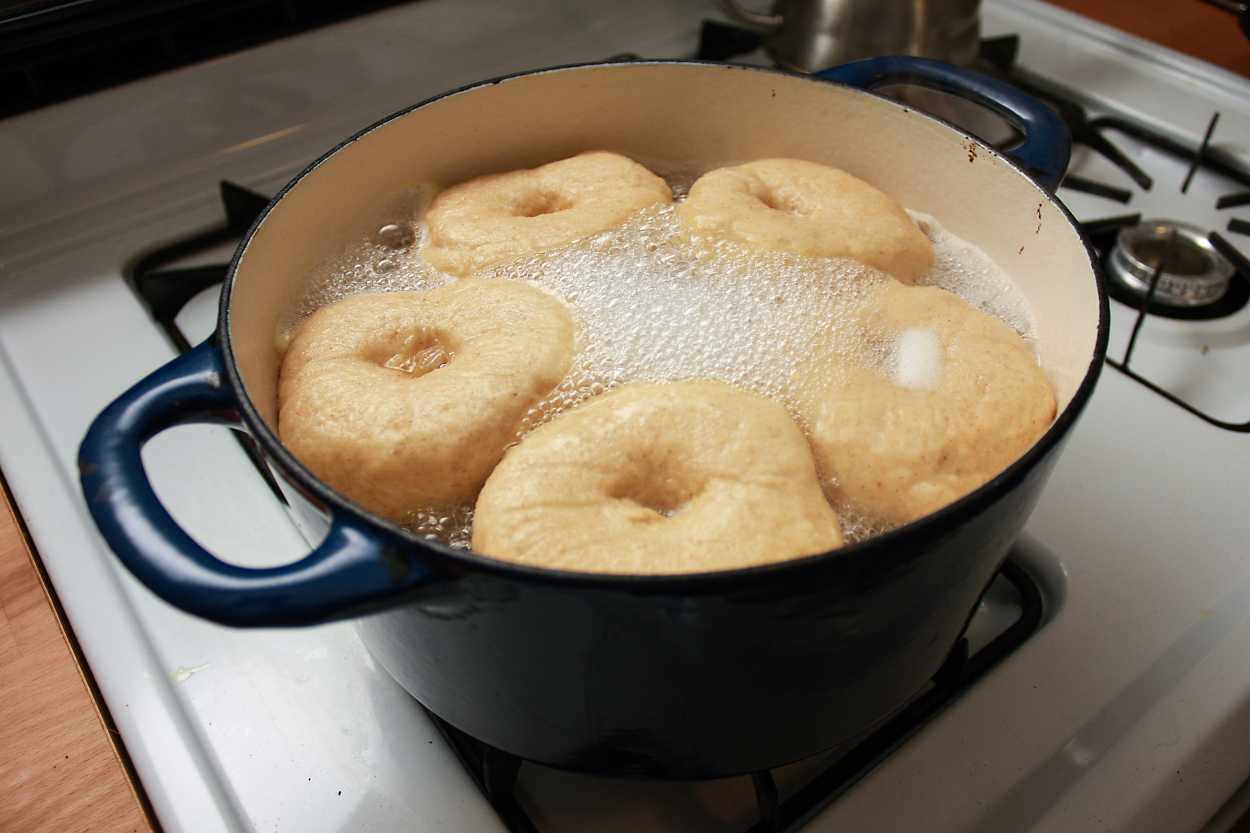
You’ll place one bagel in a bowl of water to see if it floats; if it does, wrap the trays up and place them in the fridge overnight. The next morning, stay in your pajamas and heat your oven all the way to 500°F. On the stovetop set a large, wide pot to boil. Once the water hits a rolling boil, add baking soda (it’ll bubble up quite nicely!).
Gently lower the bagels in, only depositing as many as will comfortably fit. Boil for three minutes per bagel, and in the oven they go on a tray lightly sprinkled with cornmeal. You’re very near bagel bliss at this point!
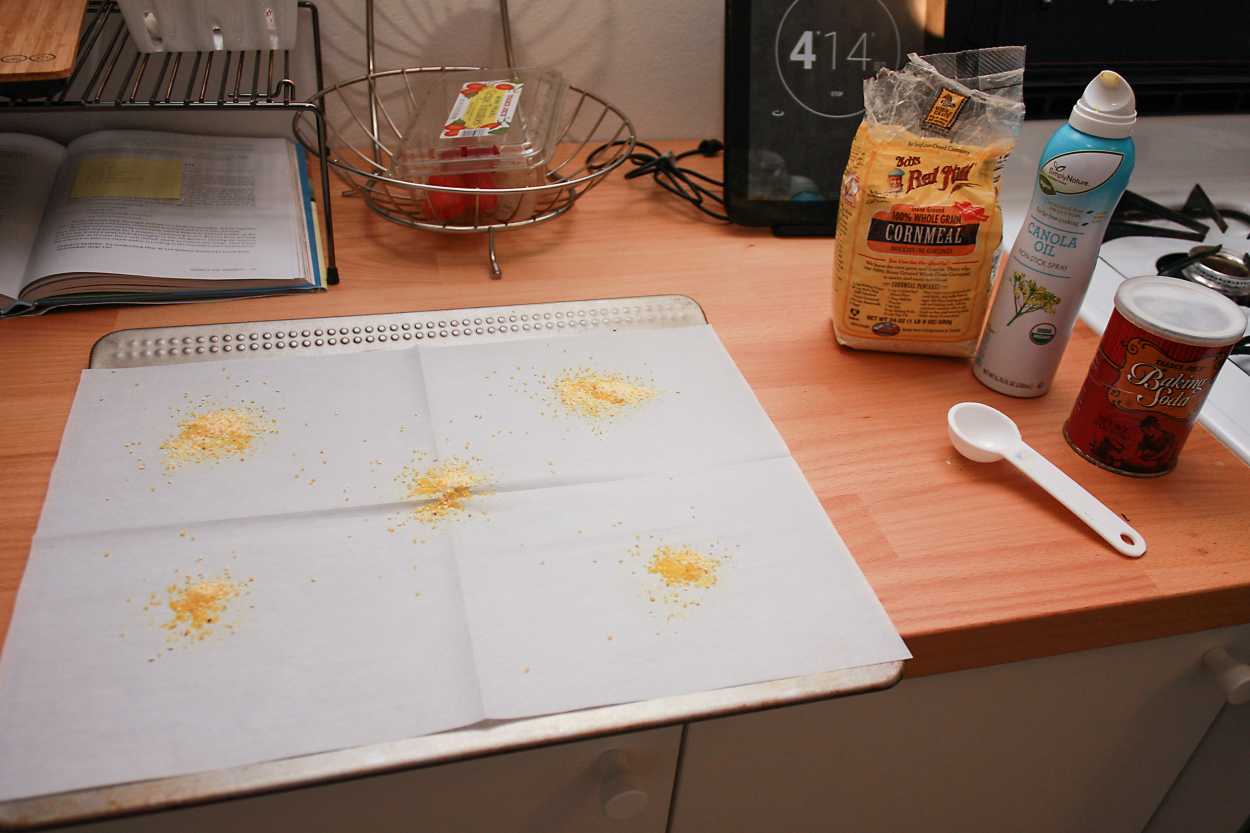
The bagels bake for 8-10 minutes until desired doneness (I prefer bagels on the more well-done side for their crispness), and then cool down on racks.
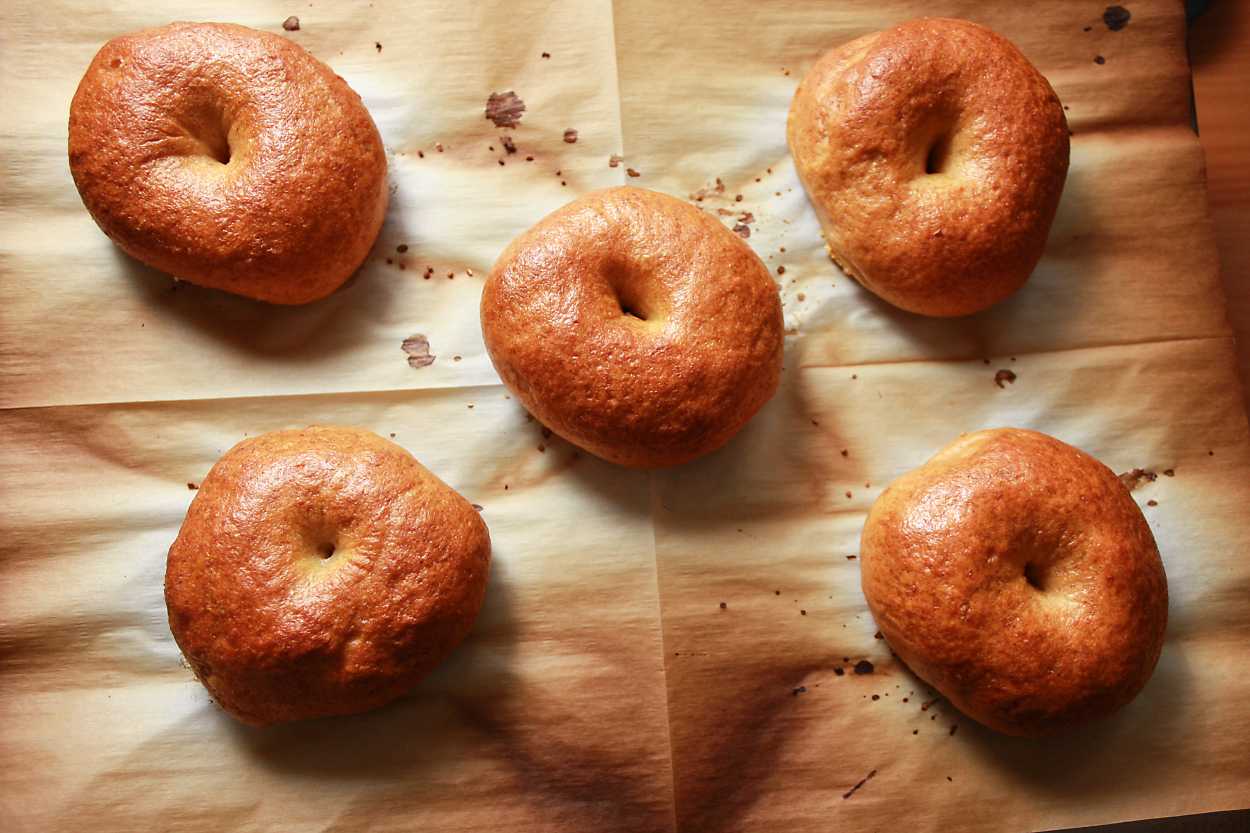
Once they’re cool enough to handle, carefully slice them open using a bread knife or dedicated bagel slicer. We no longer add “unitaskers” to our kitchen, but did buy a bagel guillotine after slicing my palm one too many times.
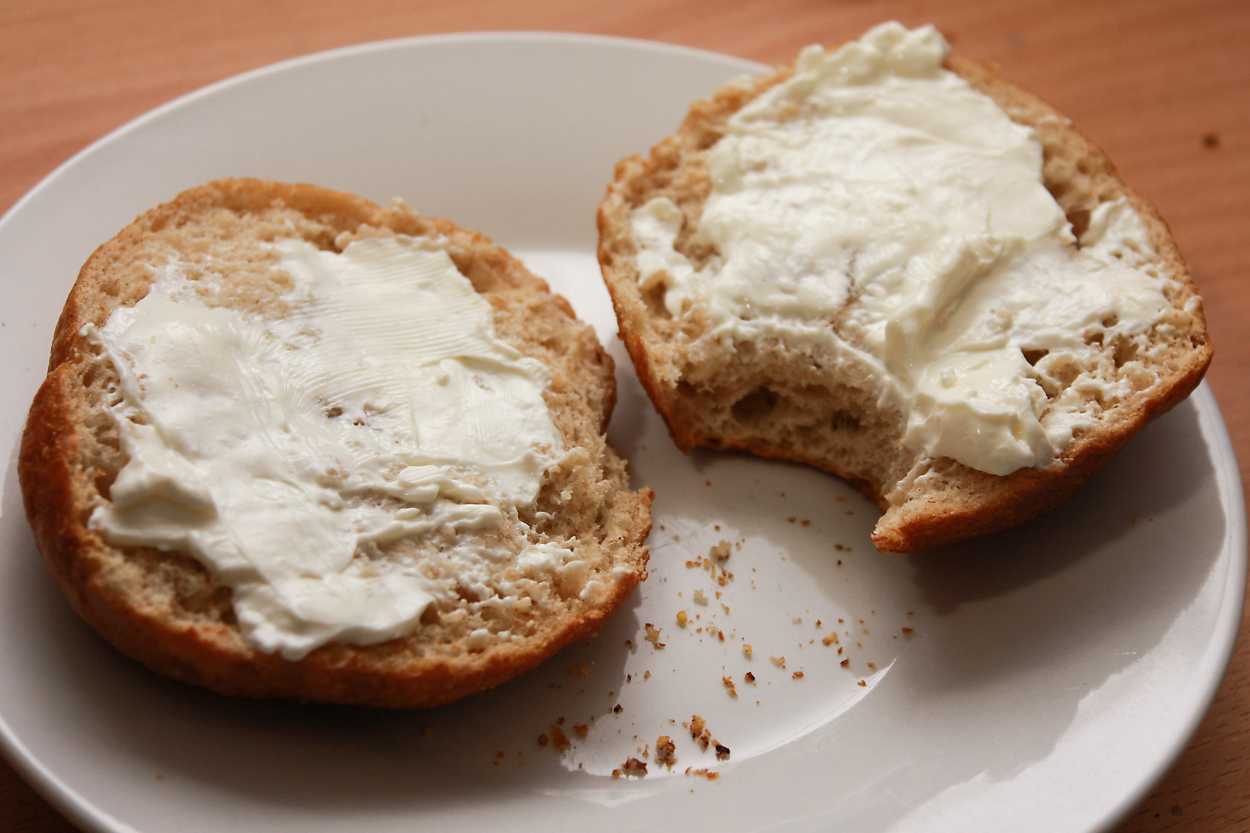
And now, it’s time to add your favorite toppings! I love cream cheese and smoked salmon; Michael enjoys using his bagels for sandwich fillings like roast beef and cheddar. Bagels keep fresh for a couple of days at room temperature or can be frozen for a month or so. A quick trip to the toaster brings them back to life.
RECIPE: NEW YORK-STYLE BAGELS
adapted from Peter Reinhart's The Bread Baker's Apprentice
Yield 18-22 small bagels (or fewer larger ones)
Ingredients
Sponge
1 tsp. instant yeast
4 cups bread flour
2½ cups room temperature water (filtered water preferred, if possible)
Dough
½ tsp. instant yeast
1 cup whole wheat flour
2½ to 2¾ cups bread flour, depending on humidity, the weather, or the stars’ alignment (kidding about the last one, but some days you’ll find you need more or less flour)
2¾ tsp. kosher salt
1 Tbsp. barley malt syrup (substitute with honey or brown sugar, if needed)
To Finish
1–2 Tbsp. baking soda
Cornmeal
Recipe
The evening before you plan to boil and bake your bagels, make the sponge by stirring together the instant yeast and bread flour in a large bowl (if making this recipe by hand), or the bowl of a stand mixer. Stir in the water until well incorporated, and no dry flour is visible. Cover with plastic wrap and set in a warm place to rise until doubled, about two hours.
To make the dough, add yeast to the risen sponge, and stir. To the bowl, add the whole wheat flour, 2 cups of bread flour, the salt, and the malt syrup (or alternative). Stir, by hand or using the dough hook on a stand mixer, until ingredients form a ball. Slowly add the remaining bread flour, ¼ cup at a time, until a sturdy dough forms.
On a floured surface, or with the dough hook in a stand mixer, knead for ten minutes. The dough will begin to lose its stickiness as it is worked by hand or machine. Adjust for any tackiness or dryness by adding flour or water, but only if truly needed. The dough should be dense, but very pliable. The dough is finished when a small piece can be stretched between your hands thin enough to let light through.
Divide the dough into 2.5-ounce pieces, form each into a tight ball, and place them seam-side down on a piece of parchment paper set within a high-sided baking or roasting pan. If you do not have a scale, that’s around the size (but not weight!) of a billiards ball. Dampen a non-terry kitchen towel and carefully drape over the rolled dough. Allow to rest for about twenty minutes.
Remove the towel, and begin shaping bagels by carefully pressing your thumb and middle finger through the center of the roll until they form a hole. Gently stretch the bagel’s center wider, without squeezing the dough. Lightly mist the parchment with cooking spray, and return the bagel to the pan. Repeat, until all bagels are shaped, and cover for another twenty minutes.
Test the bagels to ensure they have risen slightly at room temperature by placing one into a bowl of water. If the bagel floats, they are ready to go into the refrigerator overnight. If not, allow them to rise for another ten minutes and try again. Carefully dry any bagels that you submerge in water.
Wrap pans in plastic wrap, and place them in the refrigerator overnight, or for at least eight-to-ten hours.
The next morning, preheat the oven to 500°F with two racks set in the center. Fill a large, wide pot about two-thirds full of water, and bring to a boil over high heat. Once boiling, add 1 Tablespoon baking soda.
Remove the bagels from the refrigerator, and add as many bagels that can comfortably fit in the pot in a single layer (resist the urge to add just one more, as they will swell while boiling). Boil for 1 minute, 30 seconds, and flip, using a slotted spoon or slotted spatula. Continue boiling for the same amount of time on the second side.
While you’re waiting for the bagels to boil, transfer your parchment paper to a low-sided baking sheet, spray with additional cooking spray if needed, and sprinkle with a small amount of cornmeal. Do not add extra spray or cornmeal where bagels will not be placed on the tray; the oil and cornmeal will burn under high heat, creating a very smoky kitchen.
After boiling the batch of bagels for a total of three minutes, transfer to the tray and place on the oven’s lower shelf immediately. Bake for about five minutes, and meanwhile, begin boiling the next batch of bagels as previously instructed, eventually placing them on a second tray.
Rotate the first tray to the top shelf of the oven, and place the second tray on the bottom. Depending on your oven, the first tray of bagels should continue cooking for 3-5 more minutes, until golden brown. Remove bagels from the oven and place on a cooling rack. Continue boiling, baking, and rotating the rest of the bagels.
Allow to cool (they are very hot right out of the oven), and carefully slice and top with your desired bagel accompaniments. Bagels will keep at room temperature for two or three days before losing their freshness, or in the freezer for a month or more. Be sure to slice before freezing for easy toasting, and save one for me!
FINAL THOUGHTS ON MAKING BAGELS FROM SCRATCH
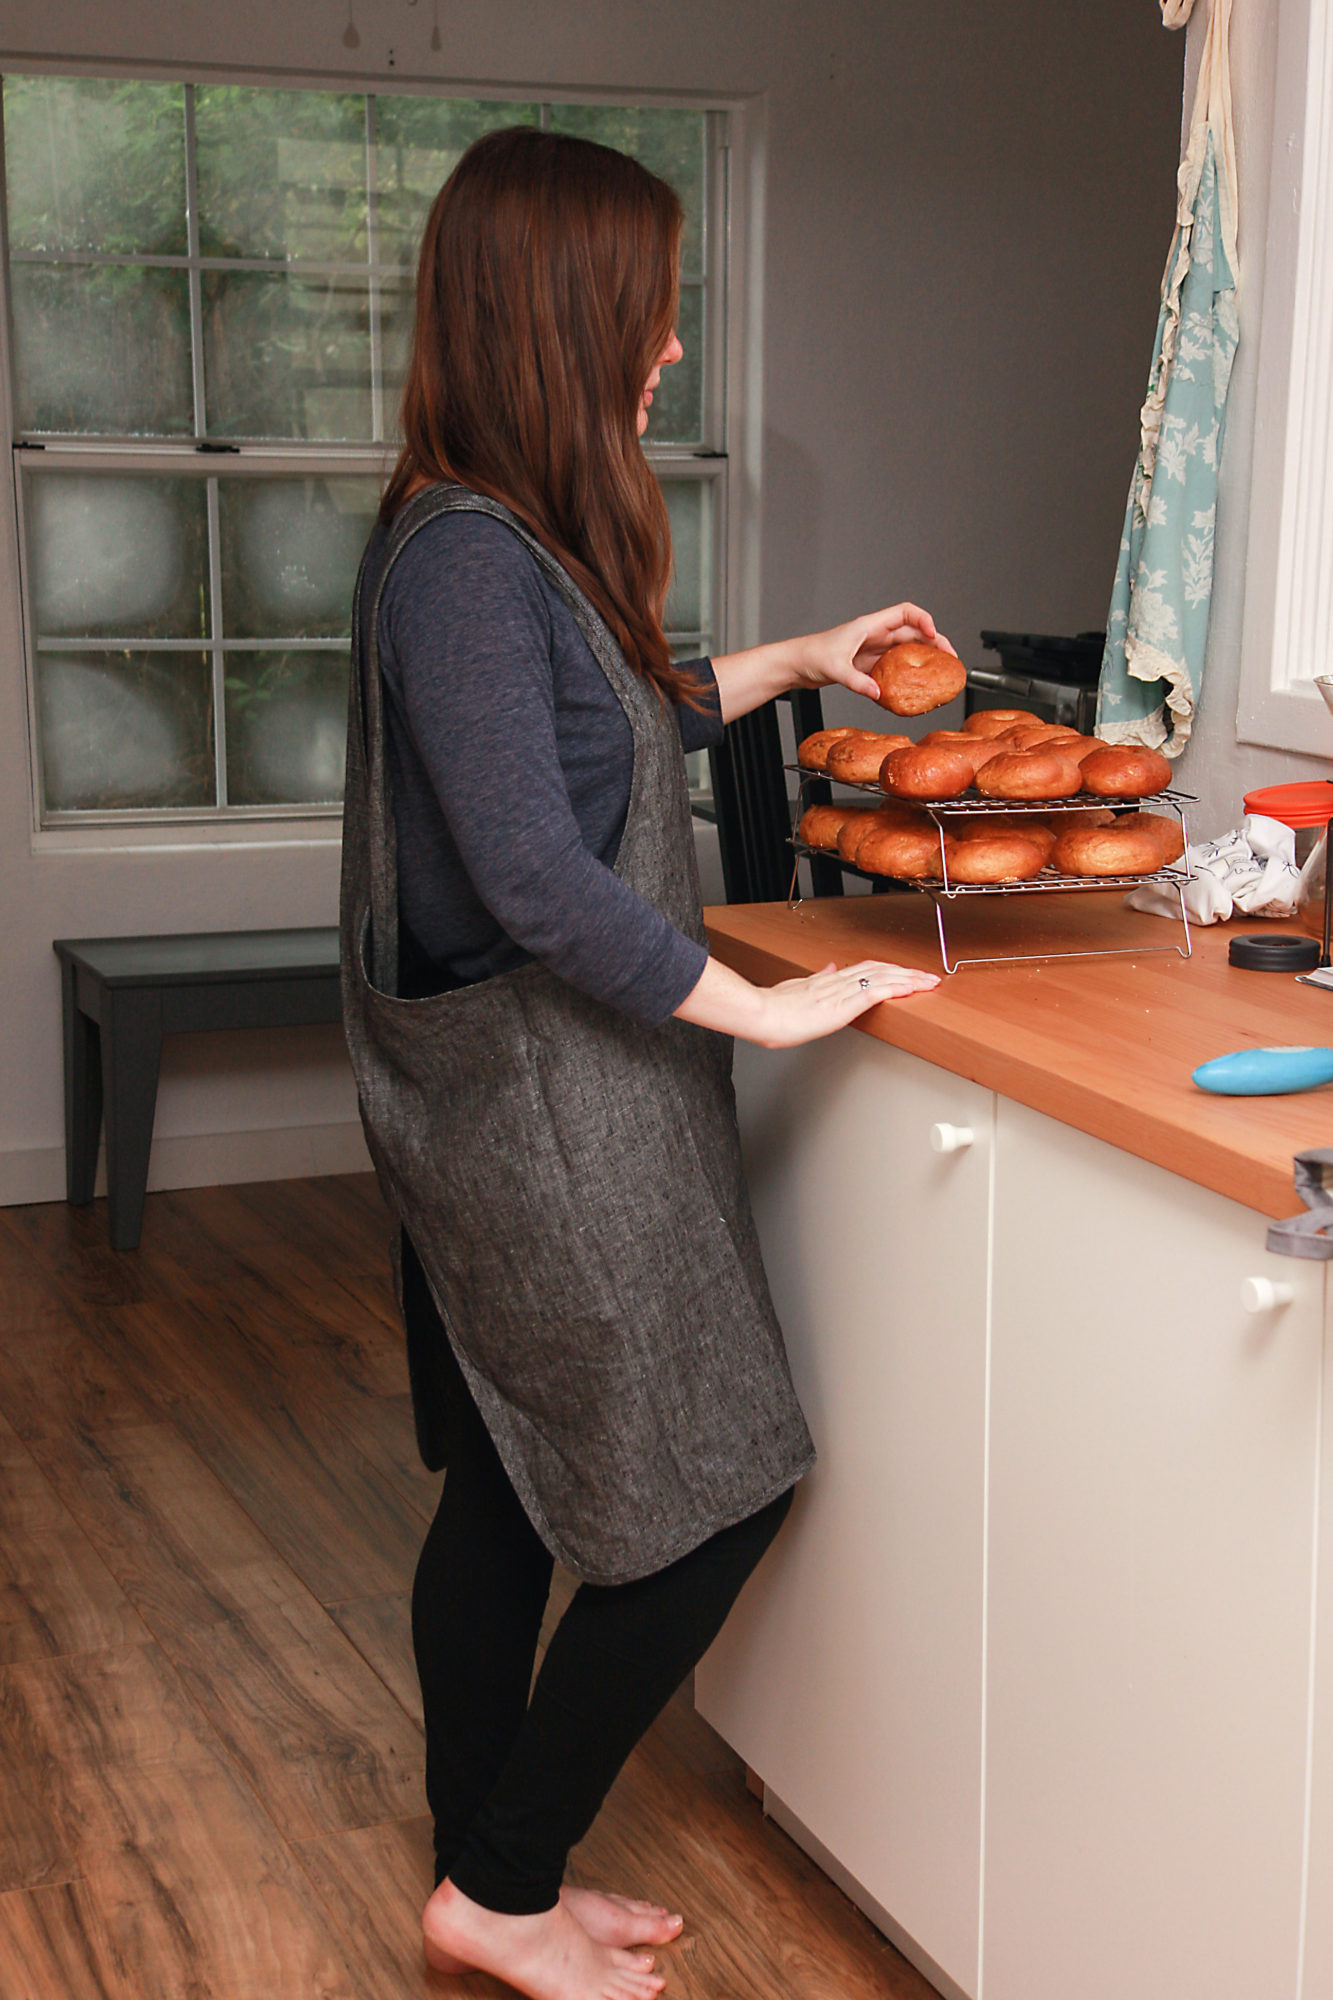
Making bagels from scratch takes much more time than popping down to the corner store—but the results are truly worth it. It’s the perfect project for a weekend at home when you’re missing the chance to travel, and they make an impressive gift for friends and family. I hope you’ll give it a shot, but I should warn you: you may never go back to storebought!
—
Questions for you
Have you ever attempted to make your own bagels before?
If not, where is your favorite place to buy them?
Hungry for more? You may also like:
- All New York City Travel Guides
- Fresh Pasta Carbonara Recipe
- Liege Waffles Recipe
- International Holiday Recipe: Æbleskiver
- Recipe: Pre-Trip Pizza
- Five Easy Meals
- Enjoying a Vacation Tradition at Home: Serving up Three Effortless Apéritifs with Le Moné
- Everything Cookies Recipe
- How to Brew Coffee at Home with Chemex
- Recipe: Swedish Sticky Chocolate Cake (Kladdkaka)
- Pistachio Ice Cream Recipe
- All of My Travel-Inspired Recipes
- All Travel Guides by Destination
- Shop My Closet
- Exclusive Discounts + Promo Codes


